

In this private project, I was tasked with installing a high-quality laminate floor for a client. Laminate flooring is a popular choice due to its affordability, durability, and ease of maintenance. The client wanted to upgrade their living space with a stylish and practical flooring solution that would enhance the overall look of the room while providing long-lasting performance.
1. Initial Consultation and Needs Assessment
- The process began with a consultation where I discussed the client’s preferences regarding color, style, and finish for the laminate flooring. We also reviewed the specific areas where the flooring would be installed (e.g., living room, hallway, bedrooms) to determine the best approach for each room.
- The client was looking for a wood-like finish but with the added benefits of laminate’s affordability and ease of care. We selected a design that complemented the existing décor of the home.
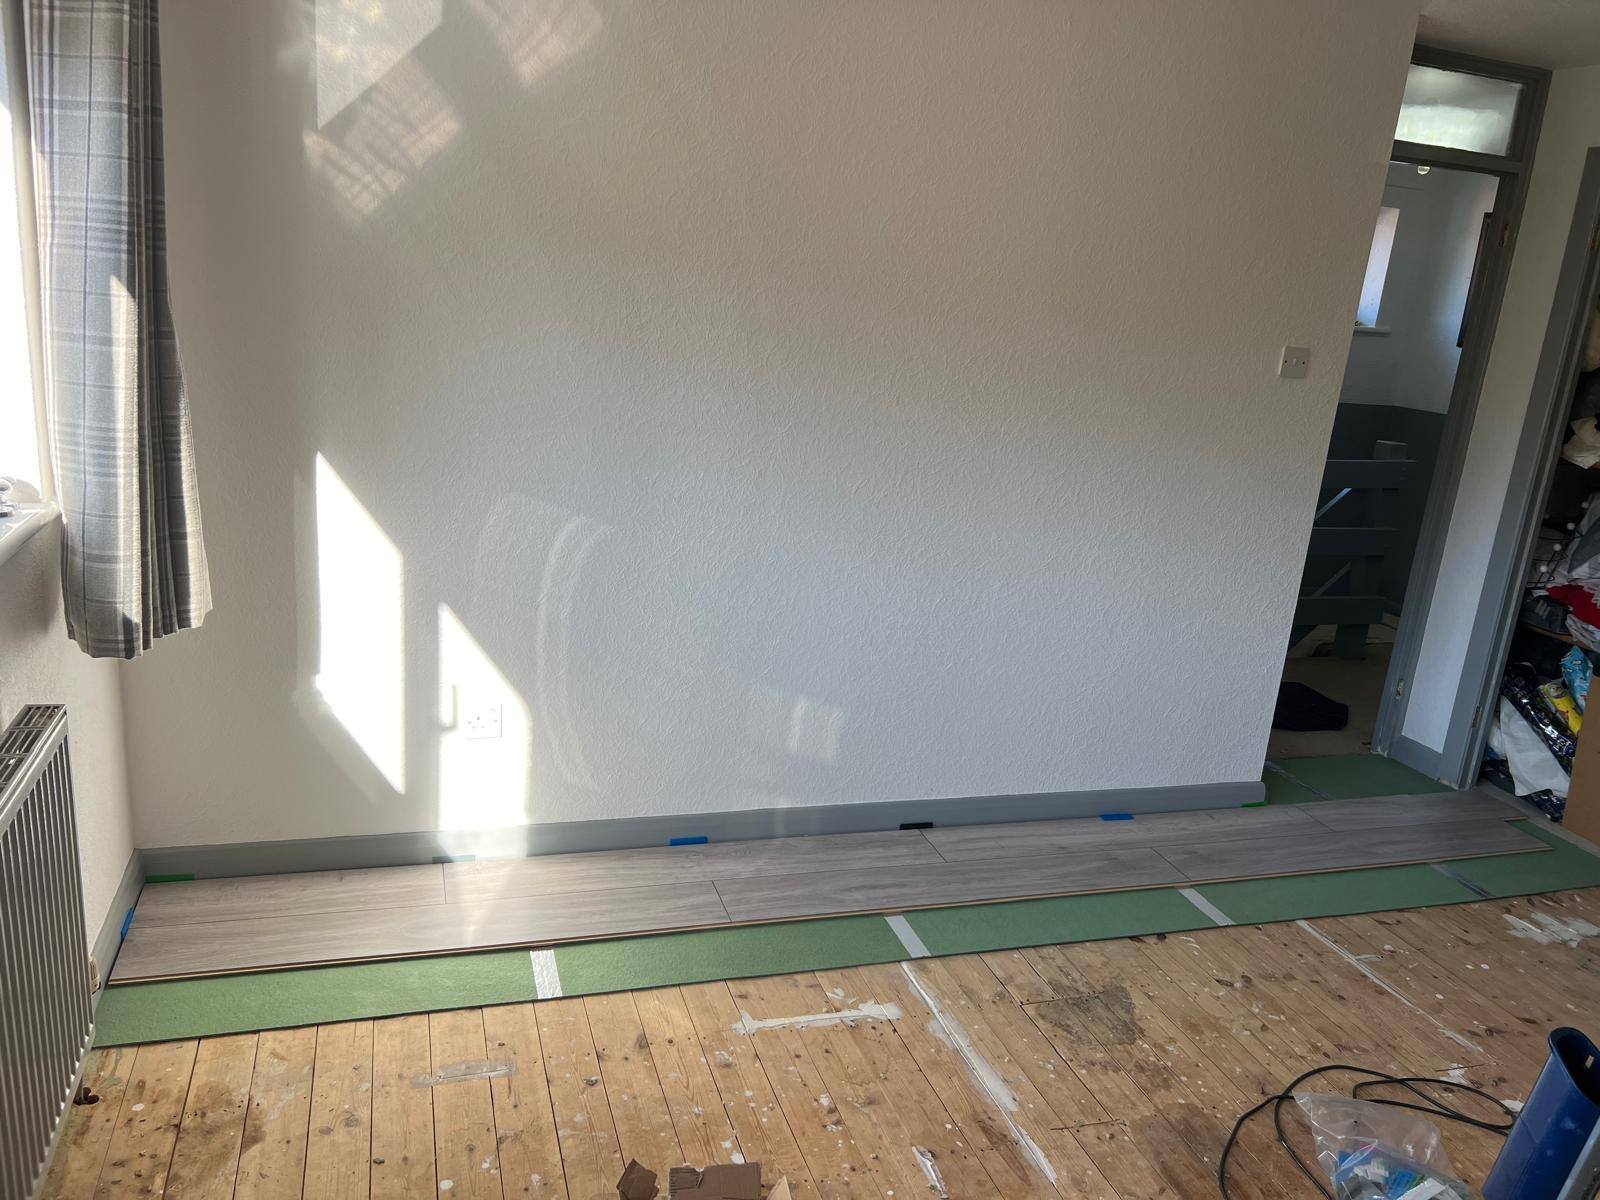
2. Preparation of the Area
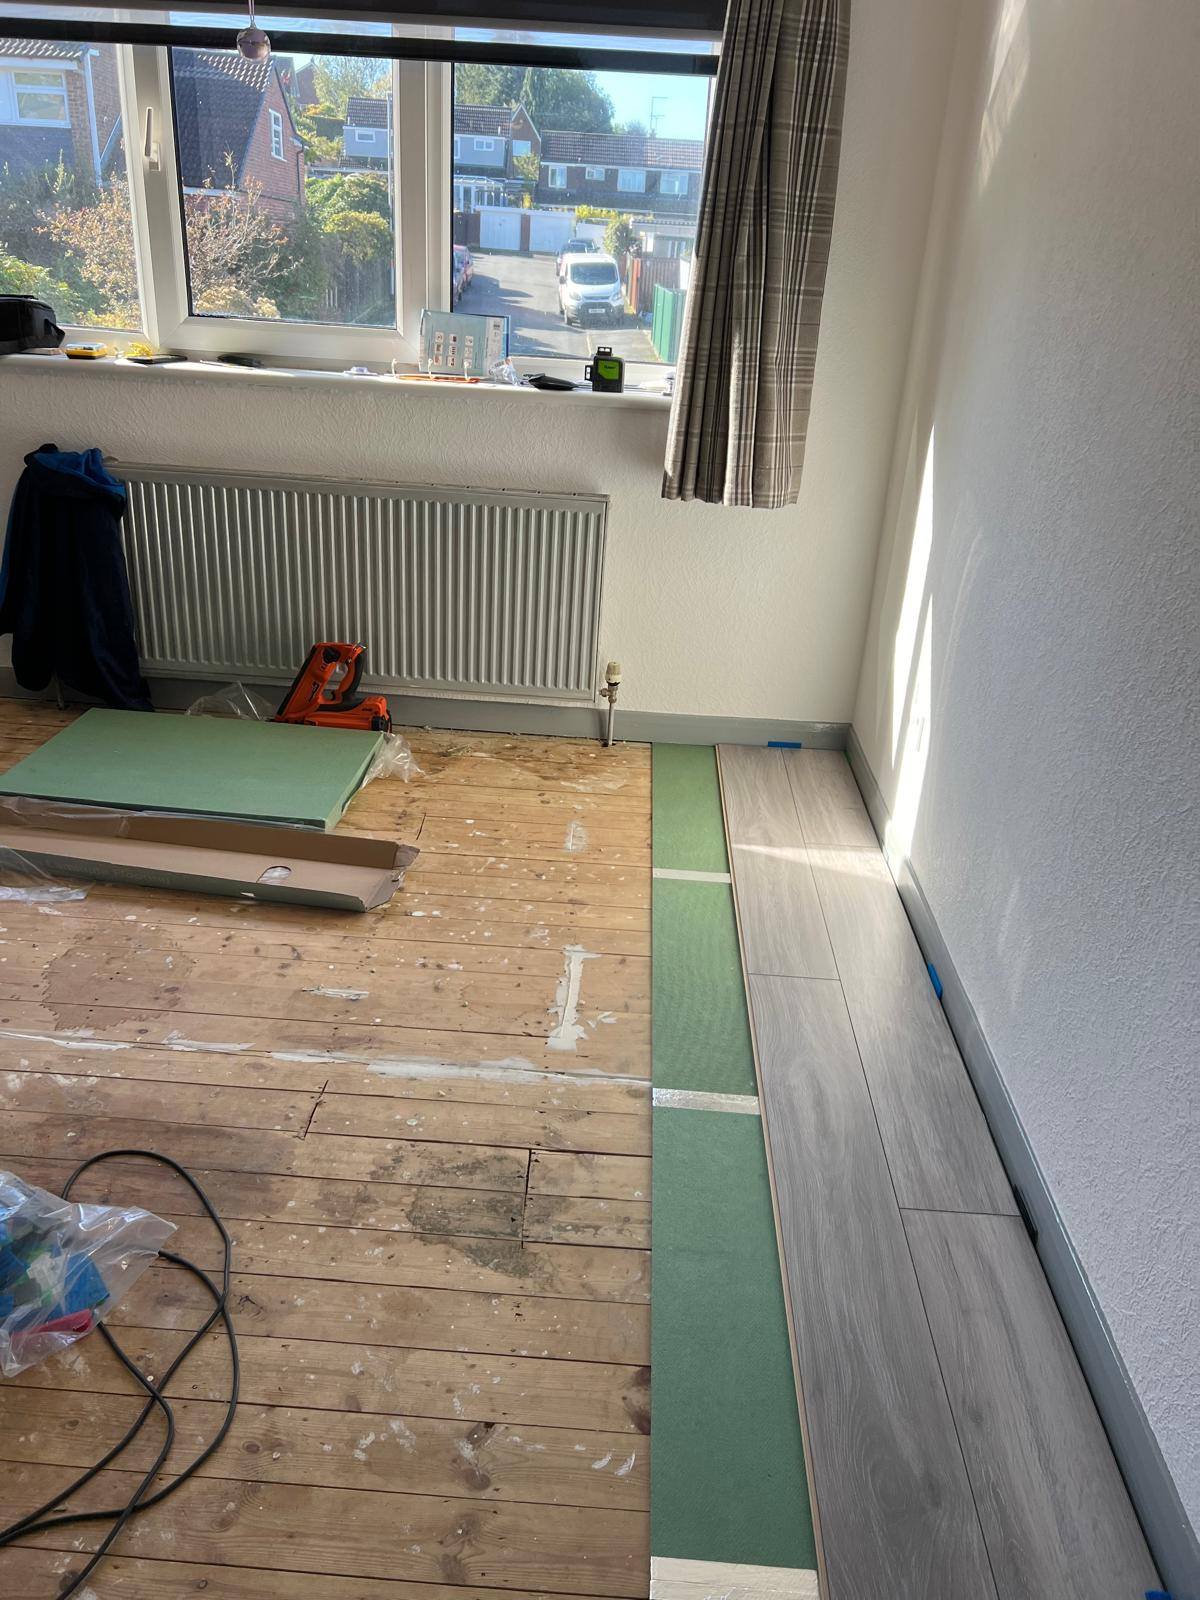
- Before starting the installation, I ensured that the subfloor was clean, dry, and level. Any existing flooring or debris was removed, and I made sure the subfloor was in good condition to support the laminate panels.
- In some areas, I used a leveling compound to address any uneven spots on the subfloor. Ensuring a stable foundation is essential for the laminate to sit properly and for the flooring to last.
3. Acclimating the Laminate
- Laminate flooring needs to acclimate to the temperature and humidity of the room before installation to prevent expansion or contraction after it’s laid down. I allowed the laminate planks to rest in the room for at least 48 hours to ensure they adjusted to the room’s environment.
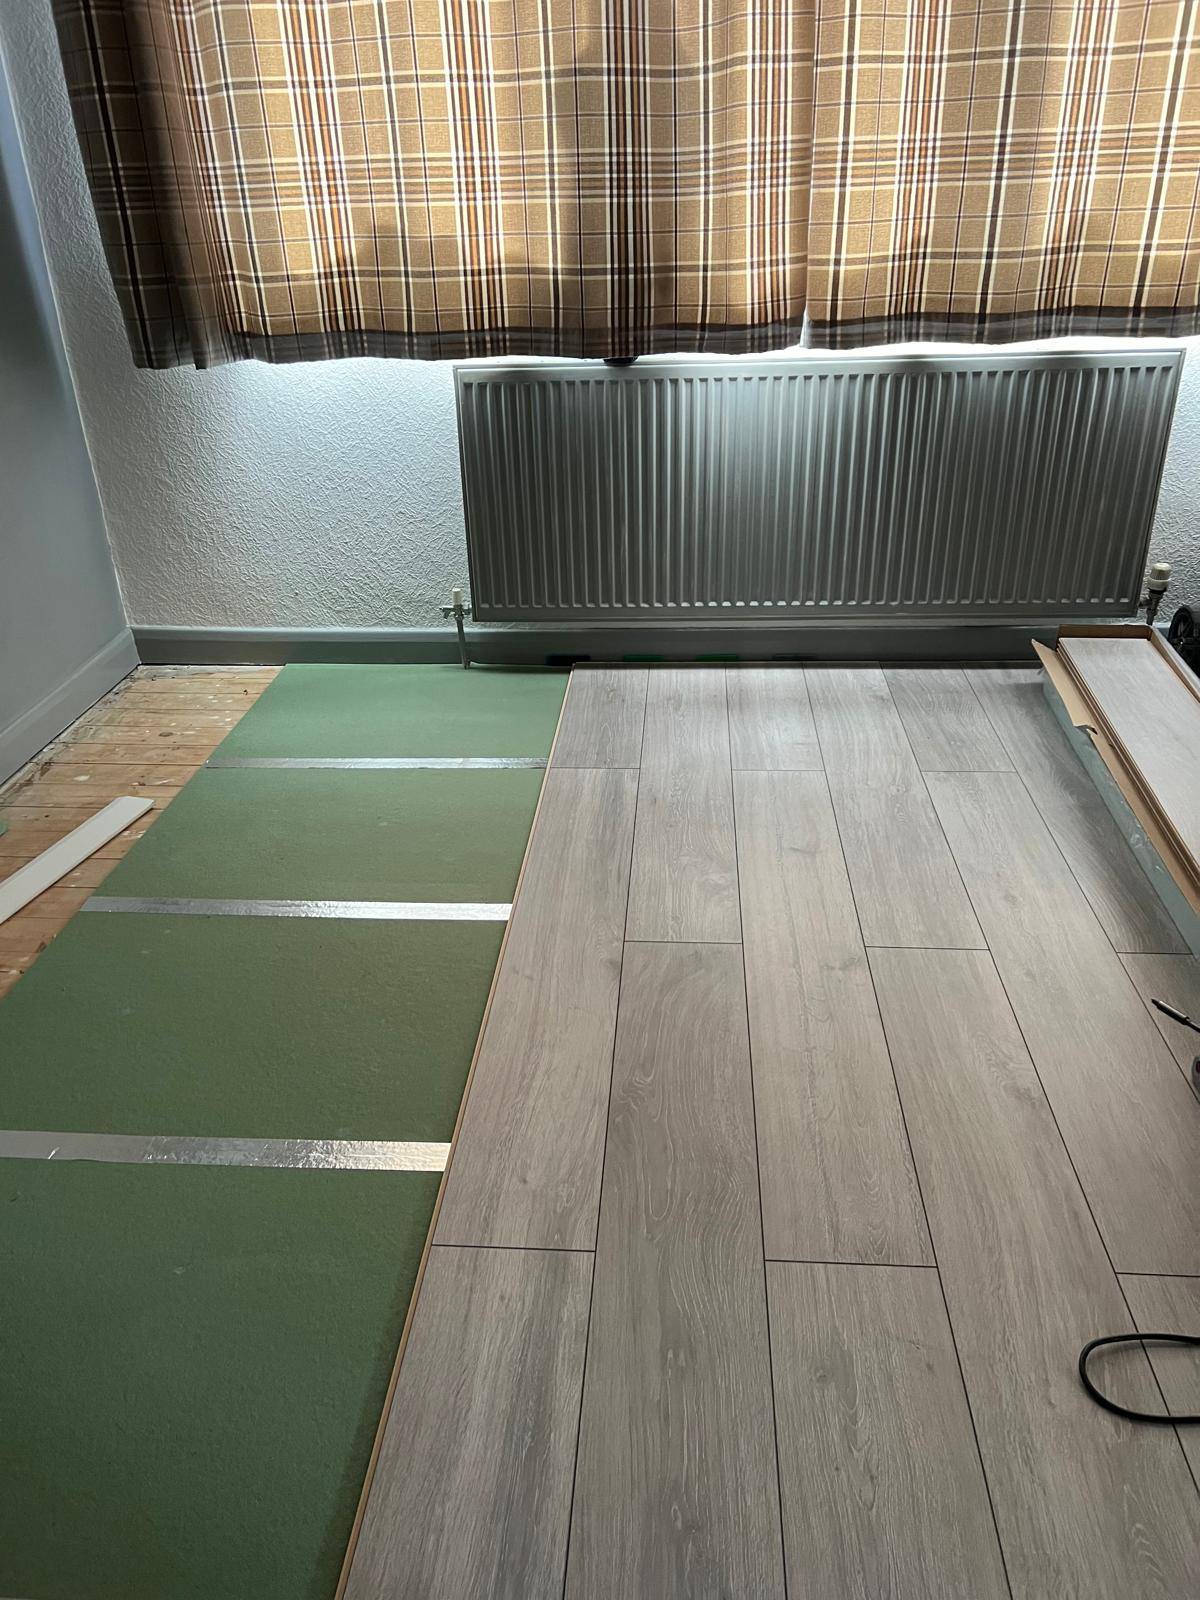
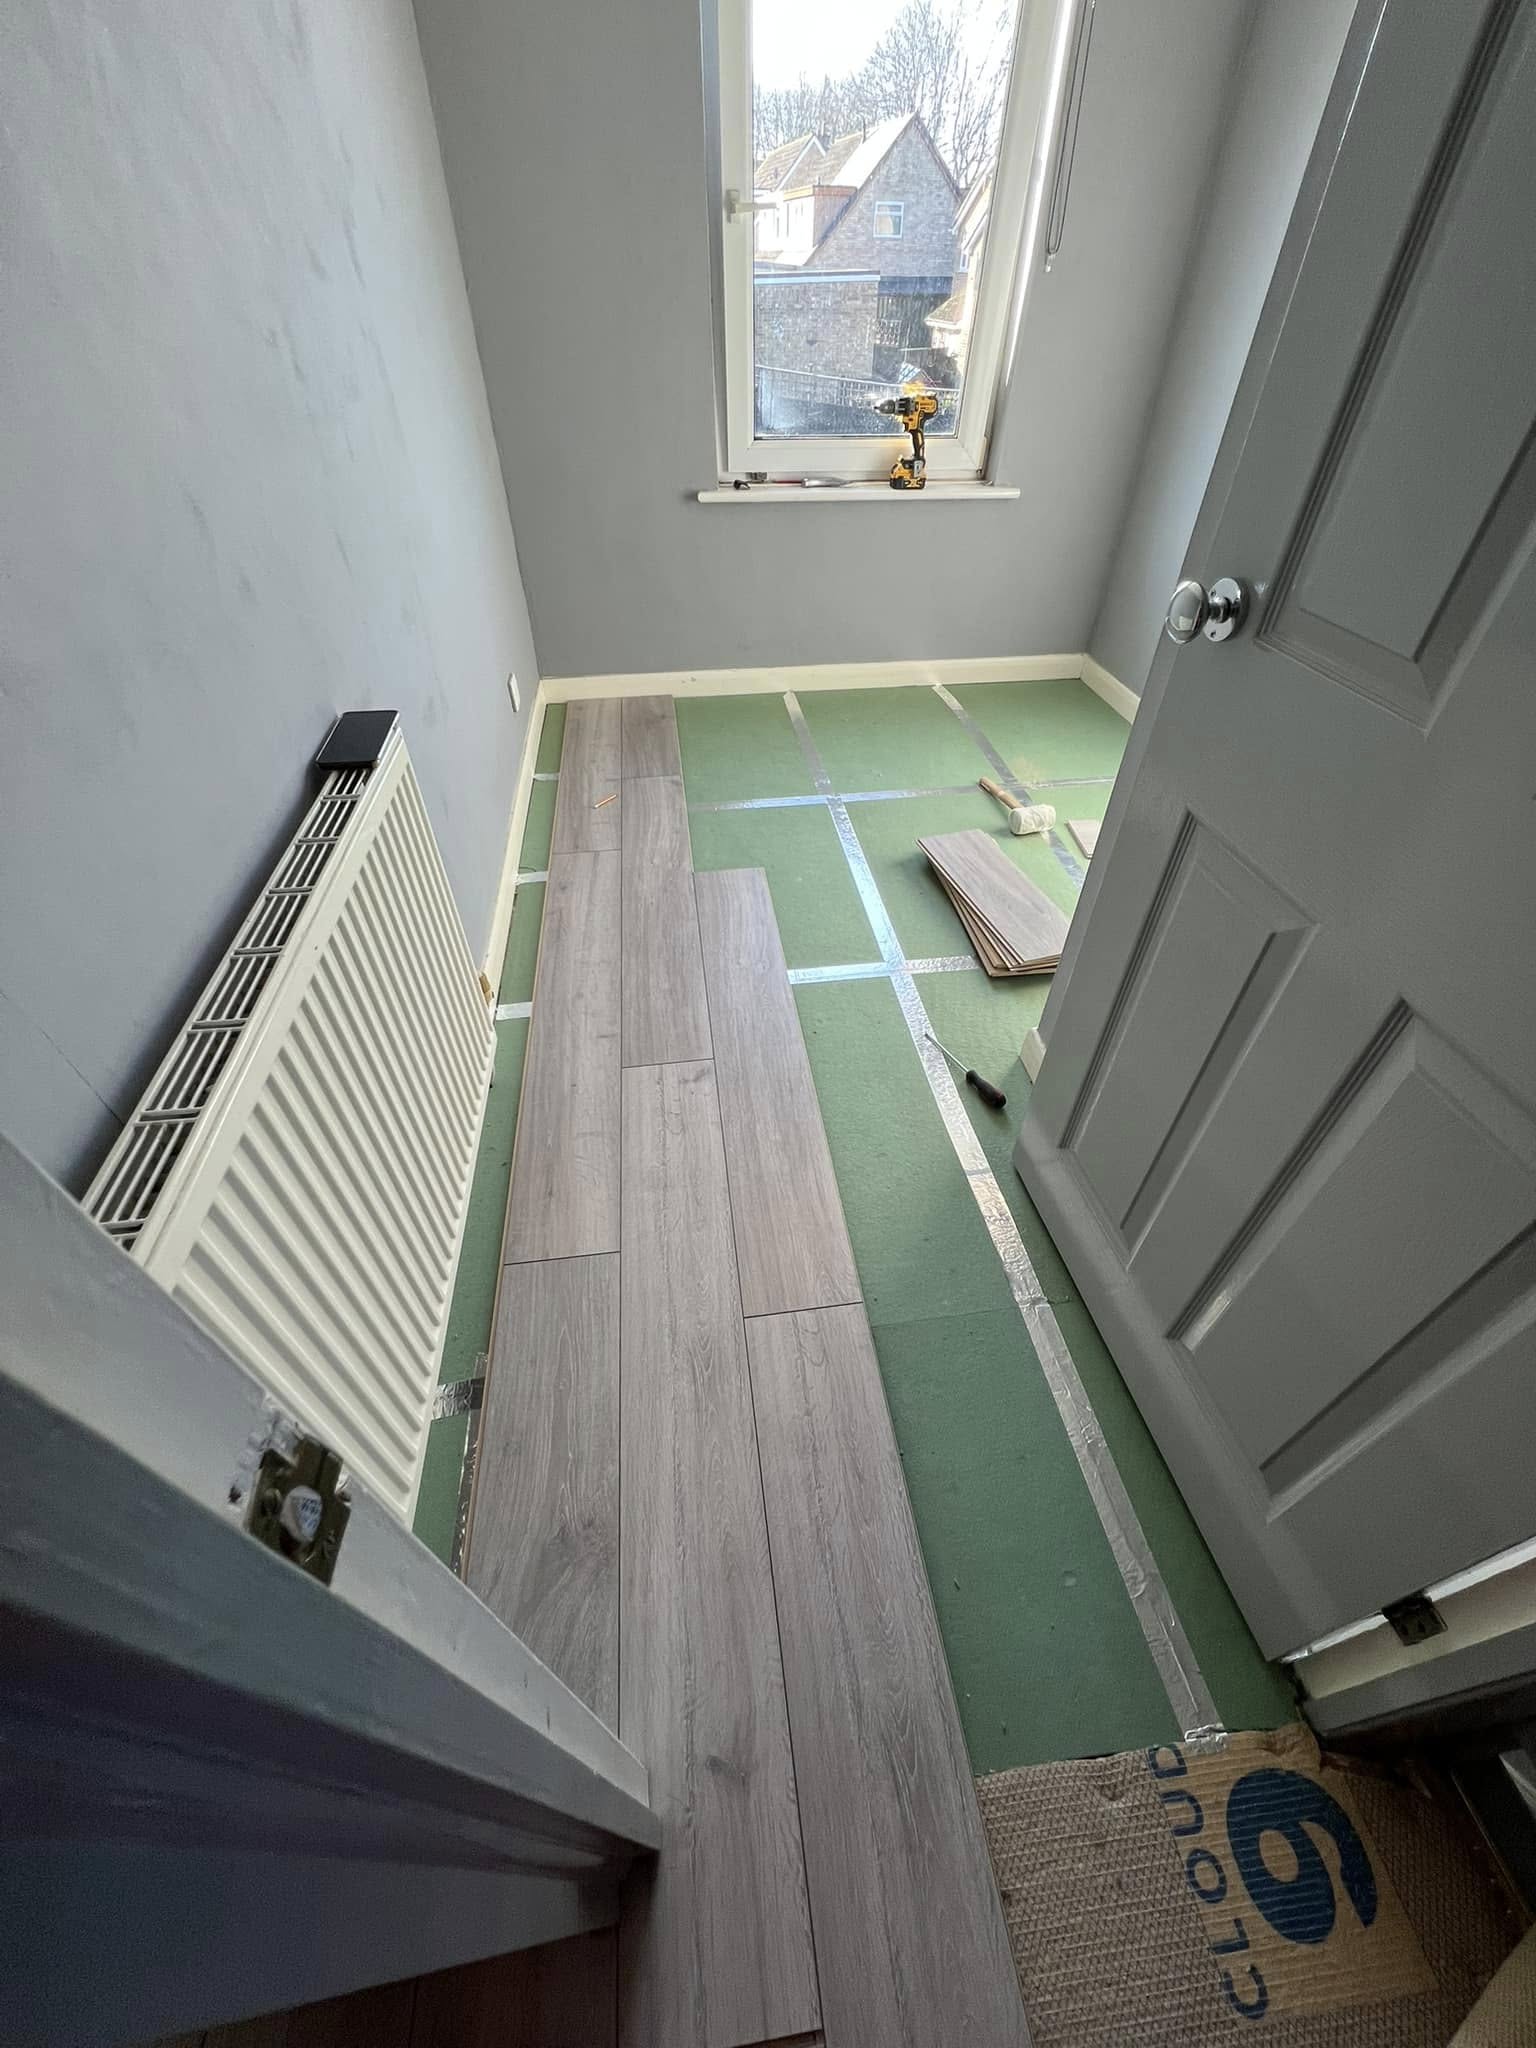
4. Installing the Underlayment
- I installed an underlayment, which is a crucial layer beneath the laminate flooring. The underlayment helps with sound reduction, moisture protection, and adds an extra layer of comfort. It also ensures a smooth surface for the laminate to sit on, improving the overall durability of the floor.
5. Laminate Floor Installation
- With the underlayment in place, I began the installation of the laminate planks. The planks were clicked together using the floating floor method, which does not require glue or nails. This method ensures that the floor can expand and contract naturally without warping.
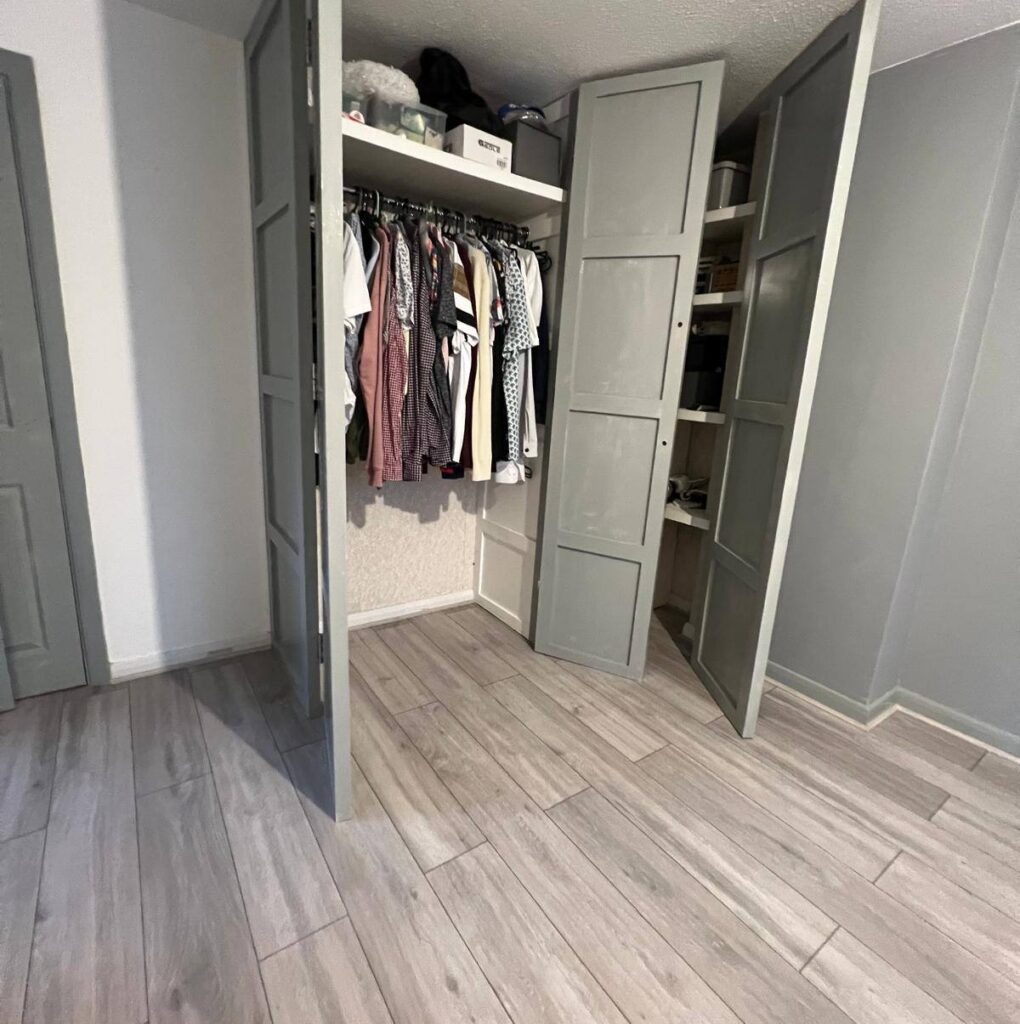
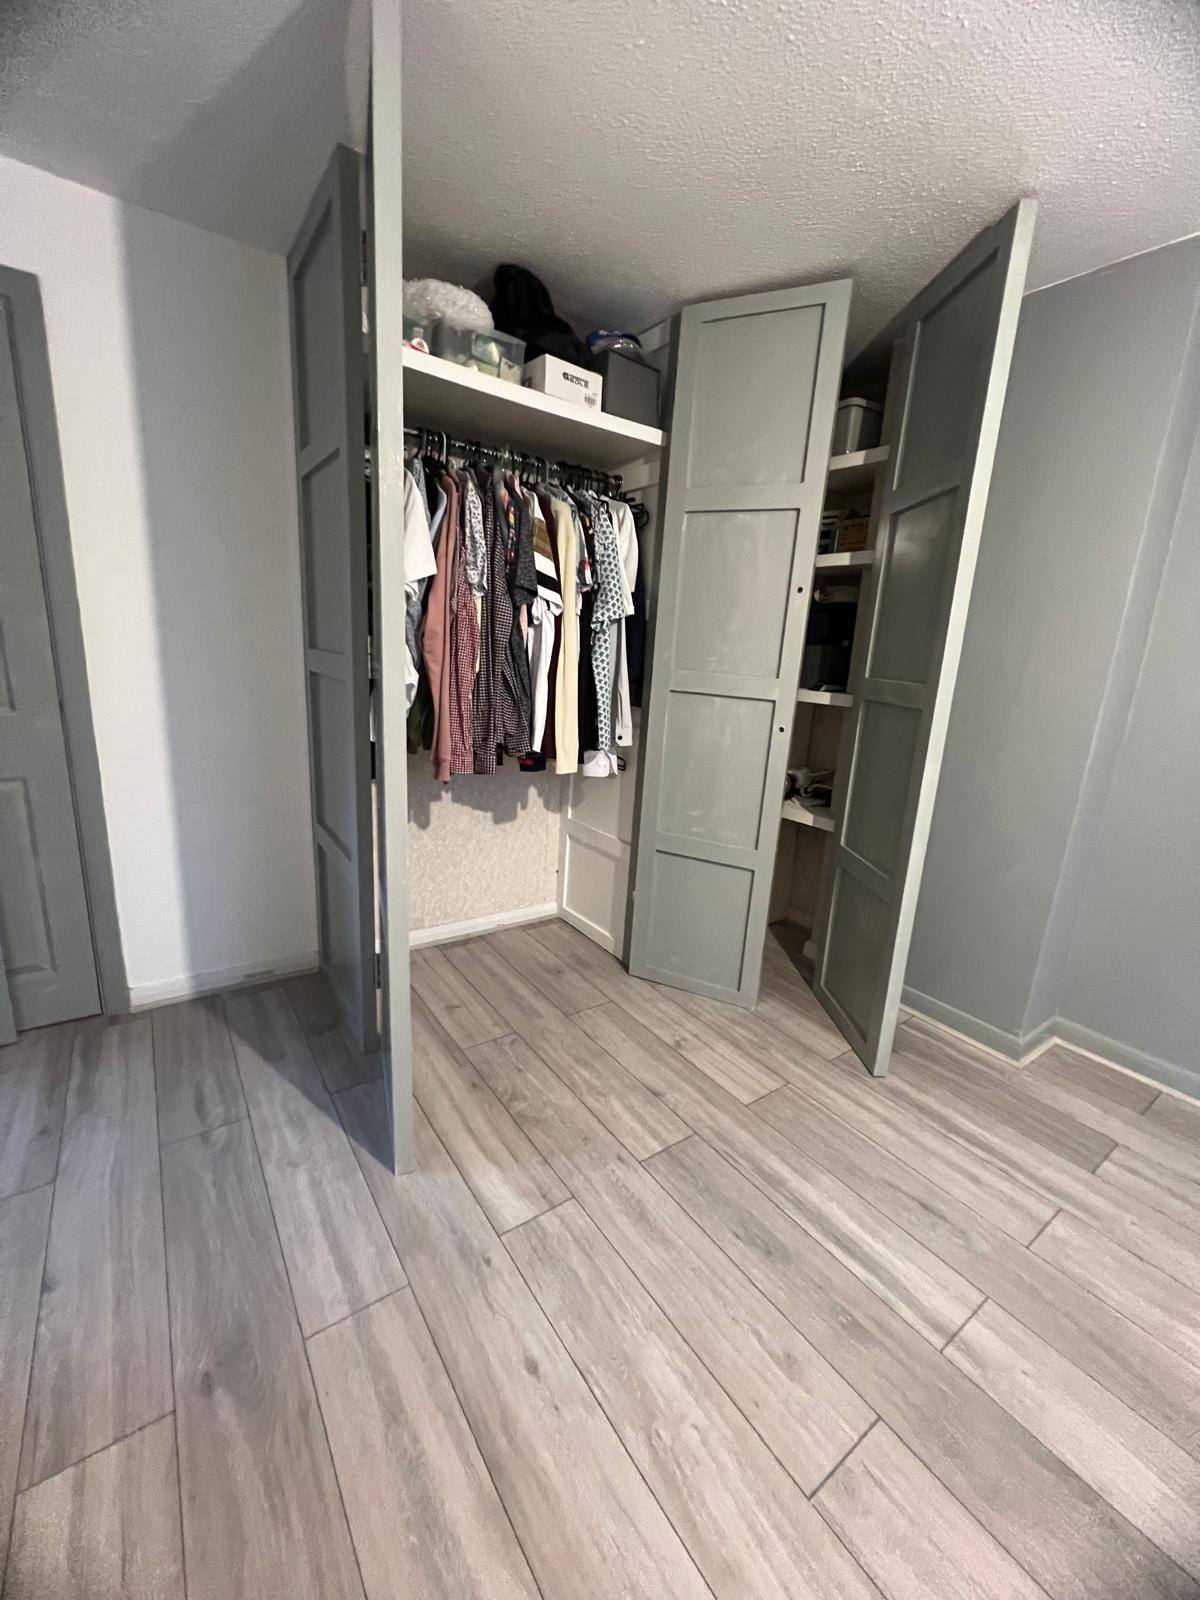
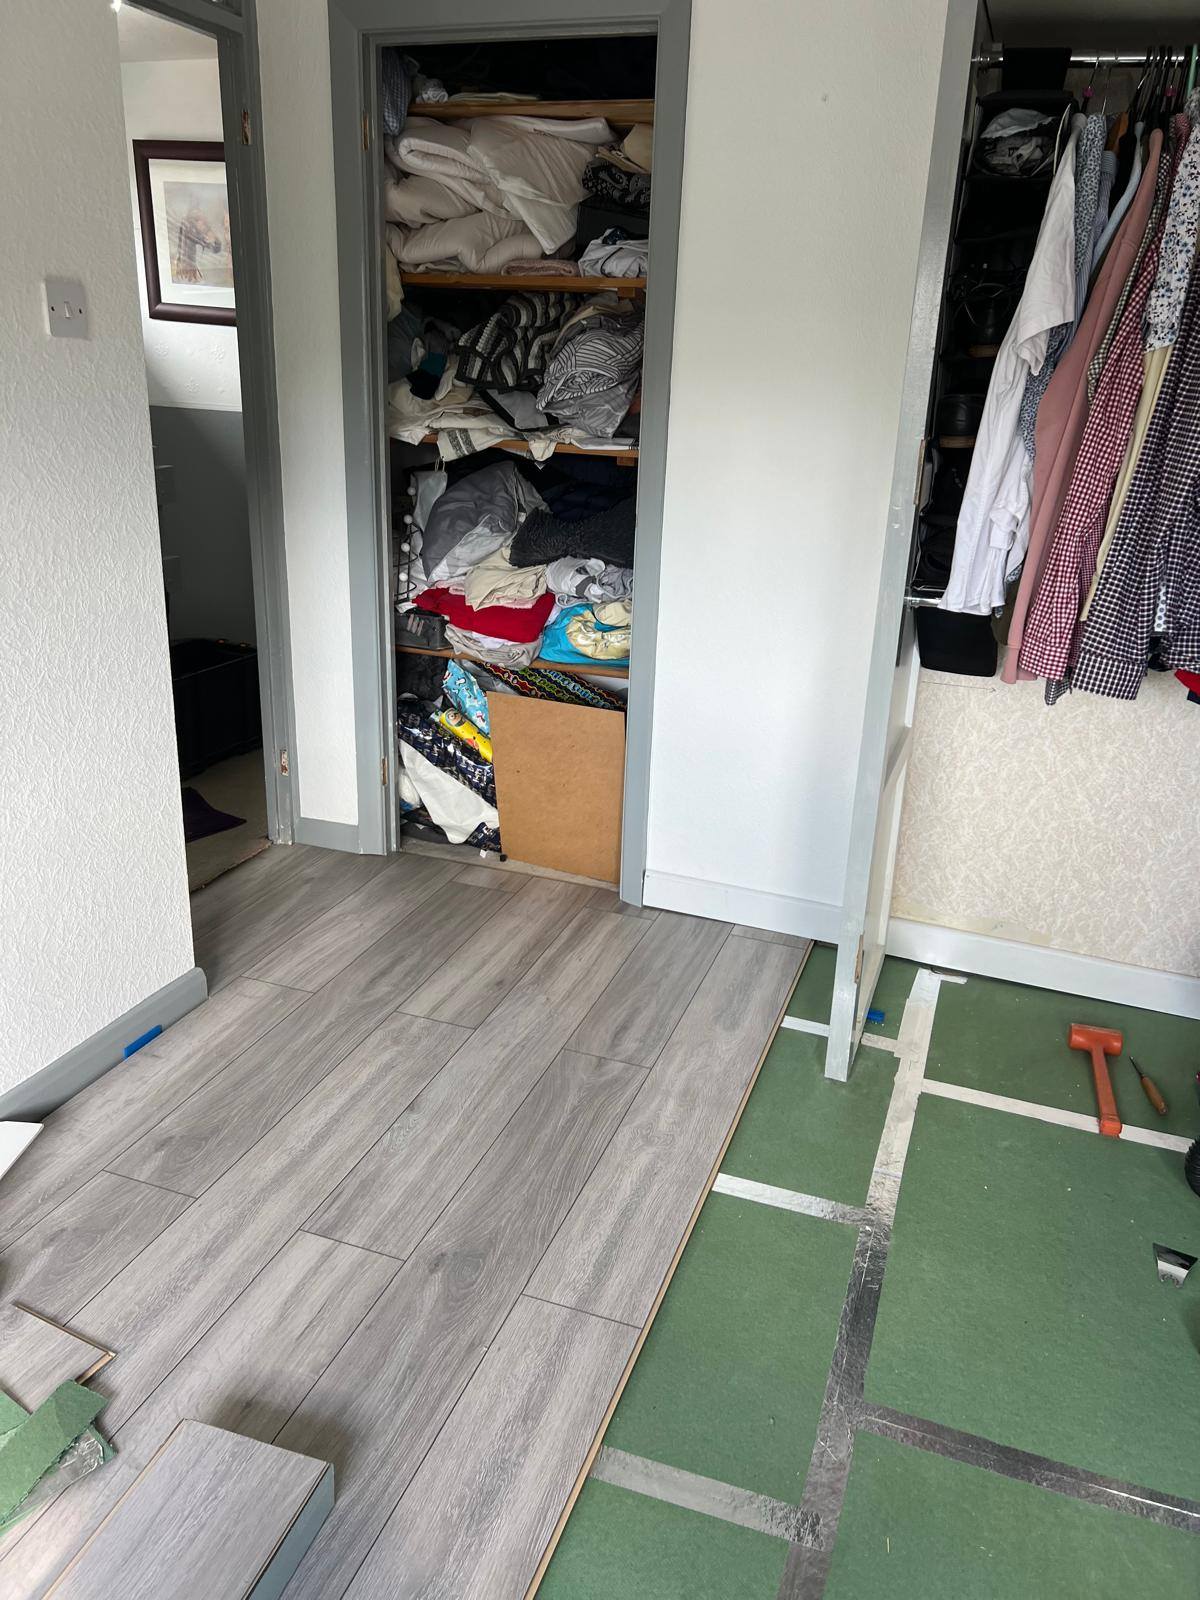
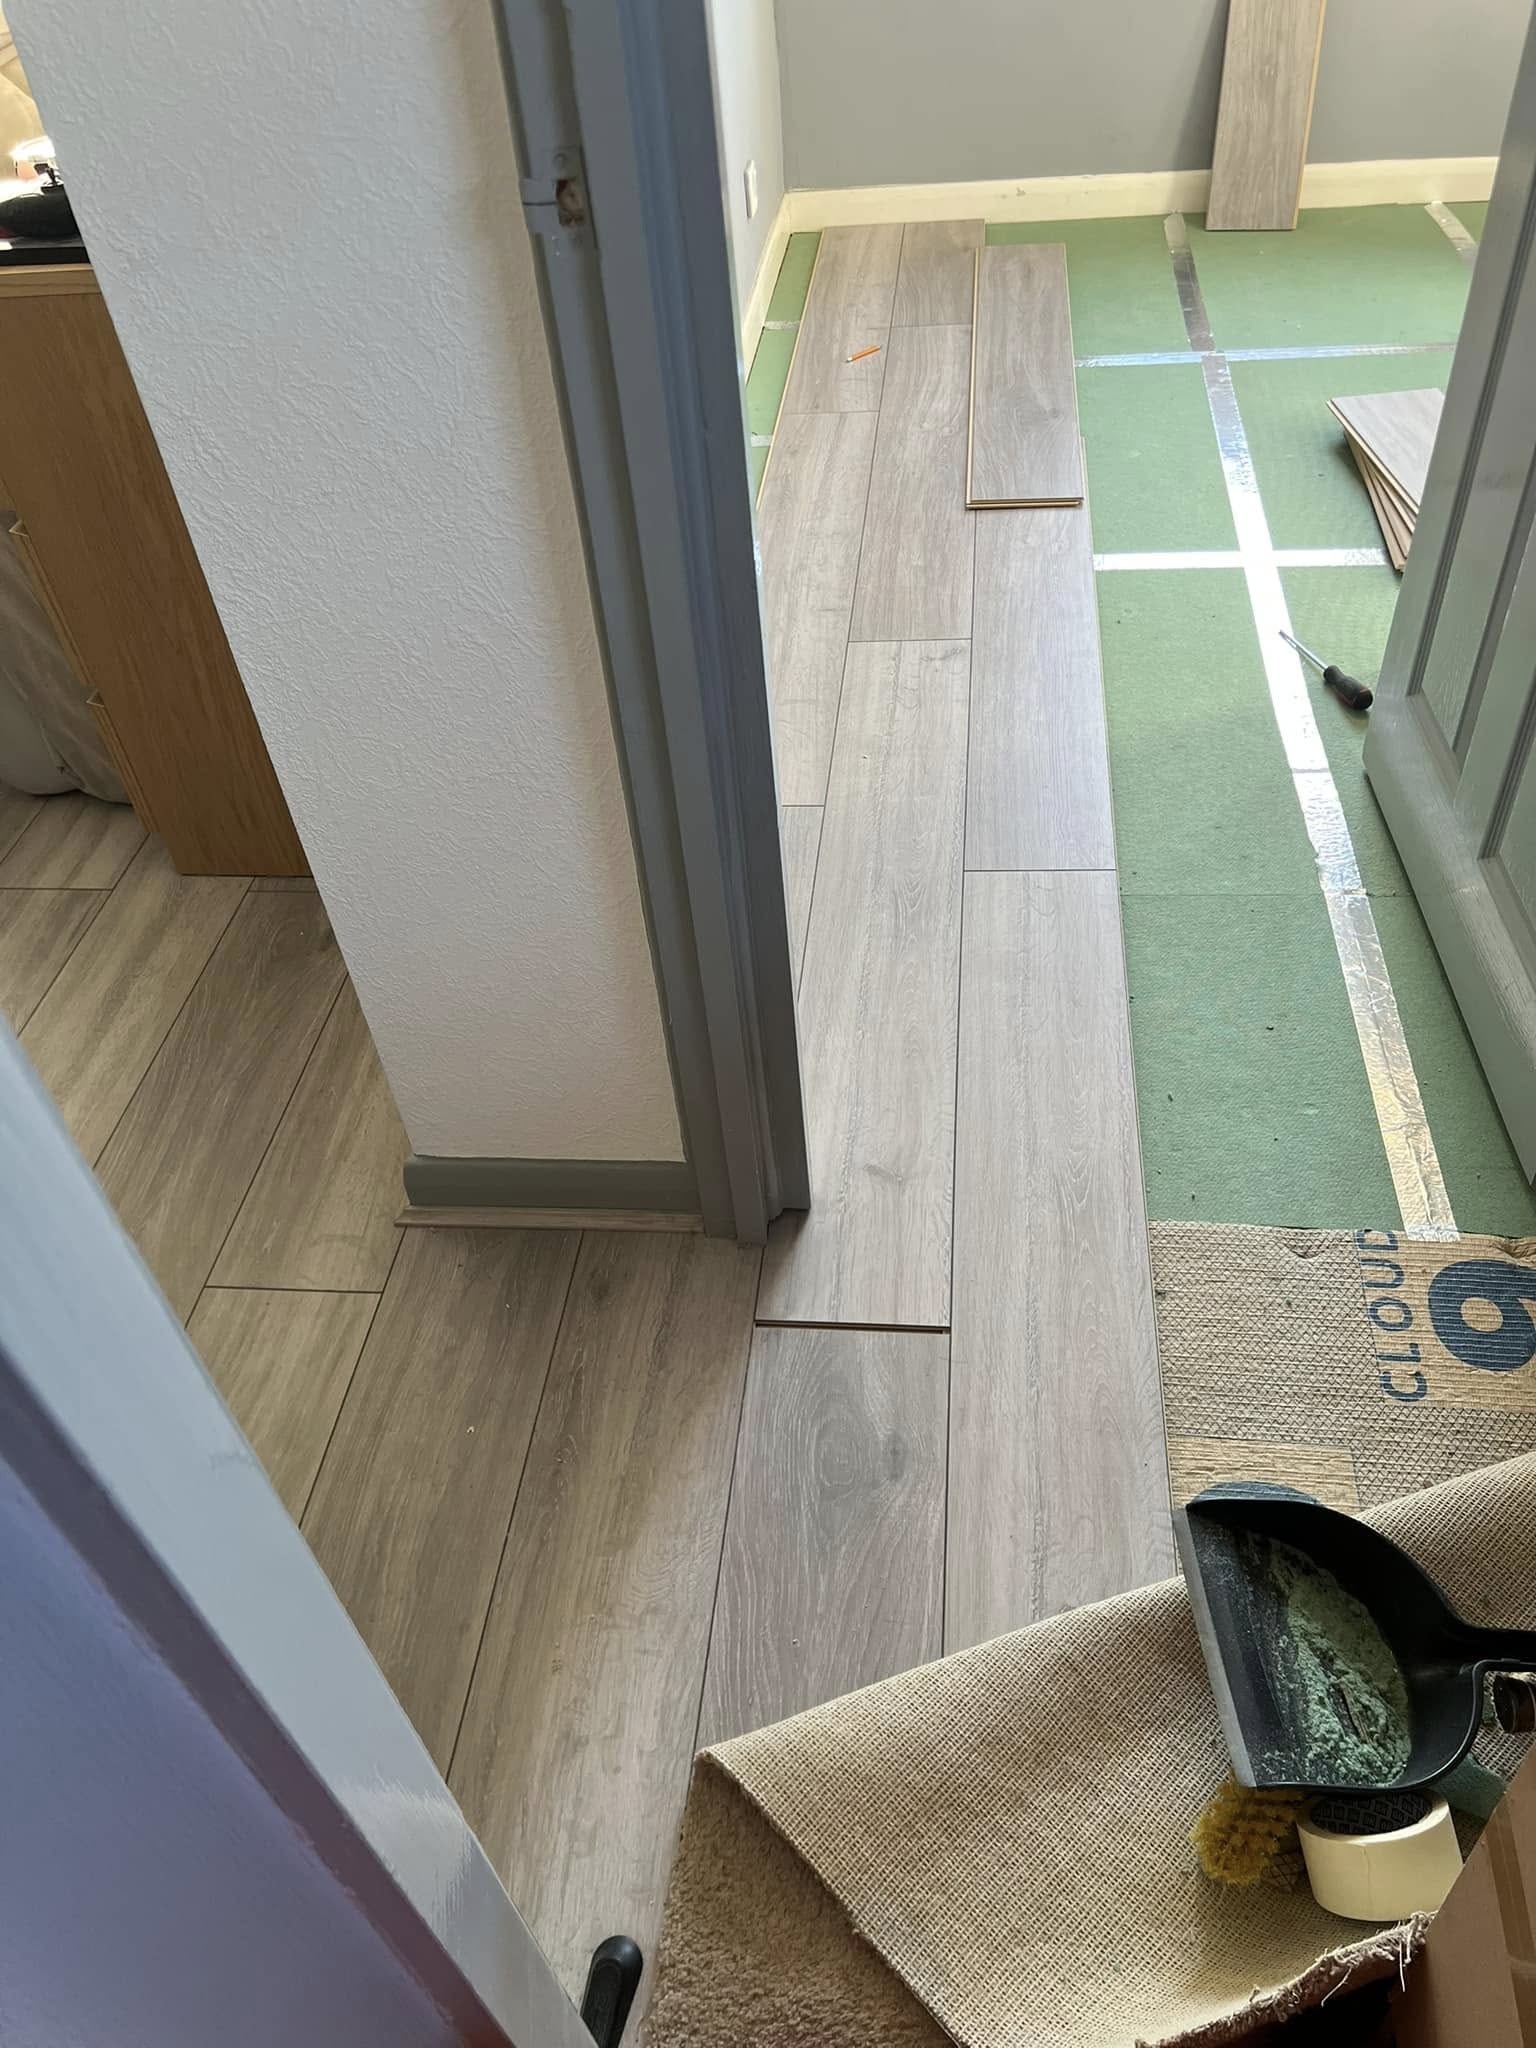
- I started from one corner of the room, working my way across and cutting planks to fit around obstacles like doorways and edges. Precision in measuring and cutting was crucial to ensure a perfect fit along the walls and around fixtures.
6. Cutting and Fitting Around Obstacles
- As I reached areas such as doorways, vents, and corners, I made precise cuts in the laminate planks to ensure a snug fit. I used a saw for clean cuts and ensured that the expansion gaps around the edges of the room were consistent.
- These gaps are essential to allow the floor to expand and contract with changes in temperature and humidity.
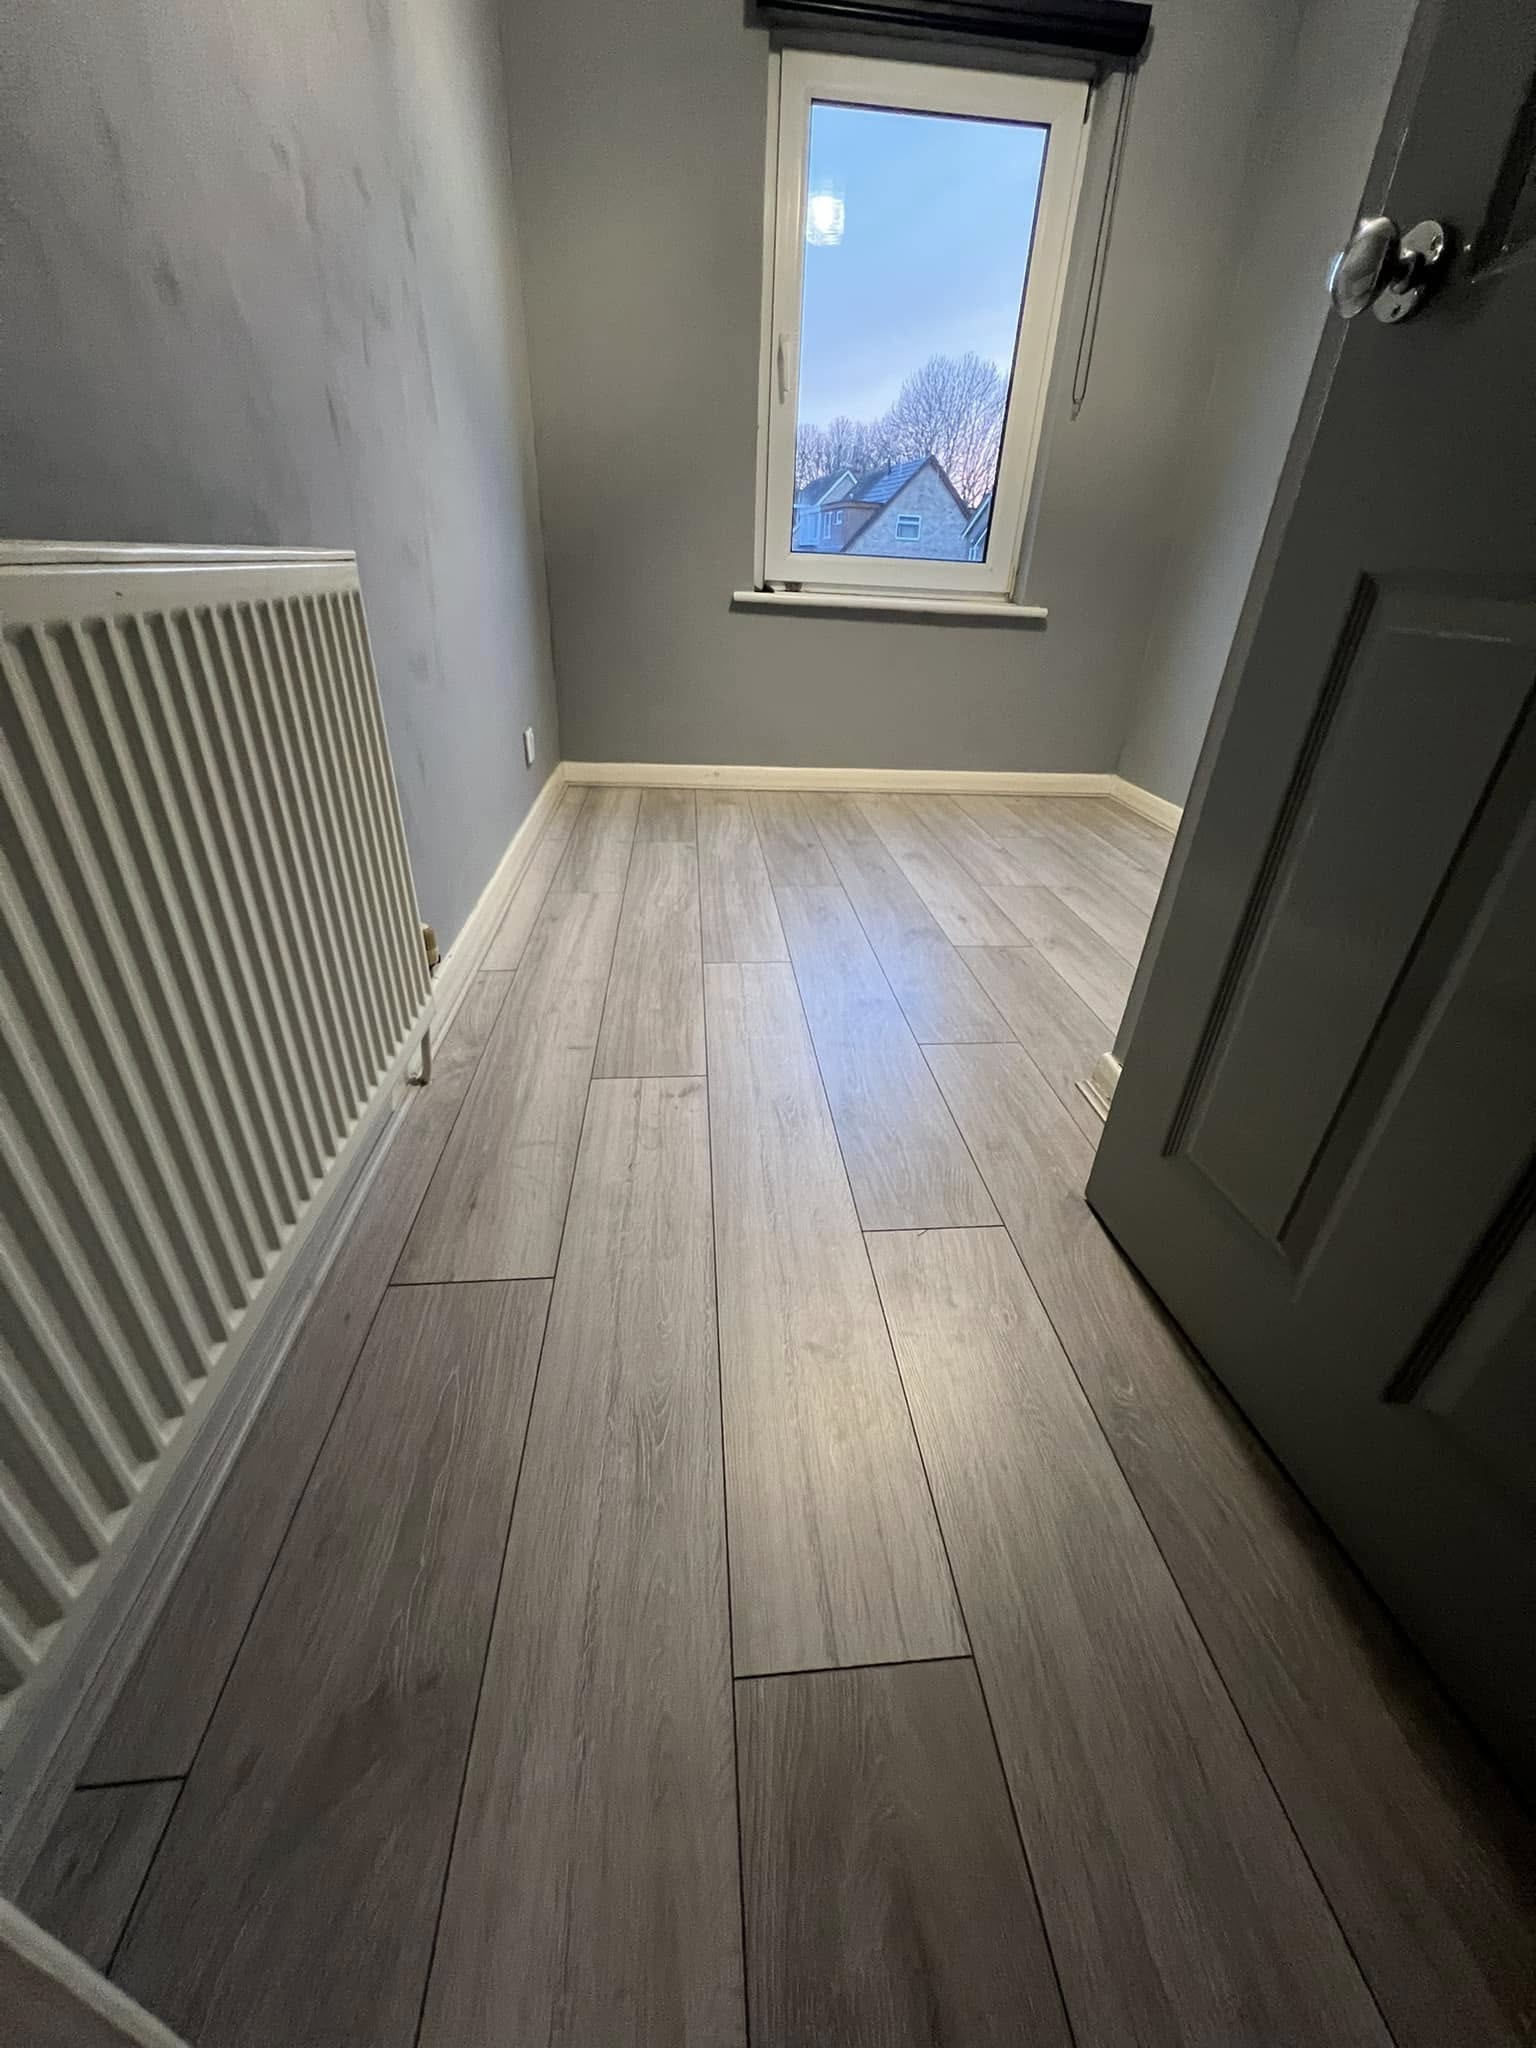
7. Installing the Trim and Transitions
- Once the laminate was fully laid, I installed the trim along the edges of the room to cover the expansion gaps. This trim gives the floor a neat and finished look.
- I also added transition strips where the laminate met other types of flooring, such as tile or carpet, ensuring a smooth transition between the different floor types.
8. Final Inspection and Touch-ups
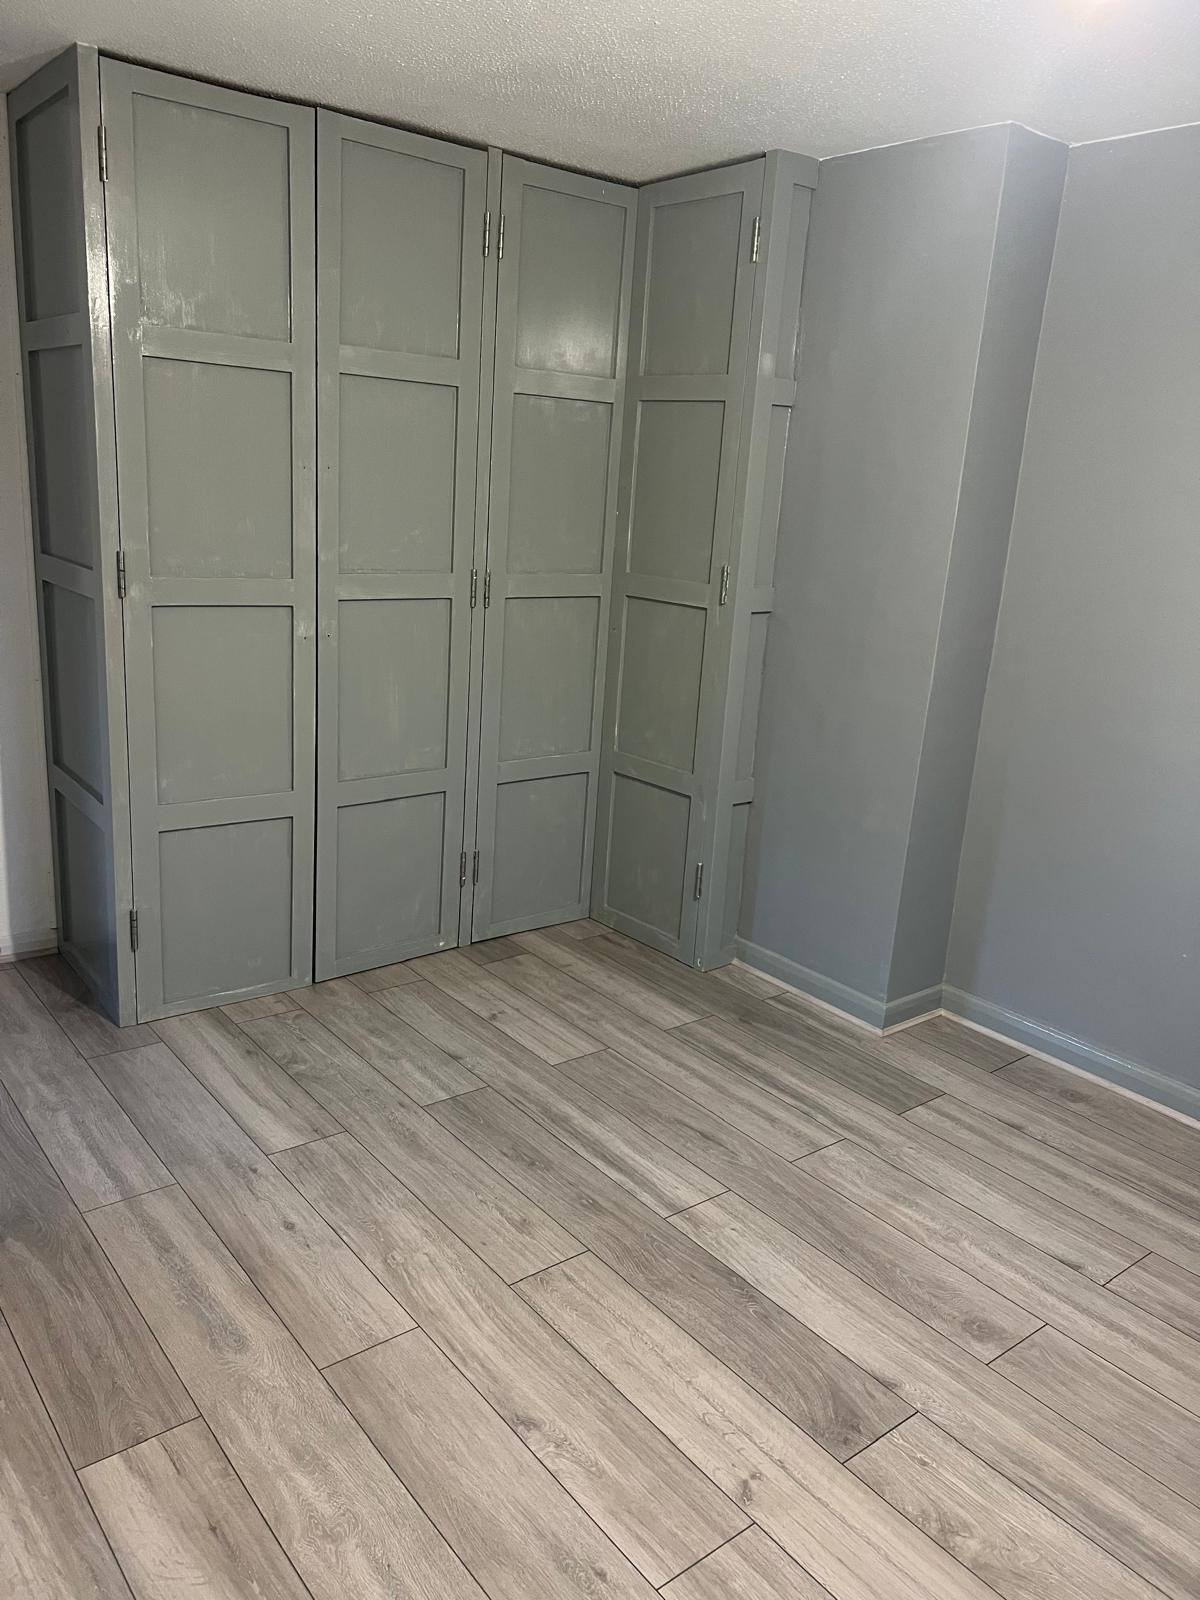
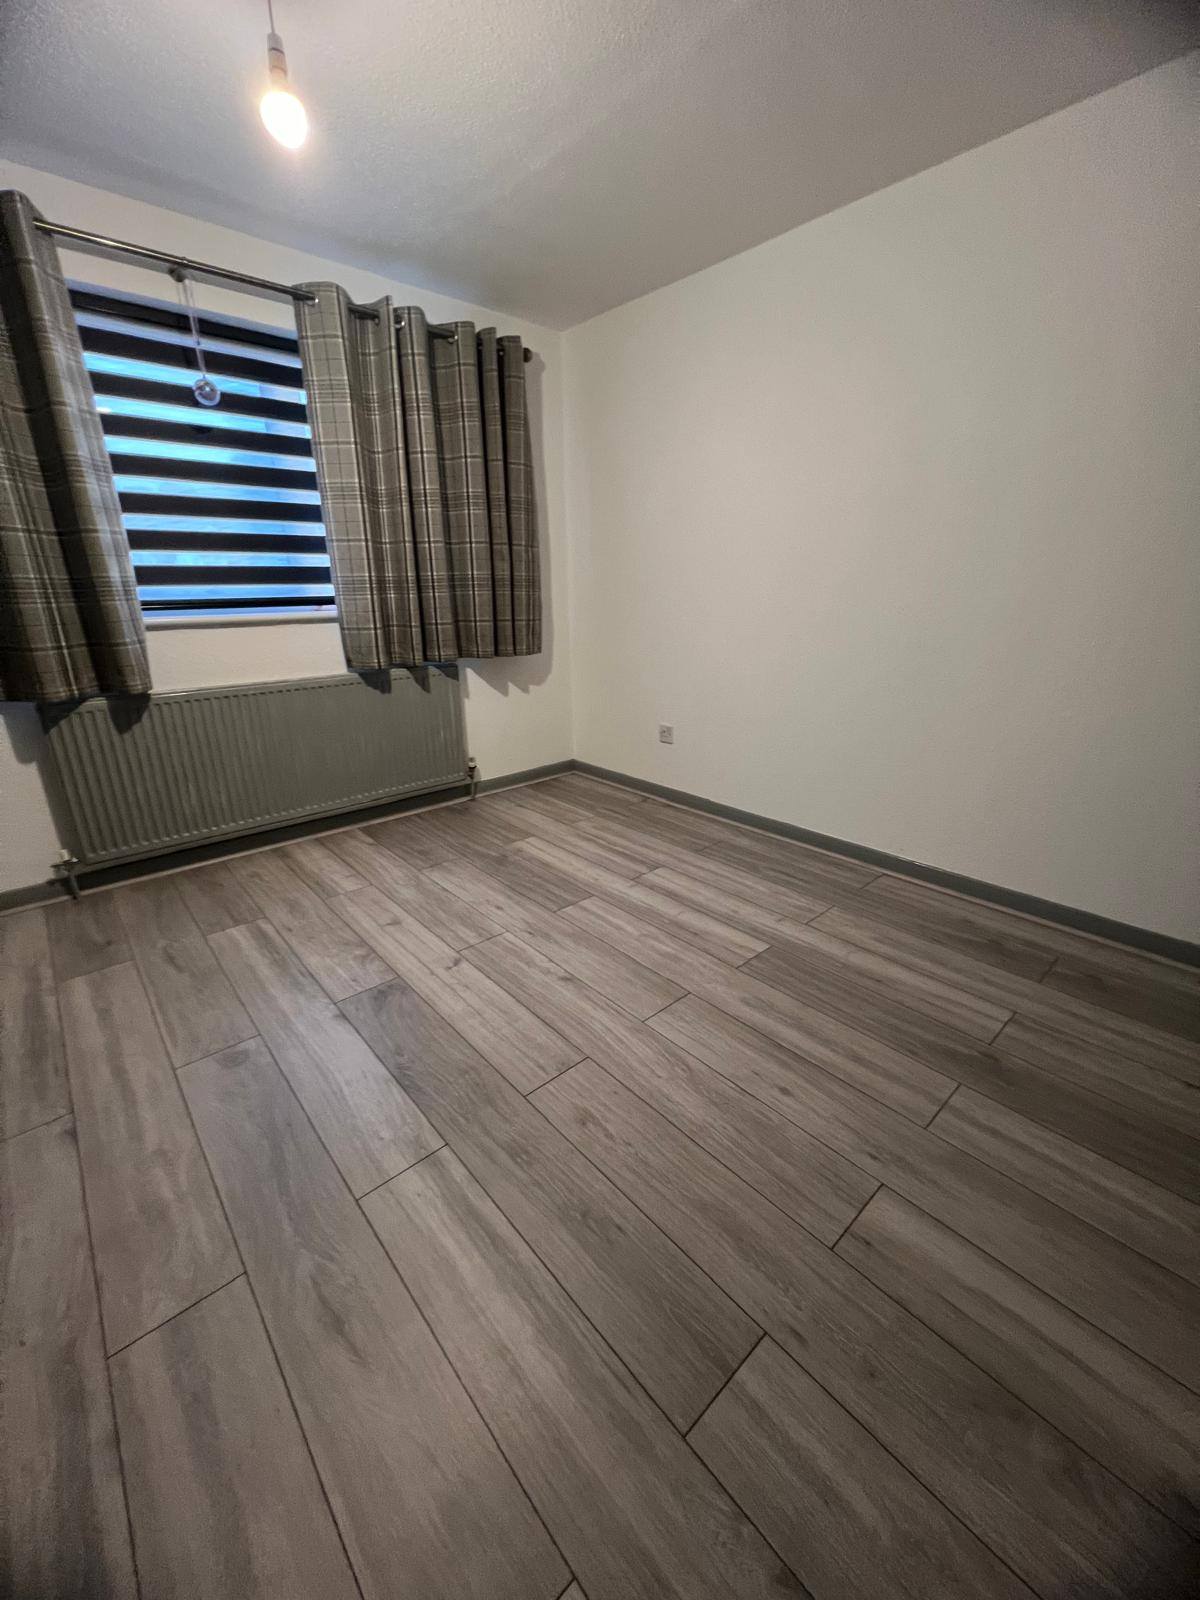
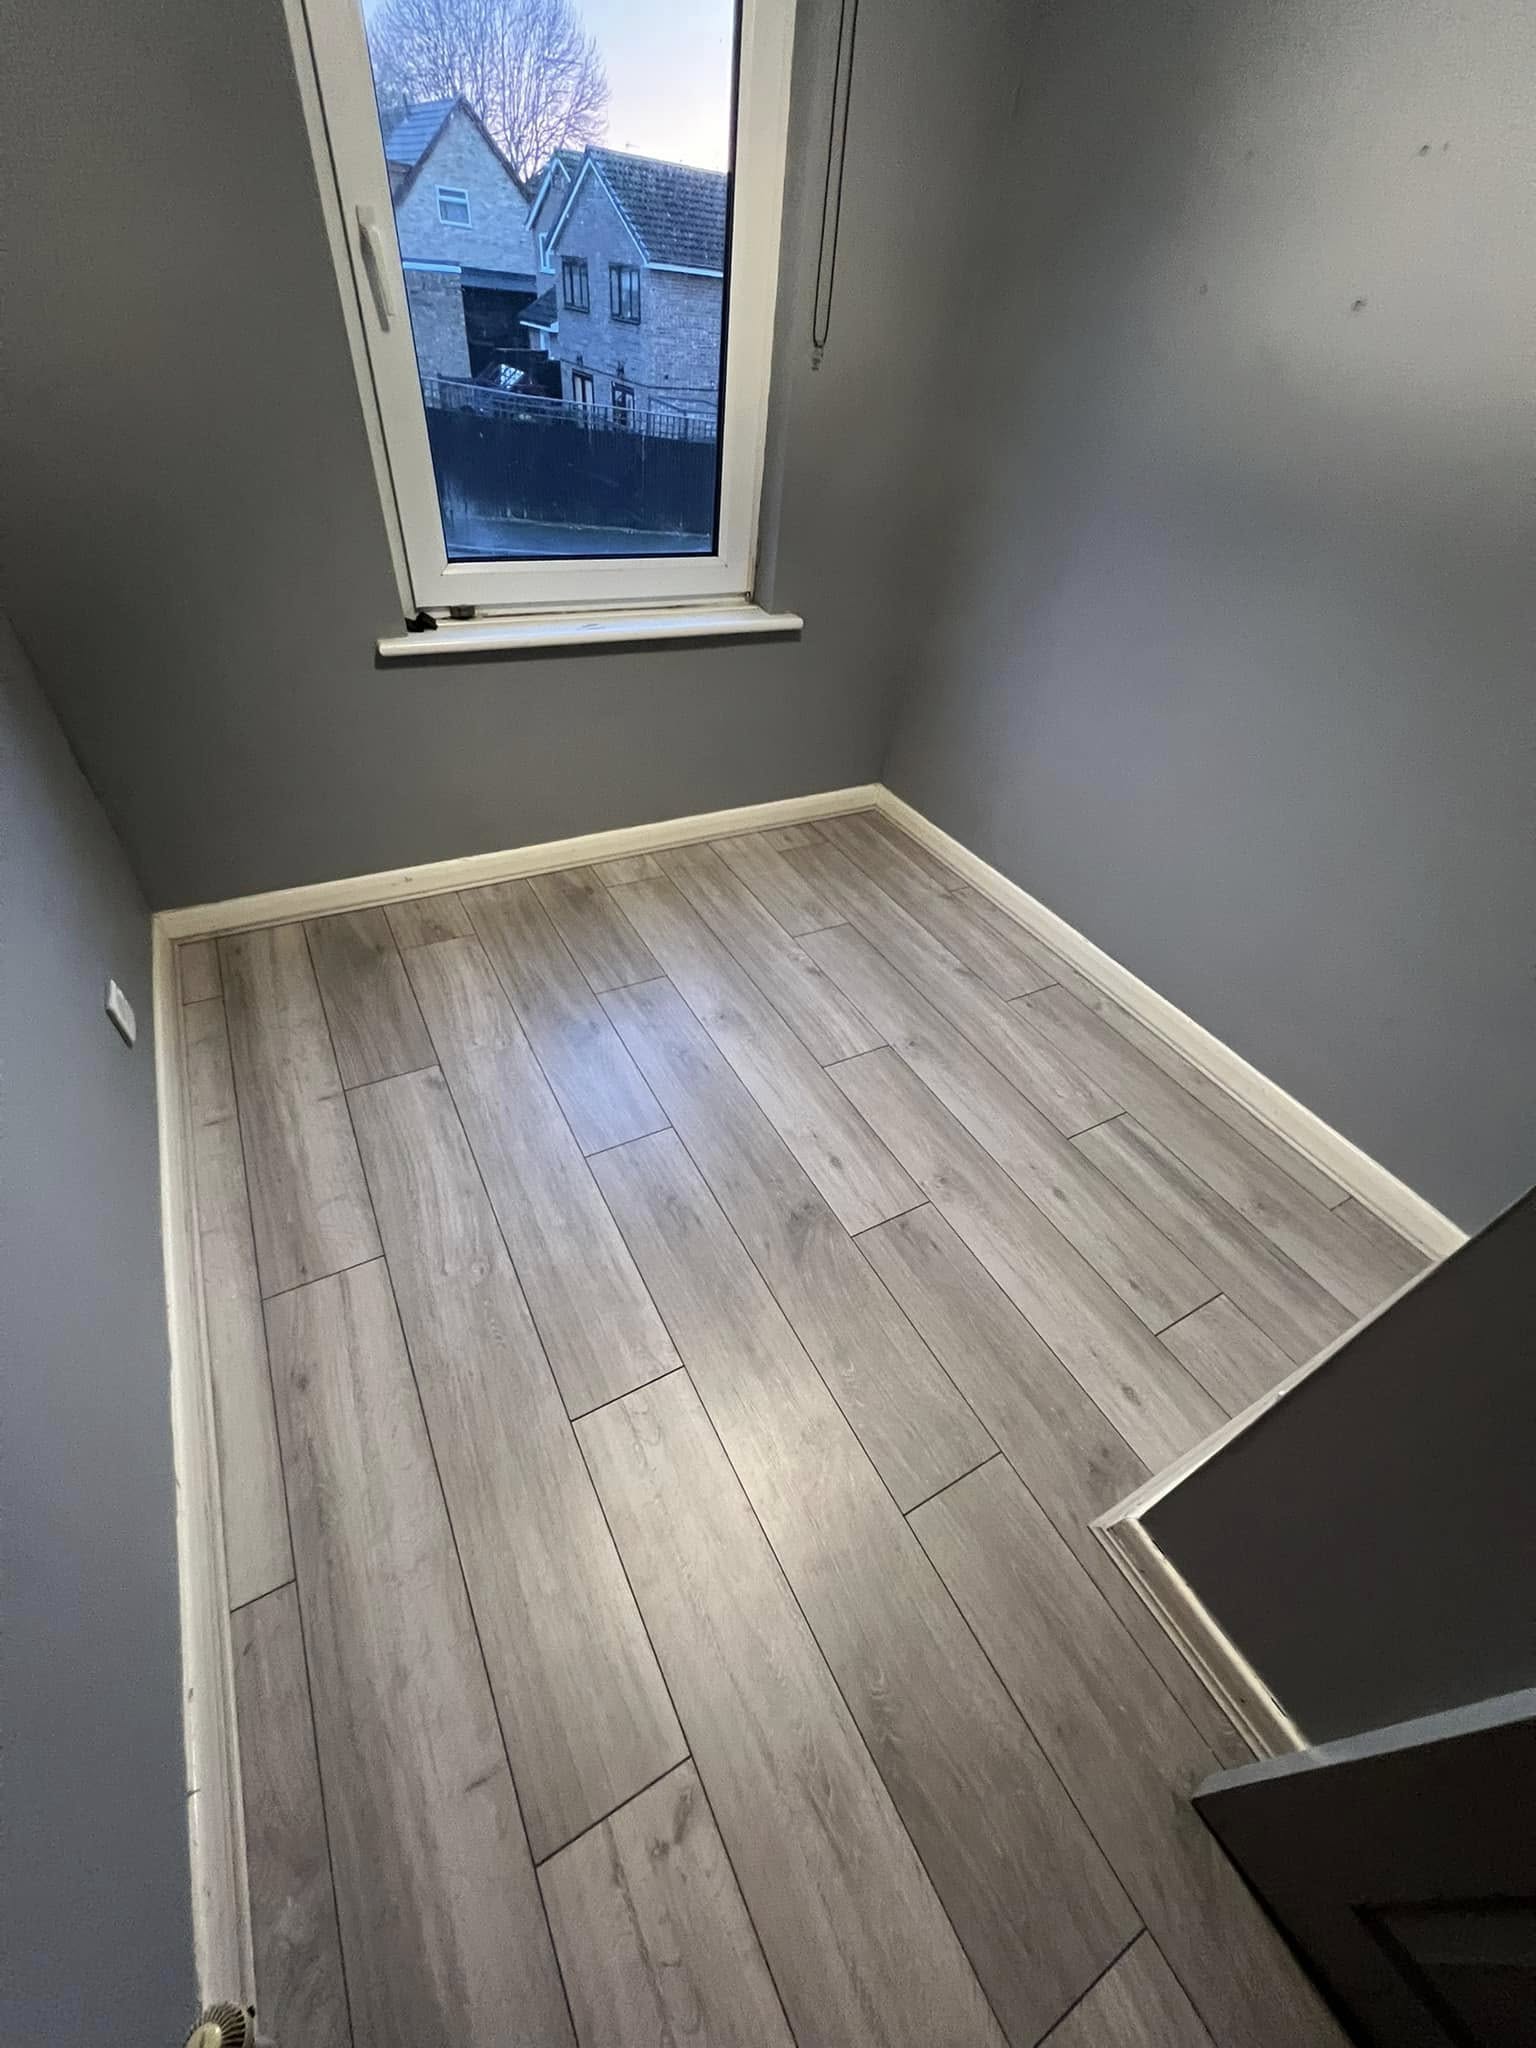
- After installation, I performed a final inspection to ensure that the laminate floor was laid correctly, with no gaps, misalignments, or imperfections.
- Any necessary touch-ups were made, and the floor was thoroughly cleaned to remove any dust or debris from the installation process.
9. Client Walkthrough and Handover
- Once the laminate floor was installed, I walked the client through the finished work, showing them how to care for the new floor to ensure its longevity. I explained the importance of avoiding excess moisture and recommended the best cleaning methods for laminate floors.
- The client was happy with the final result, and I made sure they were fully satisfied with the work.
Conclusion:
Installing a laminate floor is an excellent way to enhance the look and feel of a room without the high cost of hardwood flooring. The laminate floor not only provides a beautiful aesthetic but also offers durability and ease of maintenance. With careful preparation, precision installation, and attention to detail, the new floor will serve the client for years to come, offering both style and functionality.