
I recently completed a private job installing a cladding gate for a client. This project involved creating a secure, stylish, and durable gate with a cladding finish, perfect for enhancing the privacy and aesthetics of the property.
1. Initial Consultation and Design
- The process started with a consultation with the client to understand their requirements. They wanted a gate that matched the existing outdoor design, was durable, and provided additional privacy.
- I worked with the client to design the gate, choosing the type of cladding material (e.g., timber, composite, or metal) and deciding on the size and style that best suited their space and needs.
2. Measurement and Material Selection
- After confirming the design, I took precise measurements of the space where the gate would be installed. Ensuring the gate fits perfectly within the frame is crucial for both security and functionality.
- I then sourced high-quality cladding materials that would provide both durability and a cohesive look with the client’s existing fence or outdoor structures.
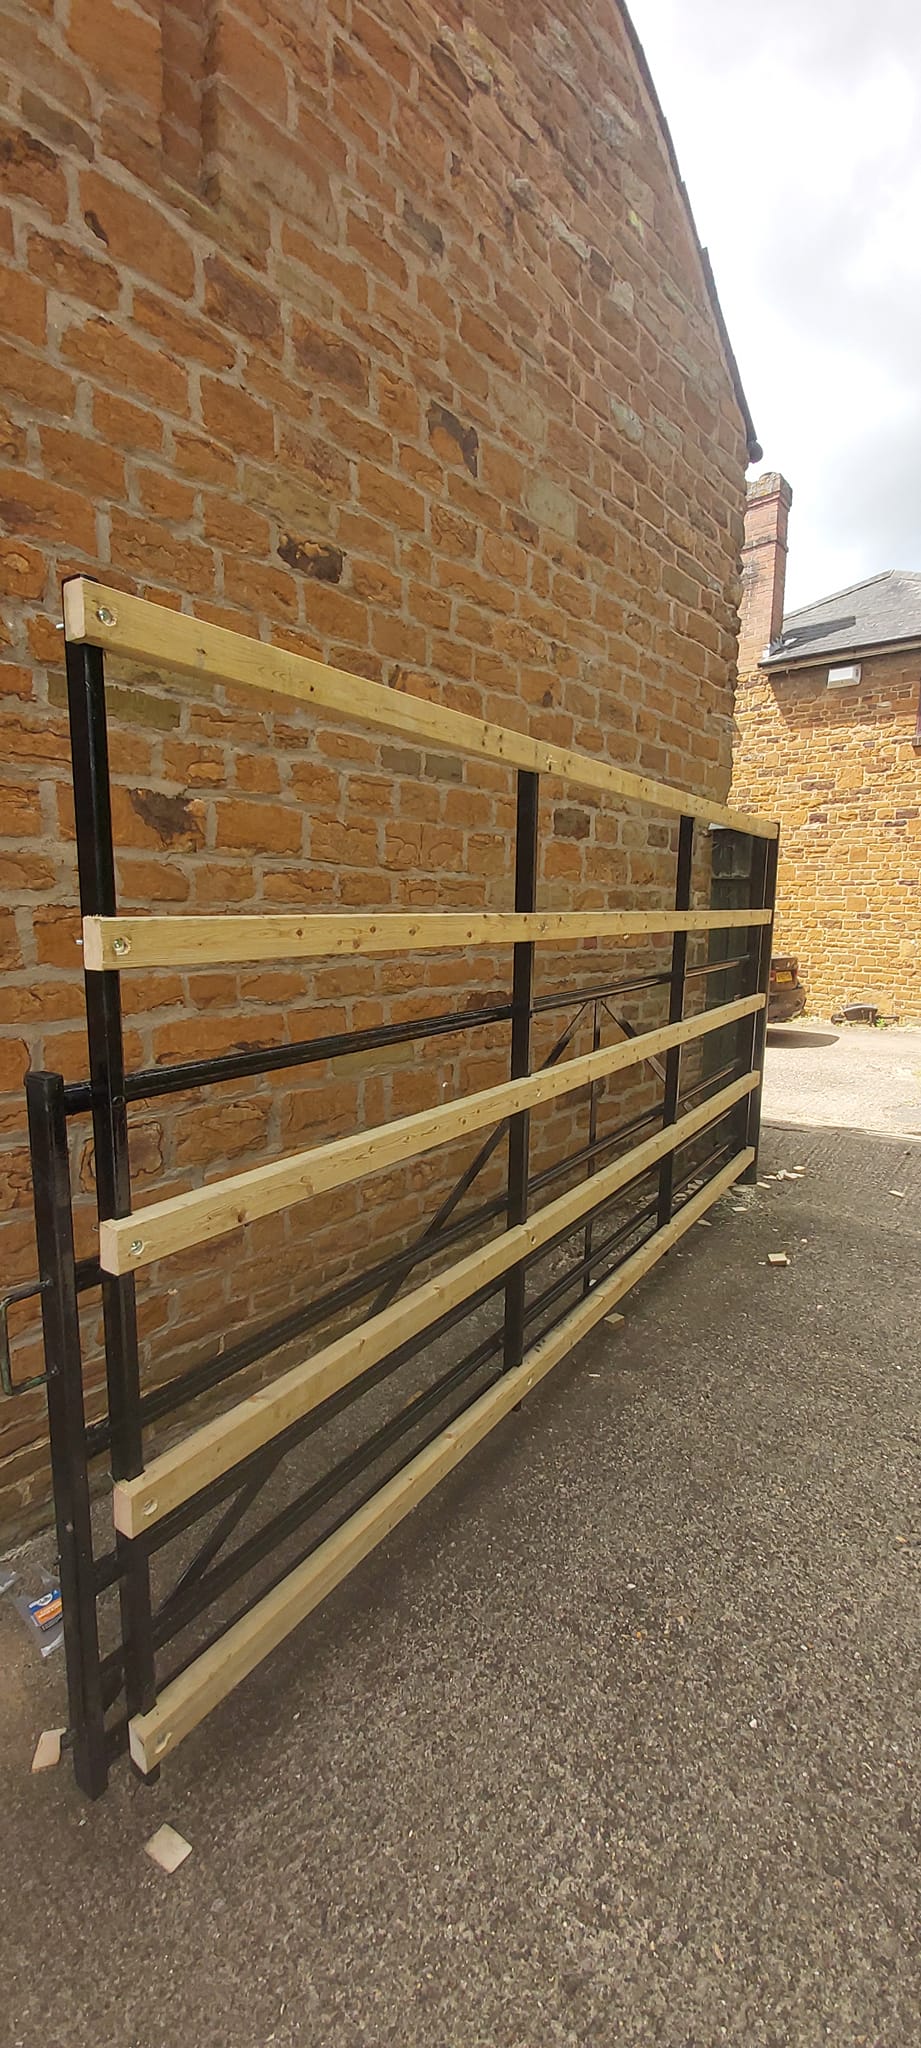
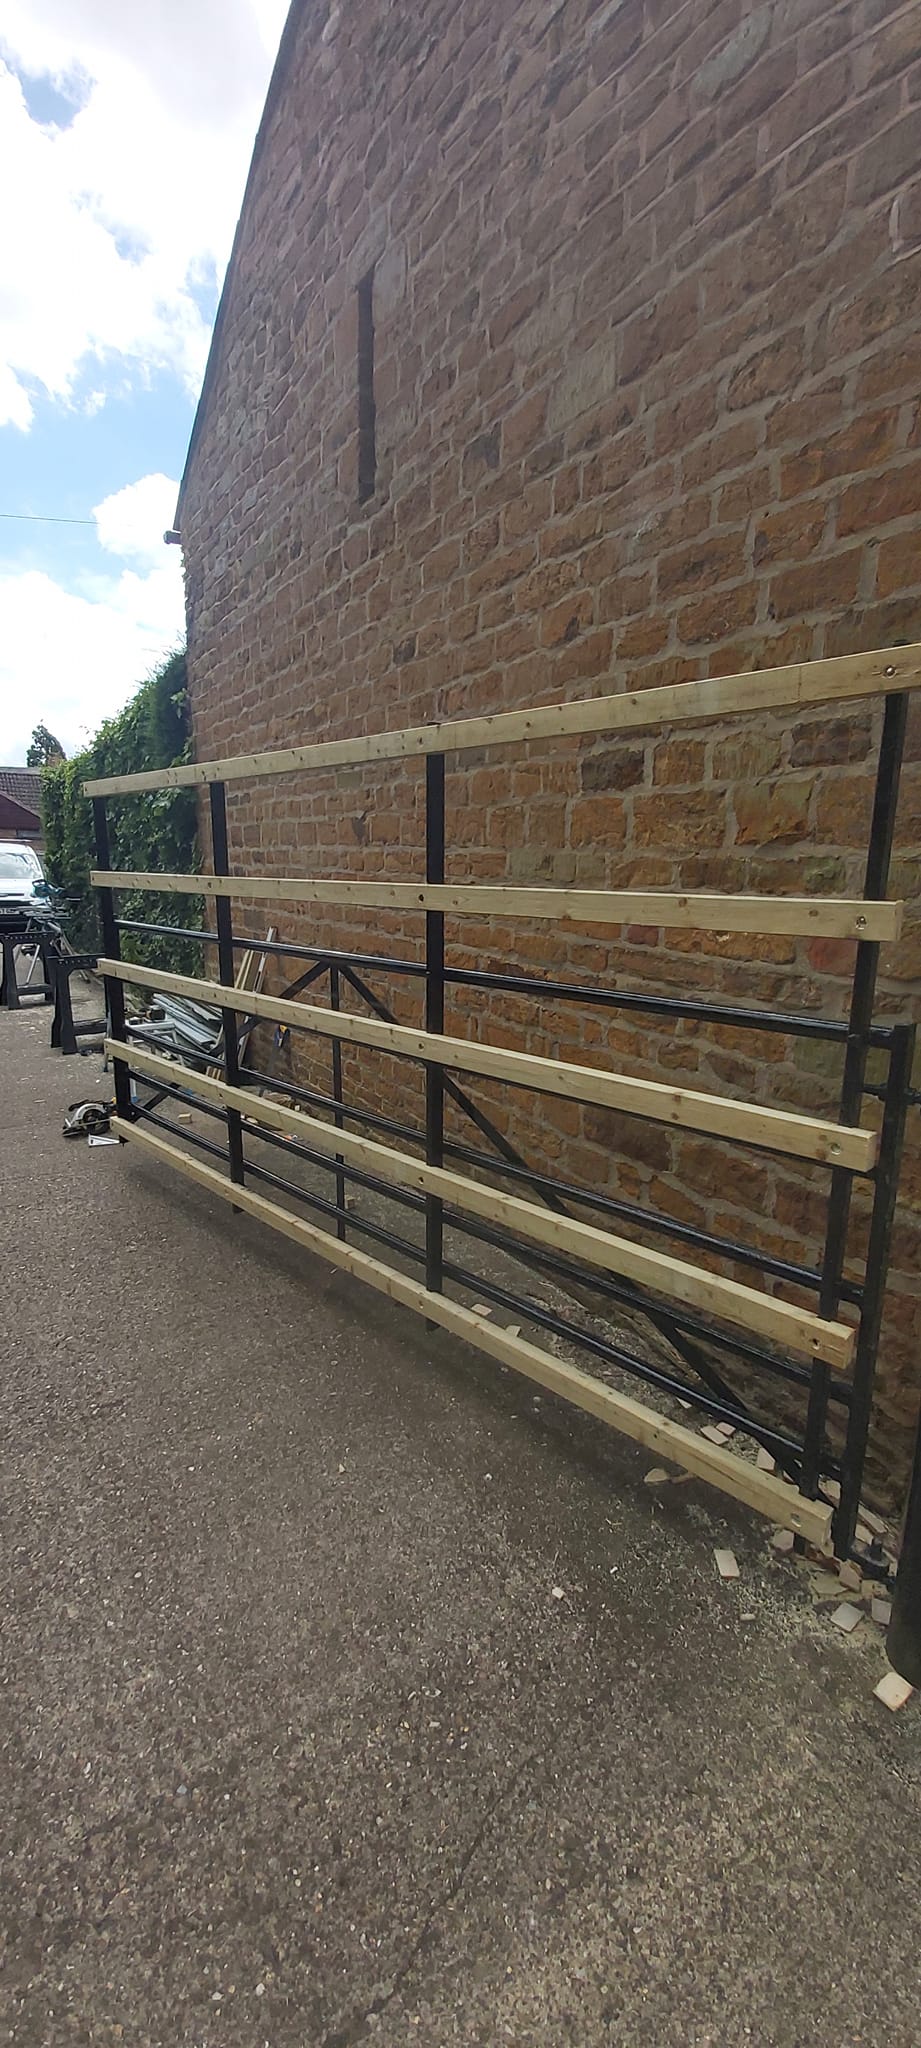
3. Frame Construction
- I built the frame of the gate, ensuring it was sturdy and secure. The frame needed to be strong enough to support the cladding and withstand weather conditions, especially if it was an exterior gate.
- I also ensured the frame was properly aligned and square to ensure the gate would open and close smoothly.
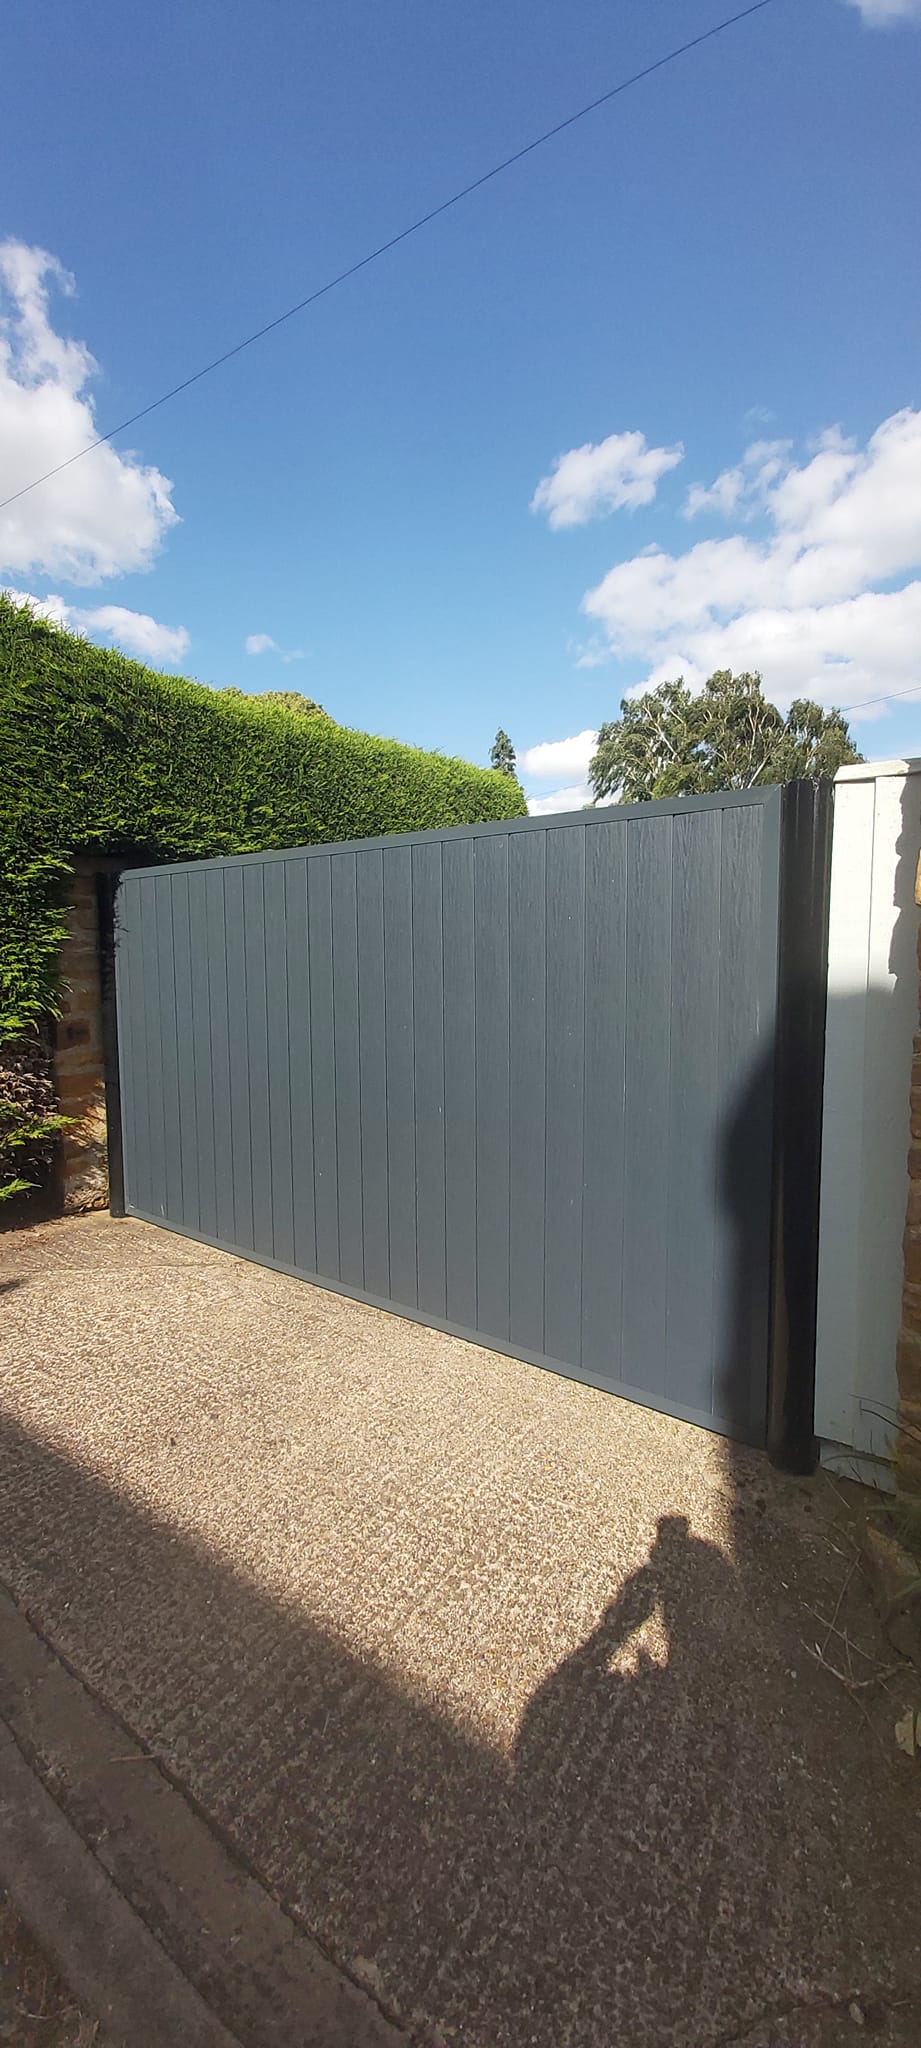
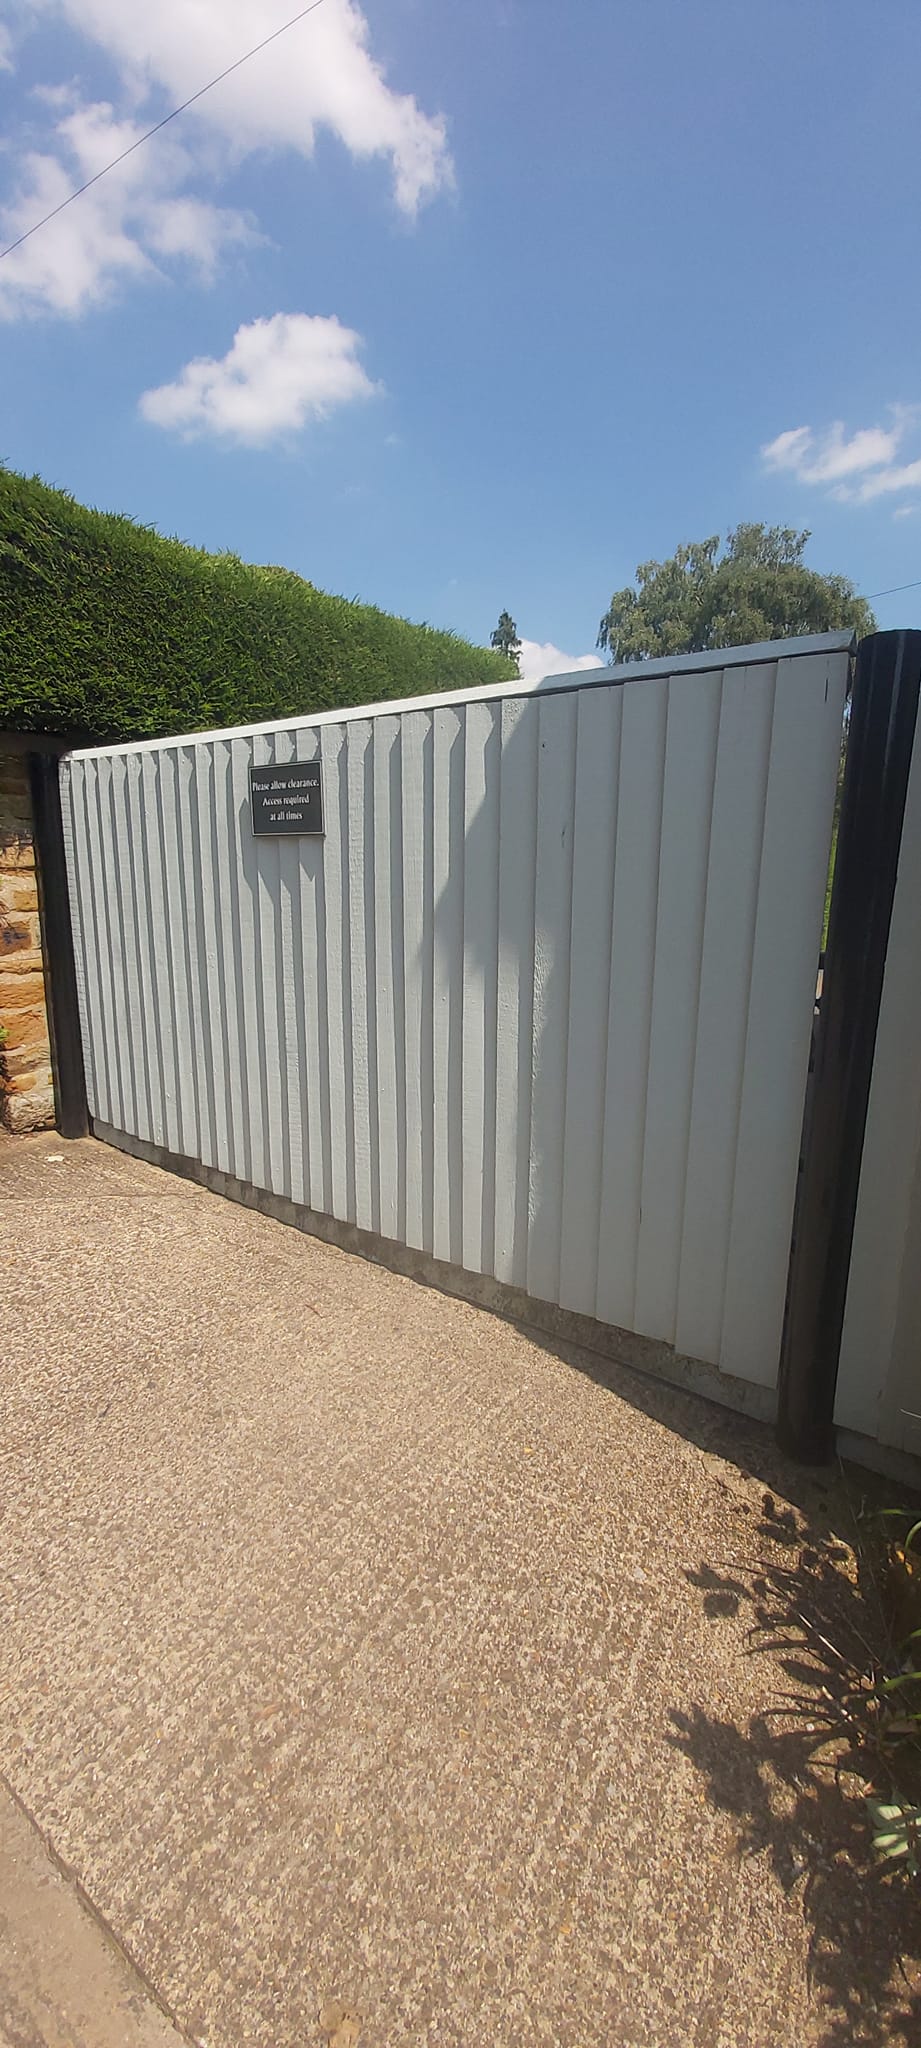
4. Cladding Installation
- Once the frame was ready, I began attaching the cladding. I carefully positioned each piece of cladding on the gate, making sure they were securely fixed and aligned.
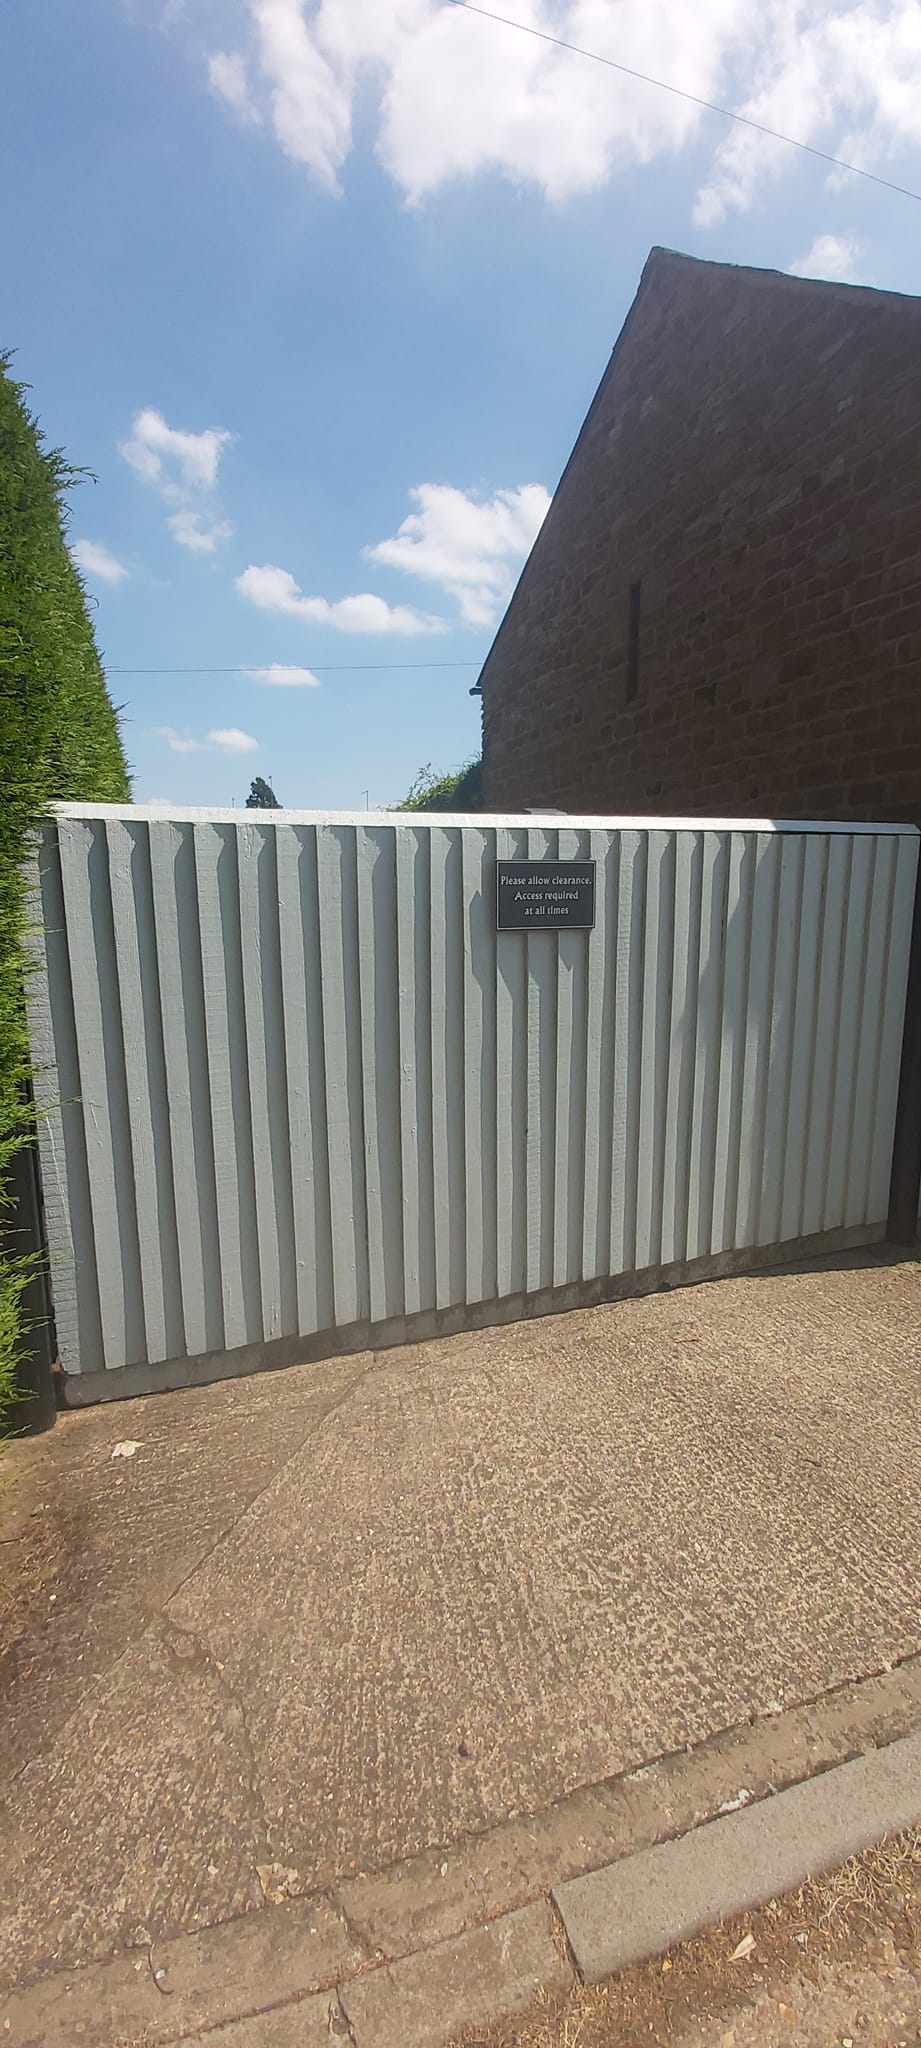
- For a more polished look, I used finishing techniques like staining, painting, or sealing the cladding to protect it from the elements and to give it an appealing finish.
5. Hinges, Locking Mechanisms, and Hardware
- After the cladding was complete, I installed high-quality hinges, a locking mechanism, and any additional hardware required for security. This included ensuring the gate would swing open and closed without obstruction.
- For security, I also made sure the locking mechanism was easy to operate but secure enough to keep the gate closed when needed.
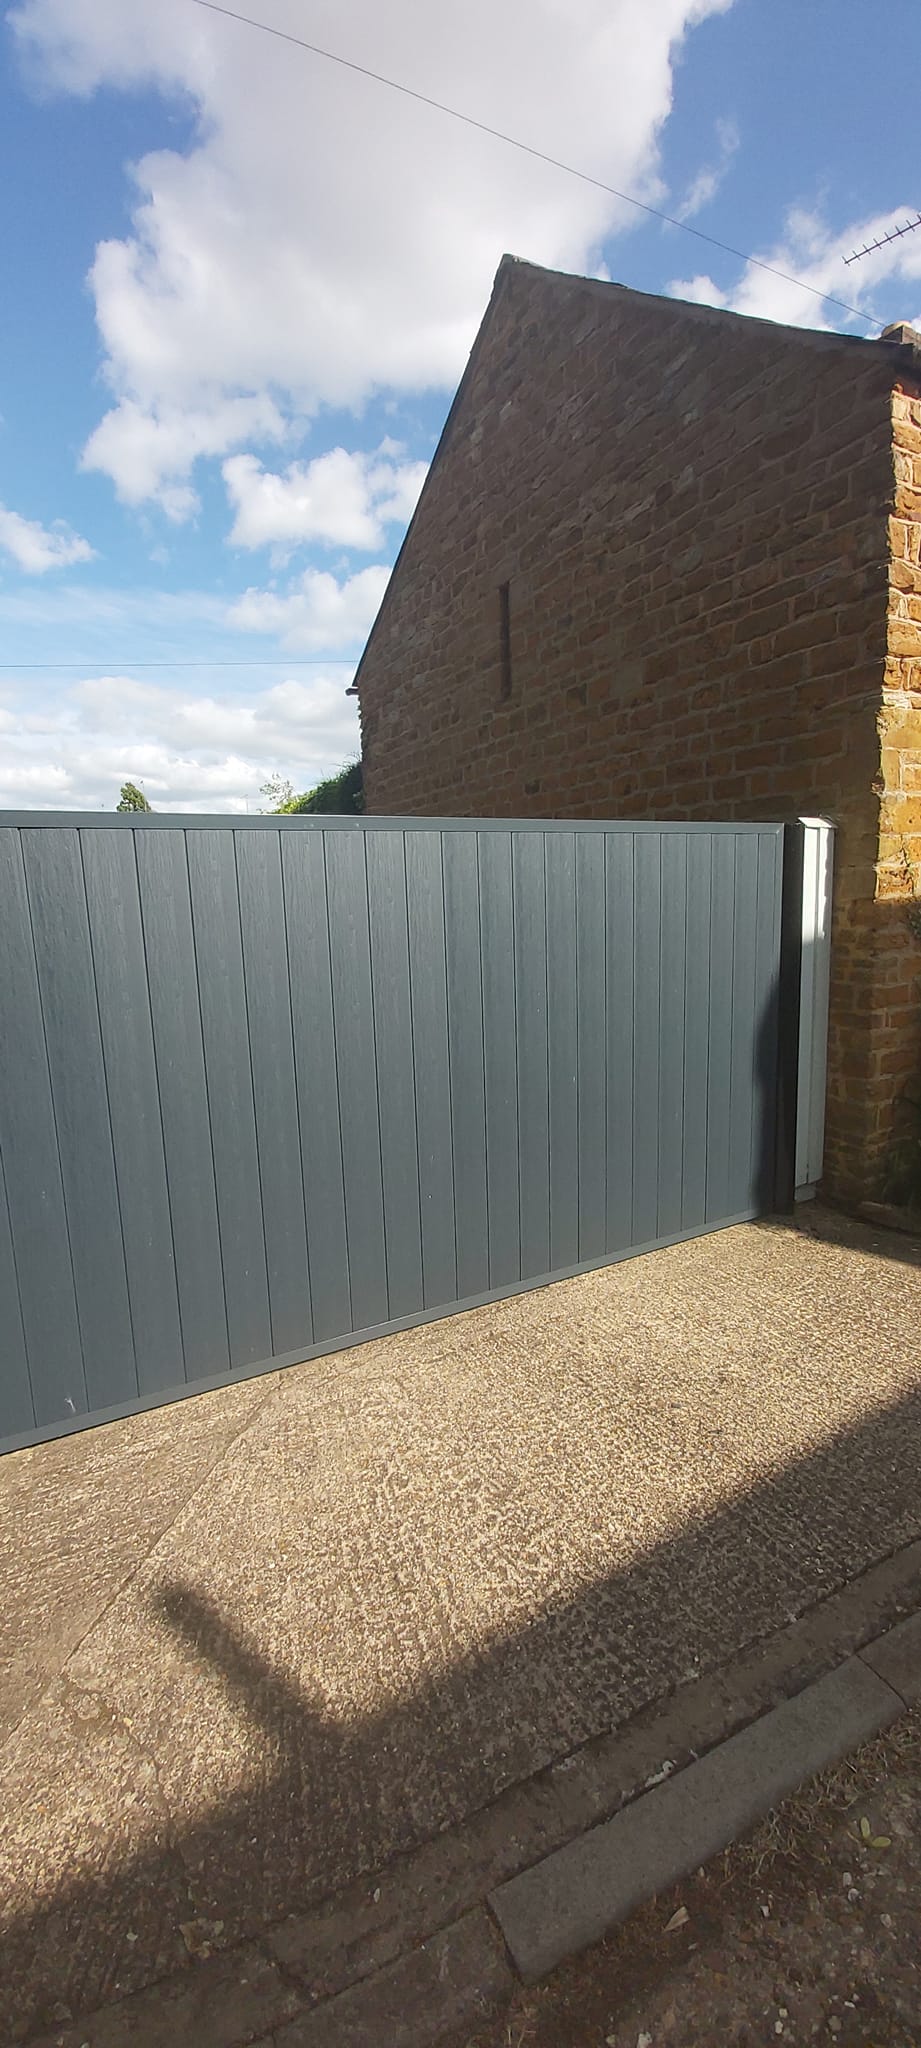
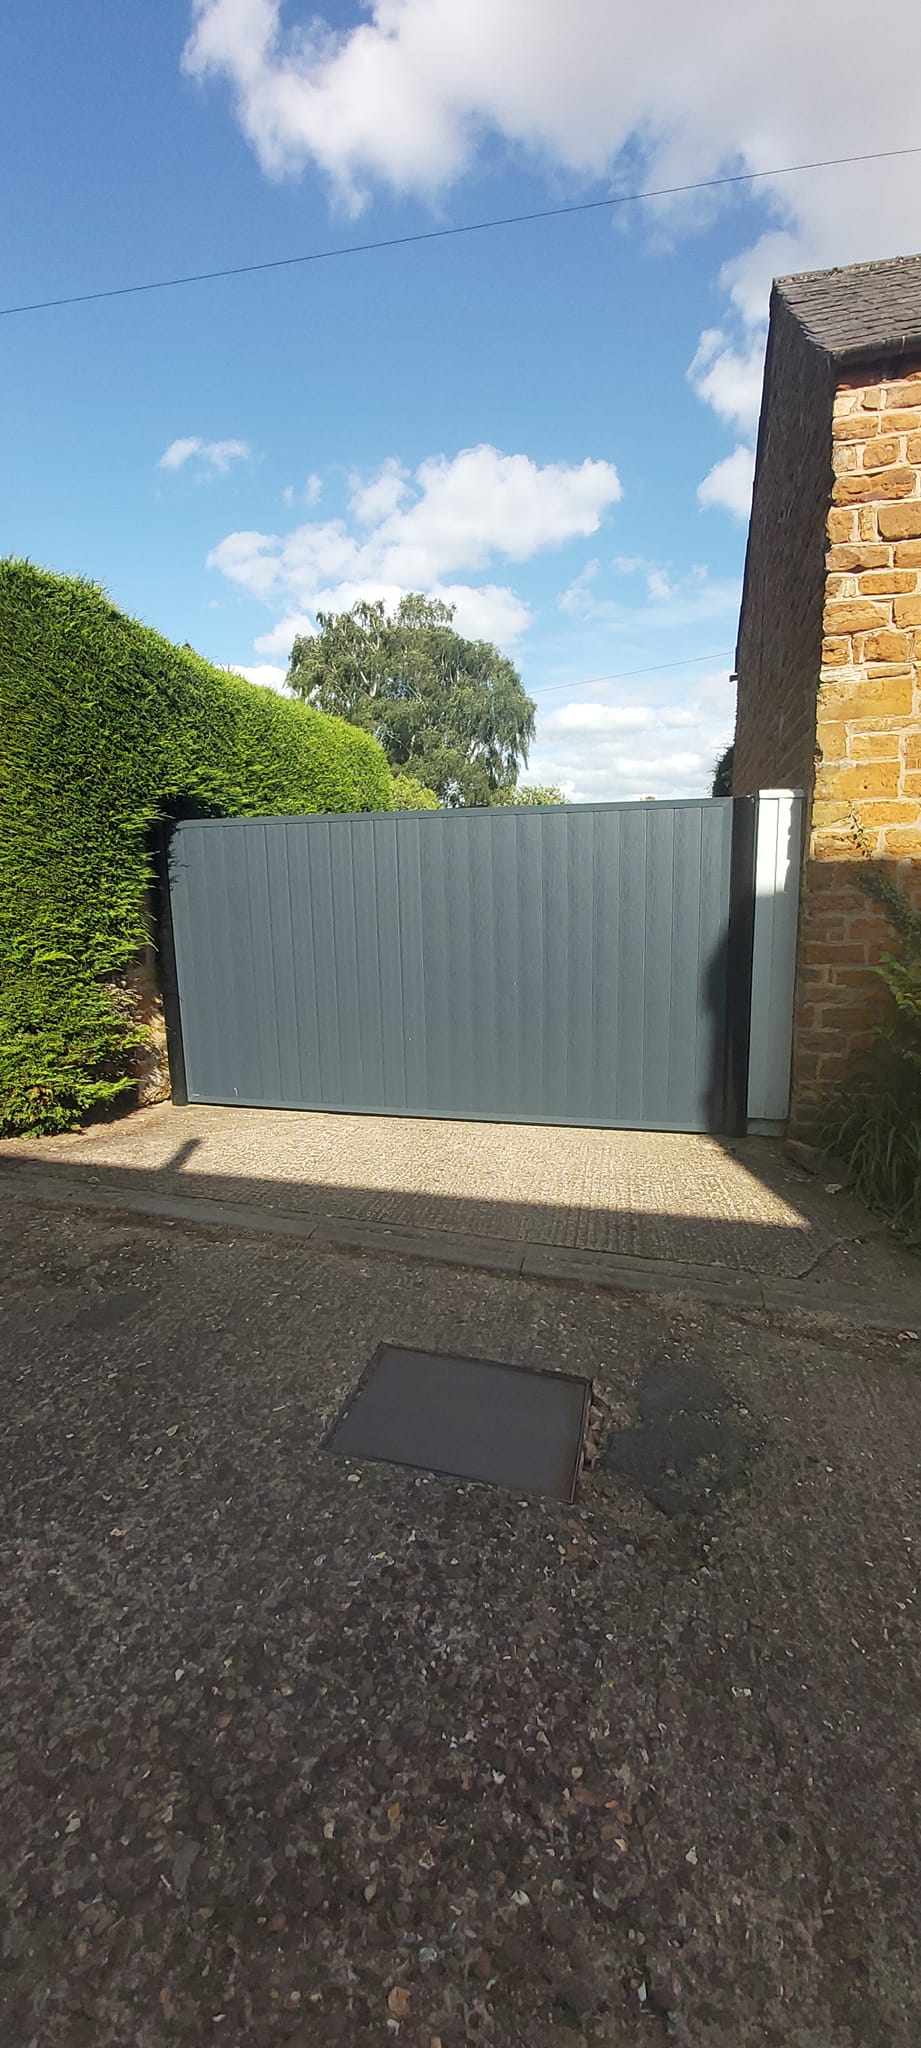
6. Gate Installation and Adjustments
- The next step was installing the gate in place. I ensured the gate was level and aligned properly with the surrounding fence or posts.
- I made any necessary adjustments to ensure smooth operation, such as checking the clearance for swinging and ensuring that the gate latch worked effectively.
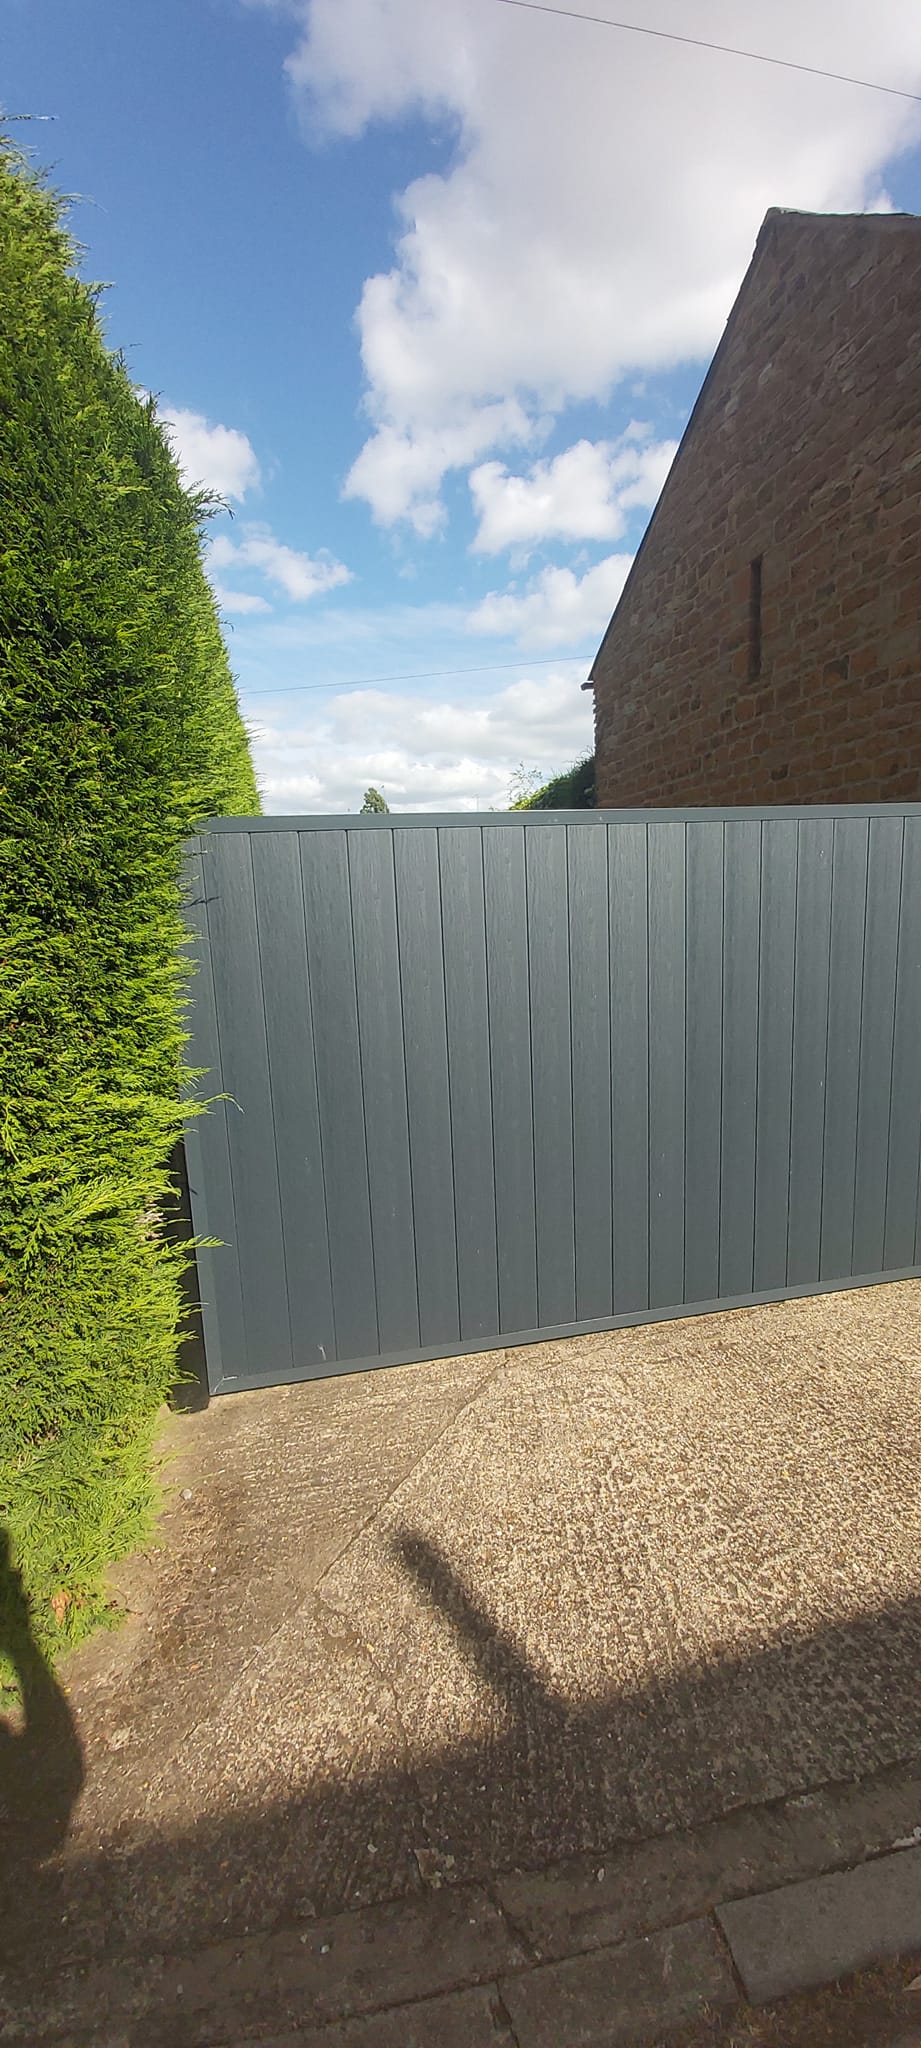
7. Final Inspection and Handover
- Once the gate was installed and functioning as expected, I conducted a final inspection to ensure all components were secure, the cladding was intact, and the hardware was operating correctly.
- I walked the client through the finished product to make sure they were happy with the result and answered any questions they had.
8. Maintenance Advice
- To ensure the longevity of the gate, I provided the client with maintenance advice. This included cleaning and treating the cladding regularly to prevent weather damage, lubricating the hinges, and checking the locking mechanism to make sure it remained in good working order.
Conclusion:
The installation of a cladding gate is an excellent way to enhance both security and aesthetic appeal to any property. The process, from design and material selection to installation and maintenance advice, was carried out with attention to detail and craftsmanship. The client now enjoys a sturdy, attractive, and functional gate that provides privacy and complements the overall look of their outdoor space.