
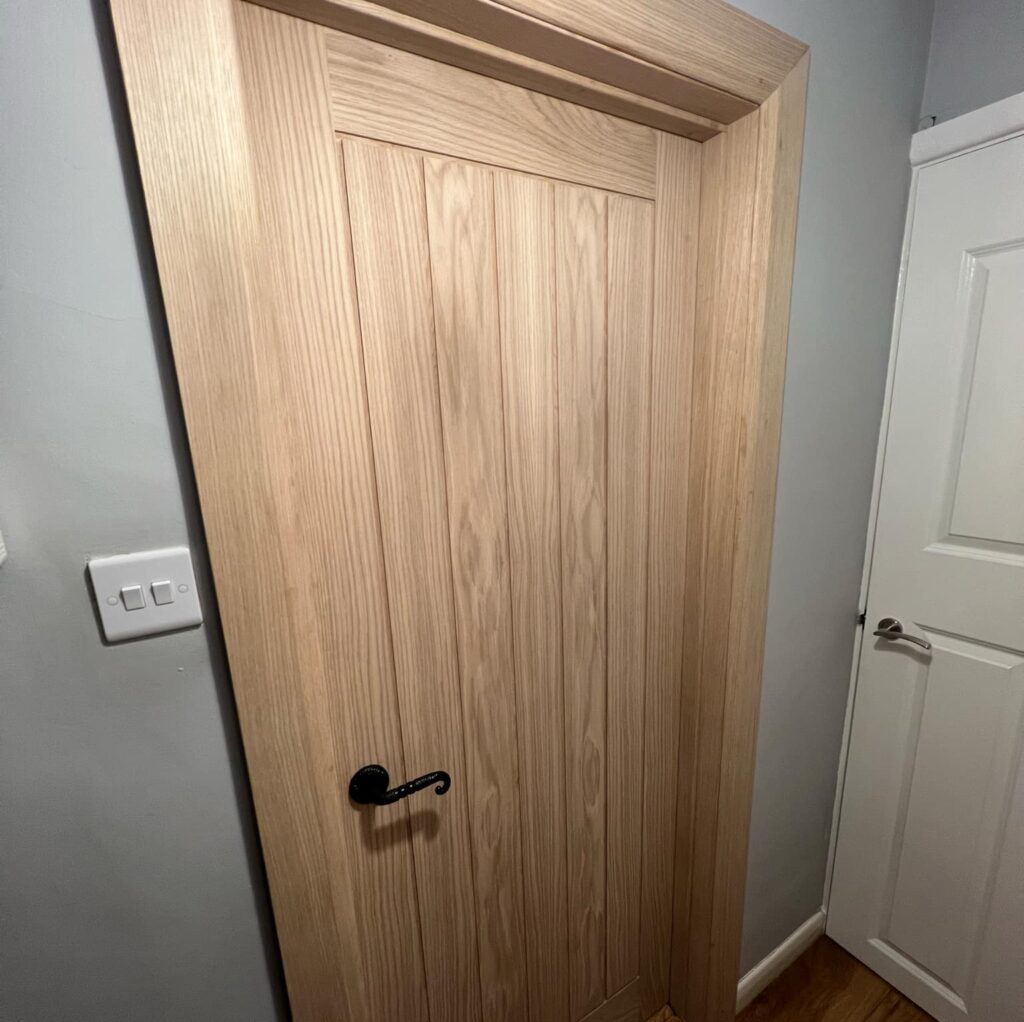

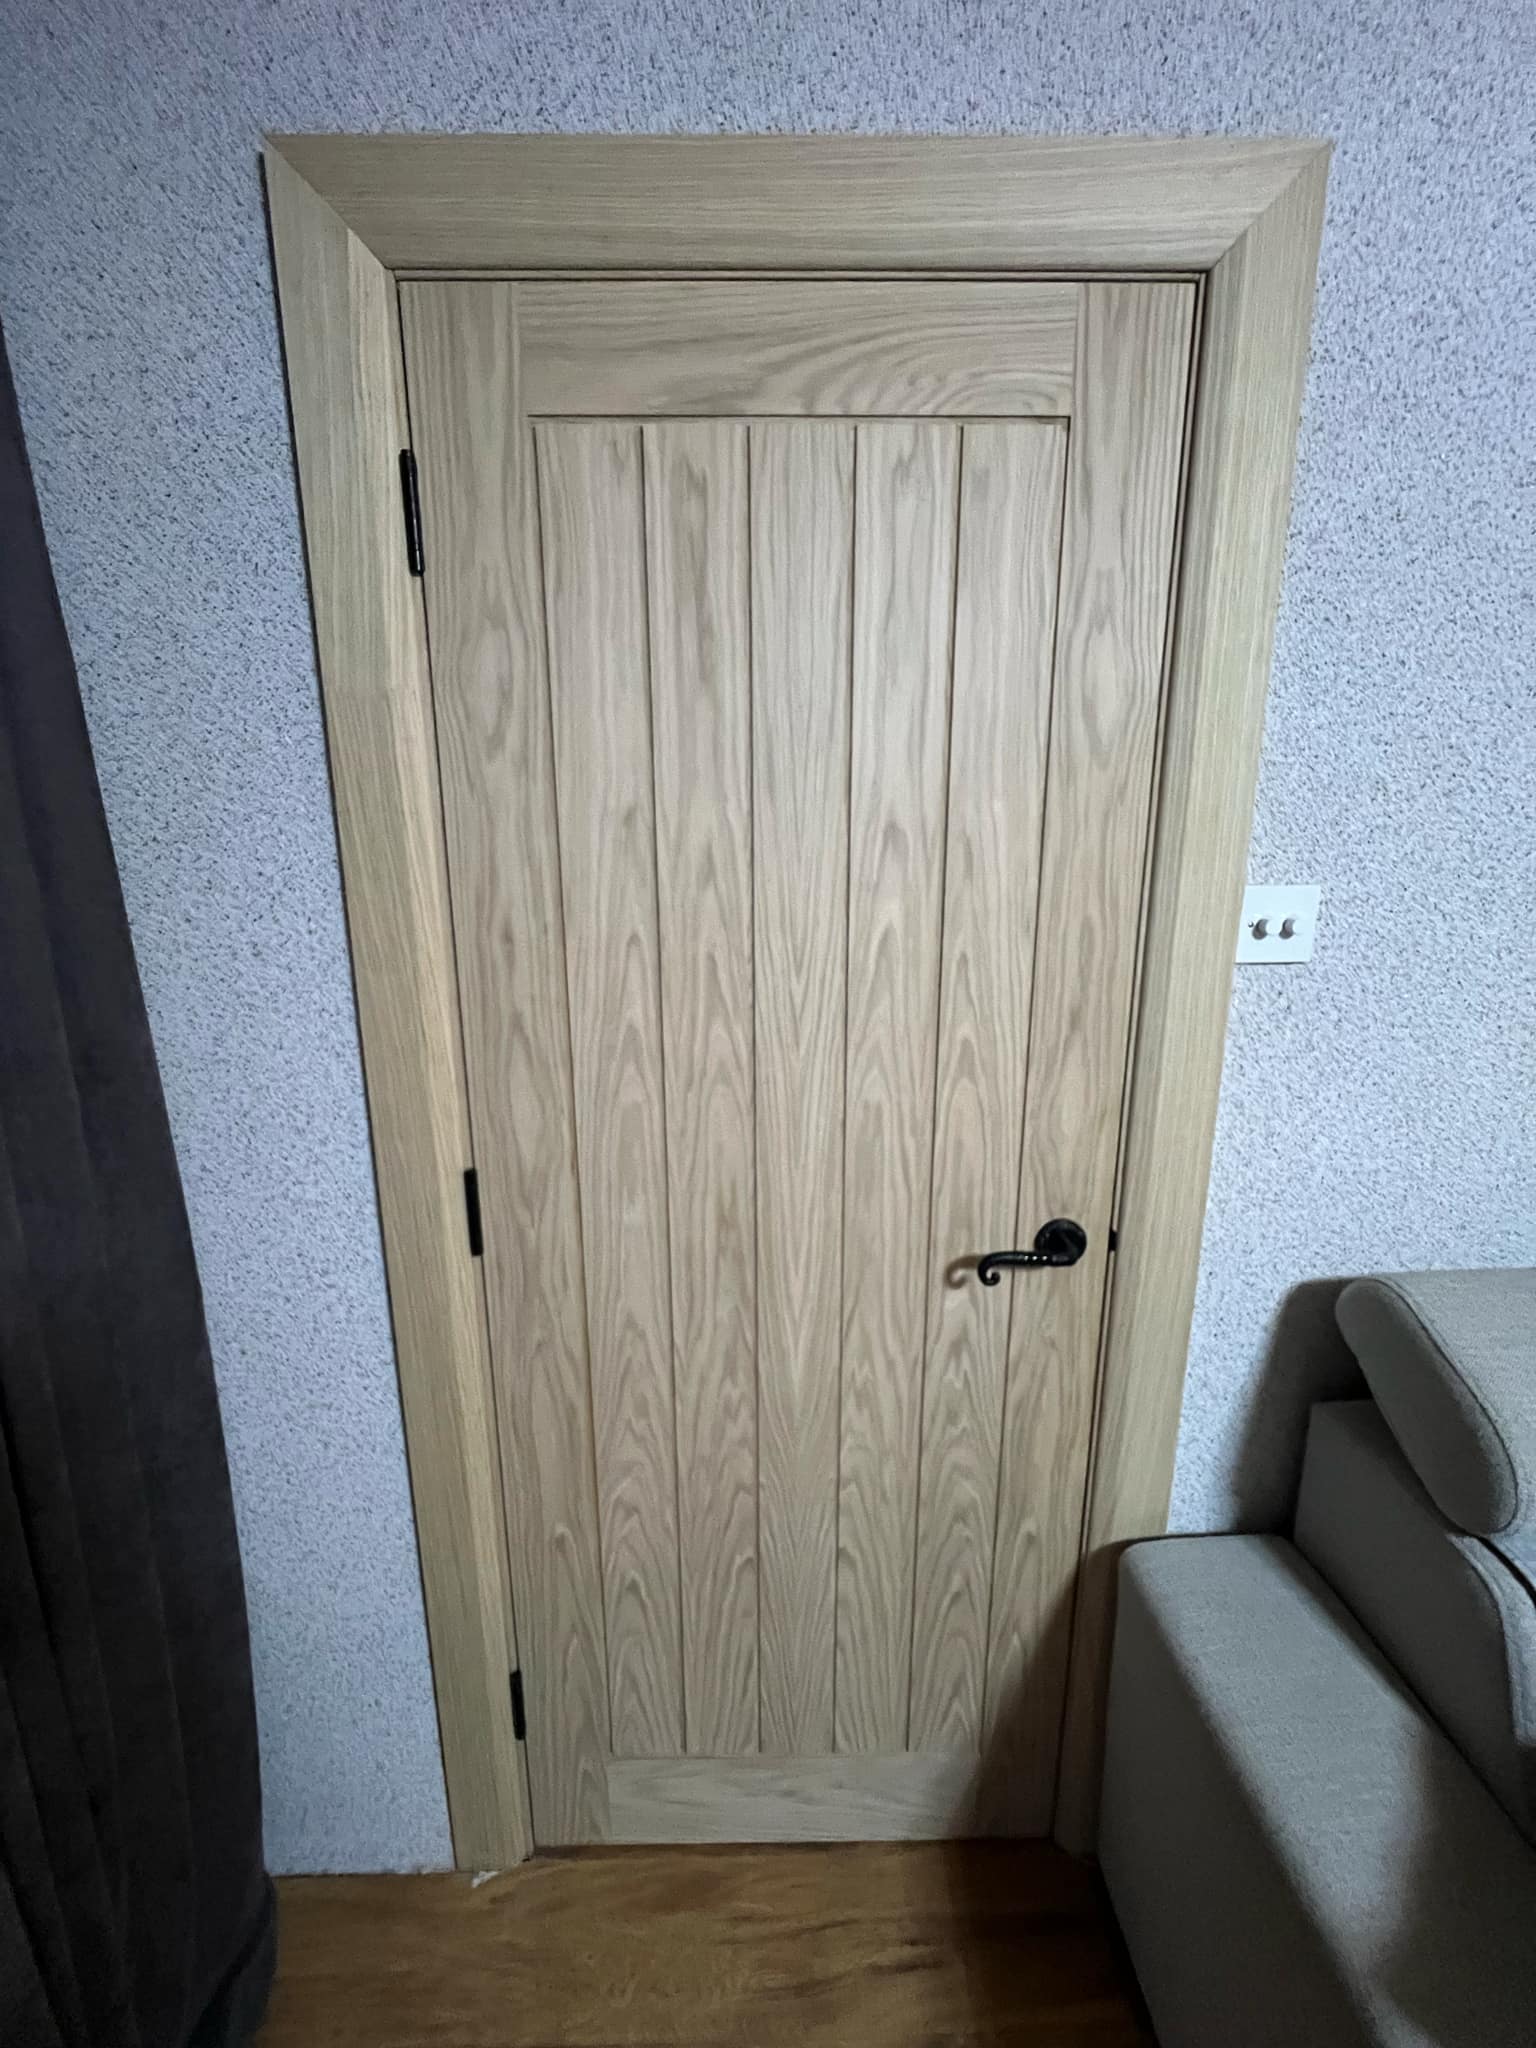
In this project, I was tasked with installing a beautiful oak door along with a solid oak door frame. The client wanted a timeless, elegant look for their home that would not only enhance the aesthetic appeal of the room but also provide durability and strength. Oak is a perfect choice for both its classic appearance and its natural resistance to wear and tear.
1. Initial Consultation and Design
- The project started with a consultation where I discussed the client’s specific needs for the door and frame. The client chose an oak door for its natural beauty, and we selected a frame to complement the door’s style.
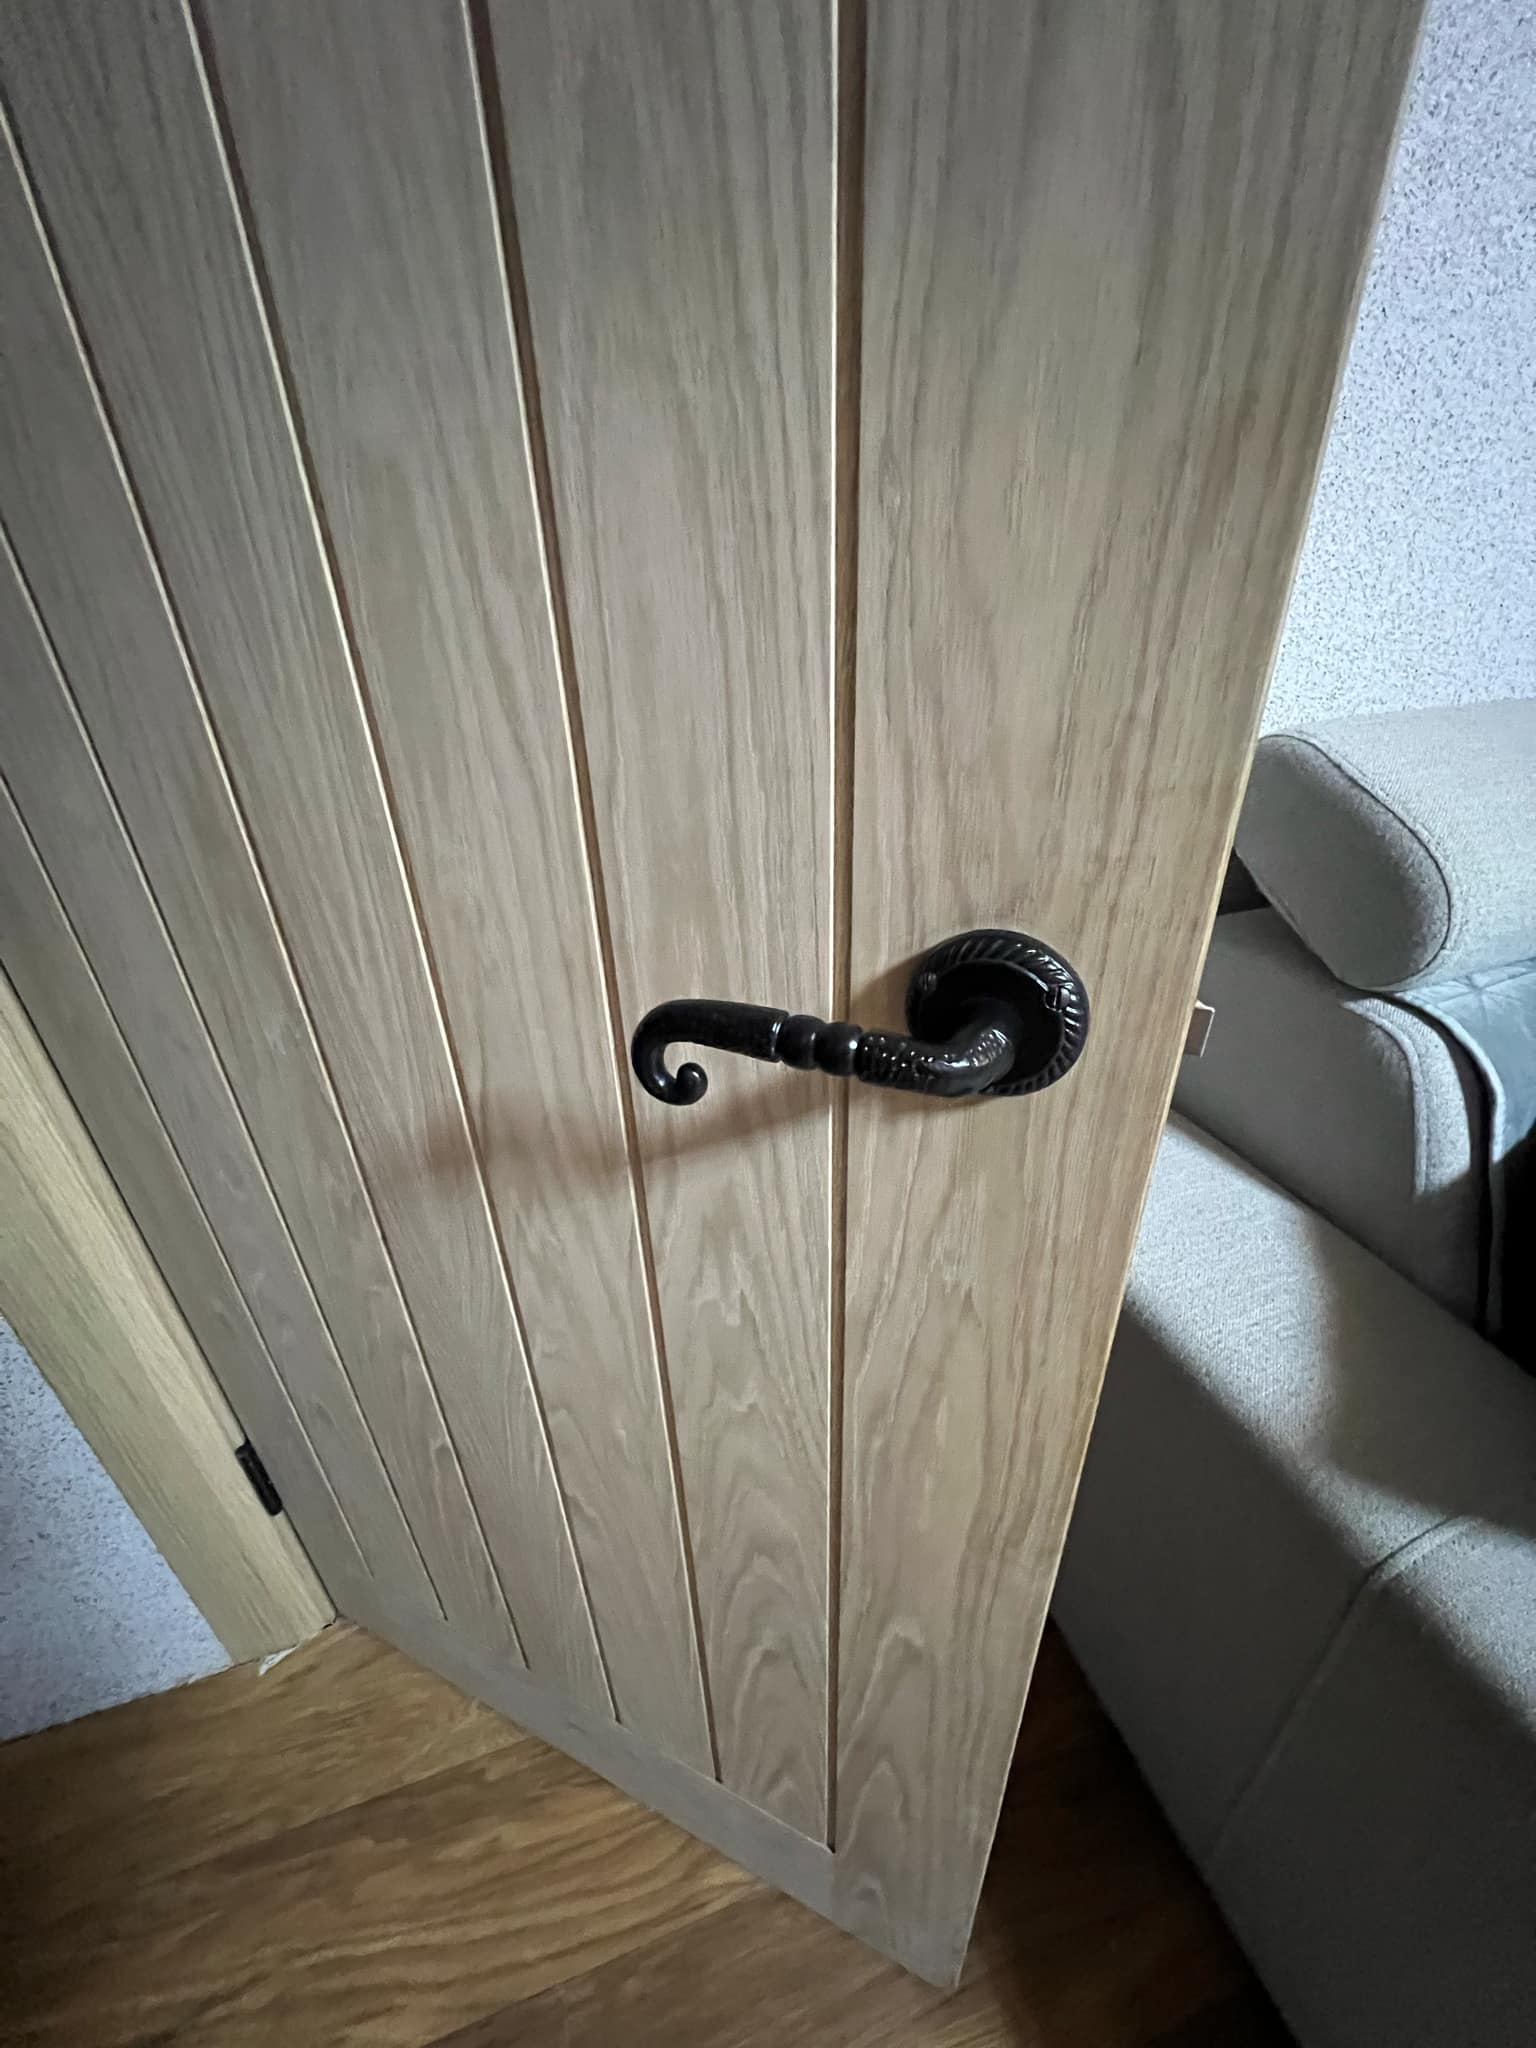
- We also discussed the door’s function (whether it was a main entrance or an internal door) and any specific hardware preferences, such as handles, locks, and hinges.
2. Measurement and Preparation
- After agreeing on the design, I took accurate measurements of the door opening to ensure that both the door and the frame would fit perfectly. The measurements are critical to avoid any gaps or misalignments.
- I also ensured the existing wall and frame were in good condition. If necessary, I made repairs or adjustments to the surrounding area to guarantee a smooth and secure fit for the new oak frame.
3. Frame Construction and Installation
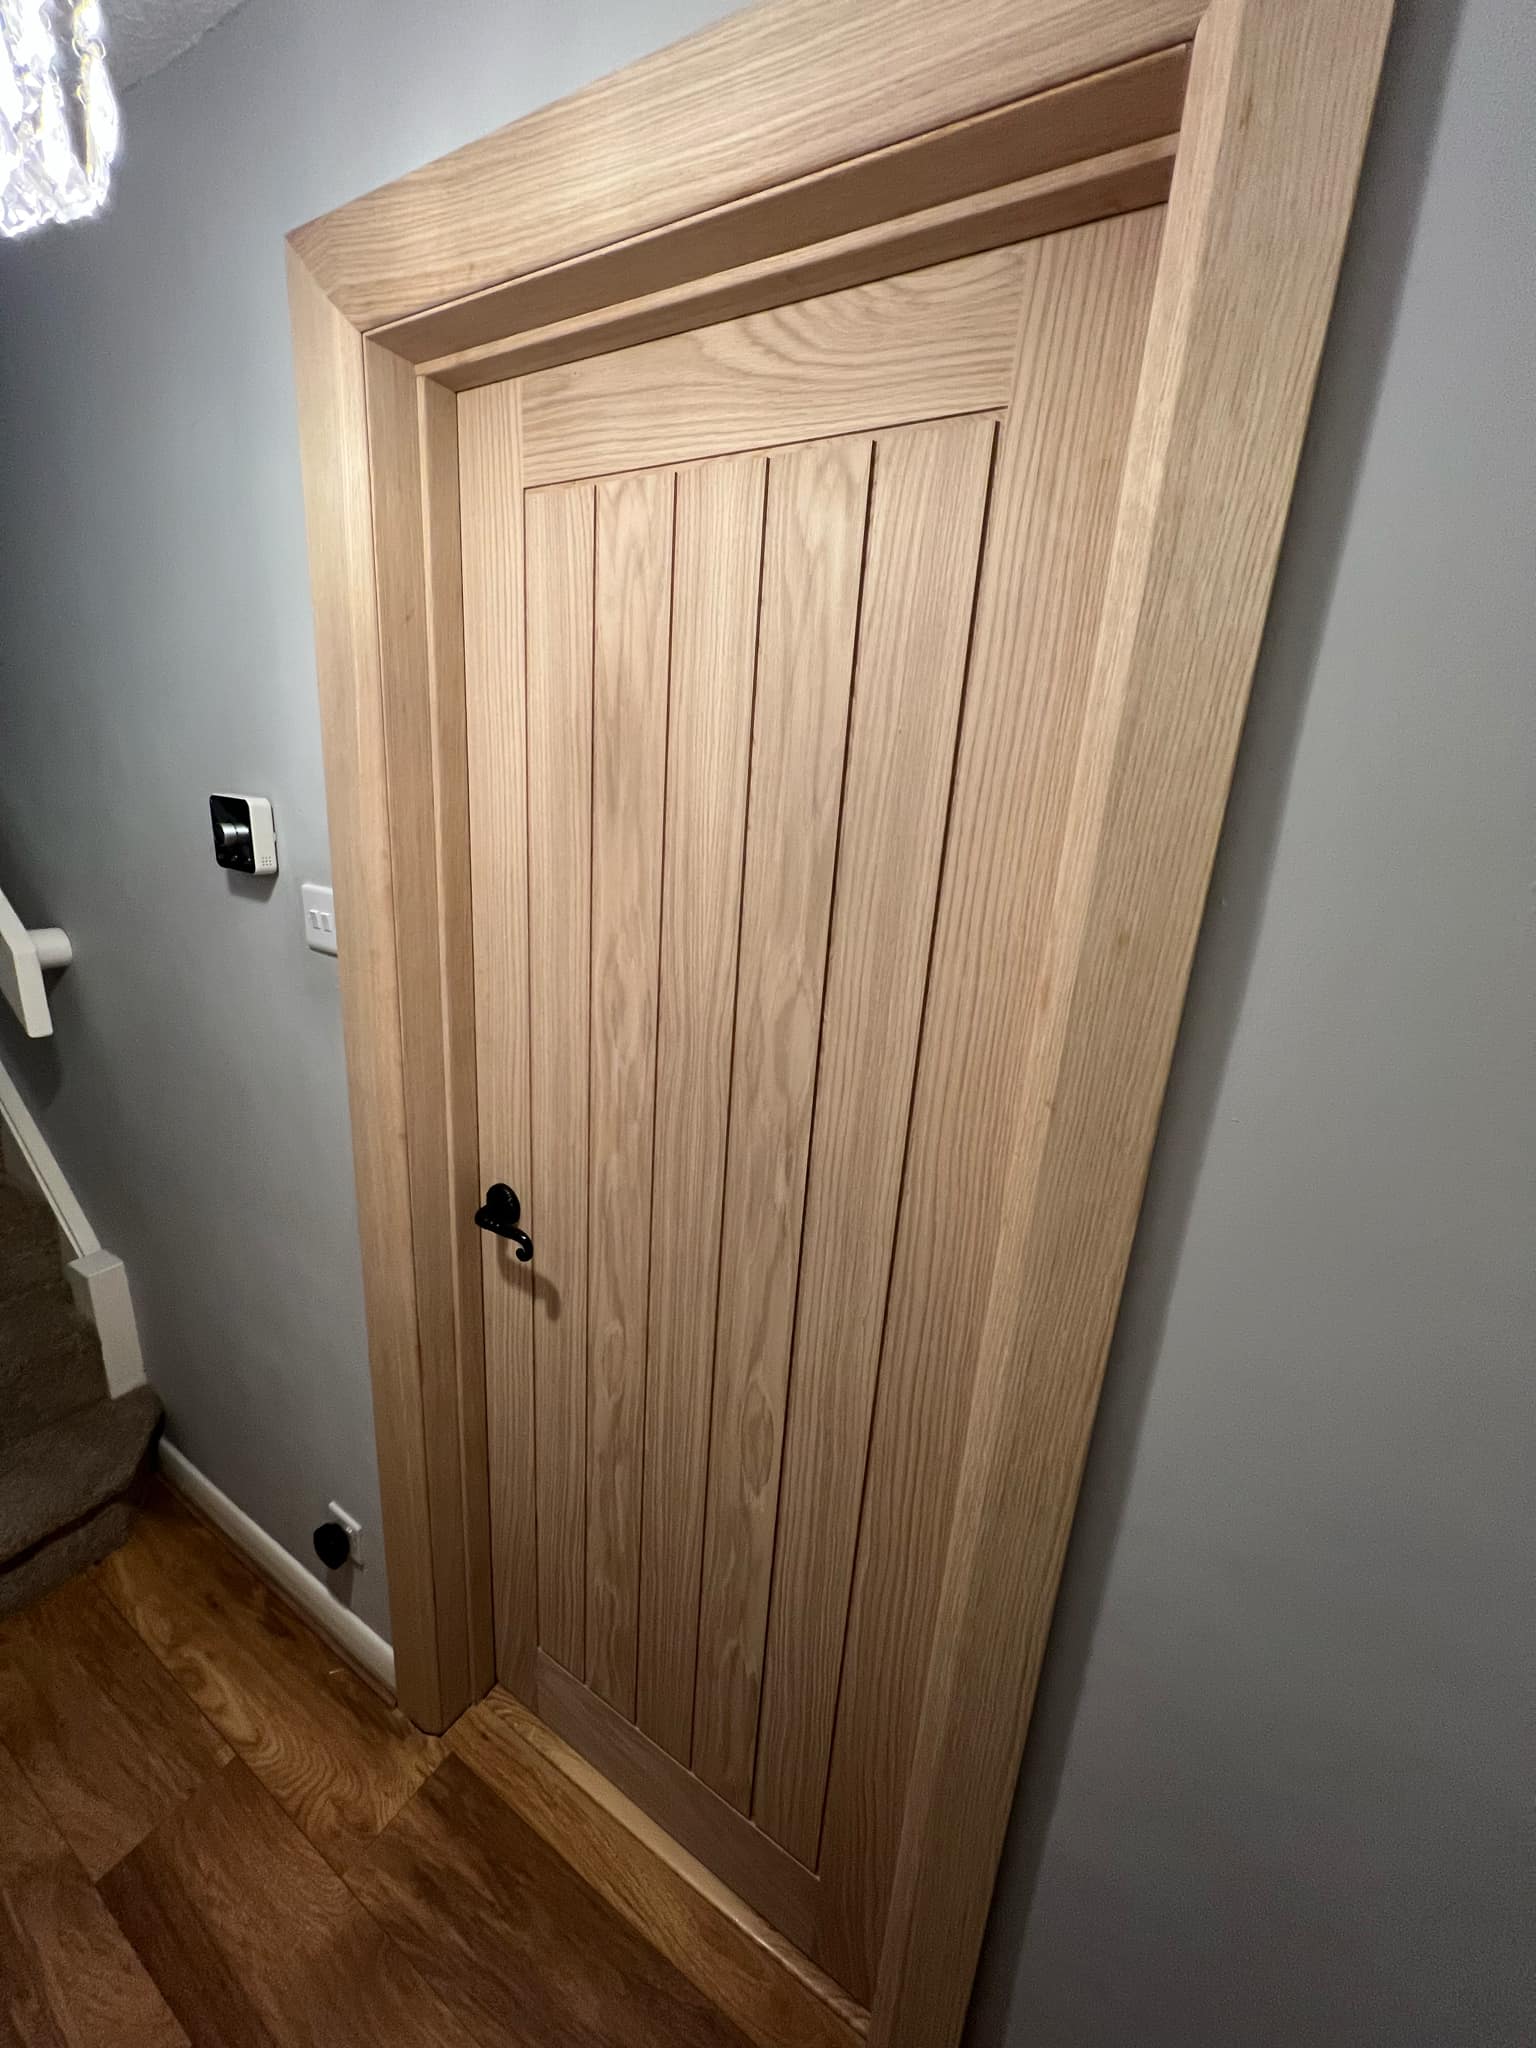
- I began by installing the oak door frame, making sure it was square and level. This is crucial to ensure that the door swings open and closed smoothly without any issues.
- The oak frame was carefully fitted into the doorway, and I secured it using high-quality nails and screws, ensuring a solid and stable installation. I made sure the frame was perfectly aligned with the surrounding walls to ensure a professional finish.
4. Door Installation
- With the frame securely in place, I proceeded with installing the oak door. I checked the alignment of the door, ensuring it hung properly within the frame.
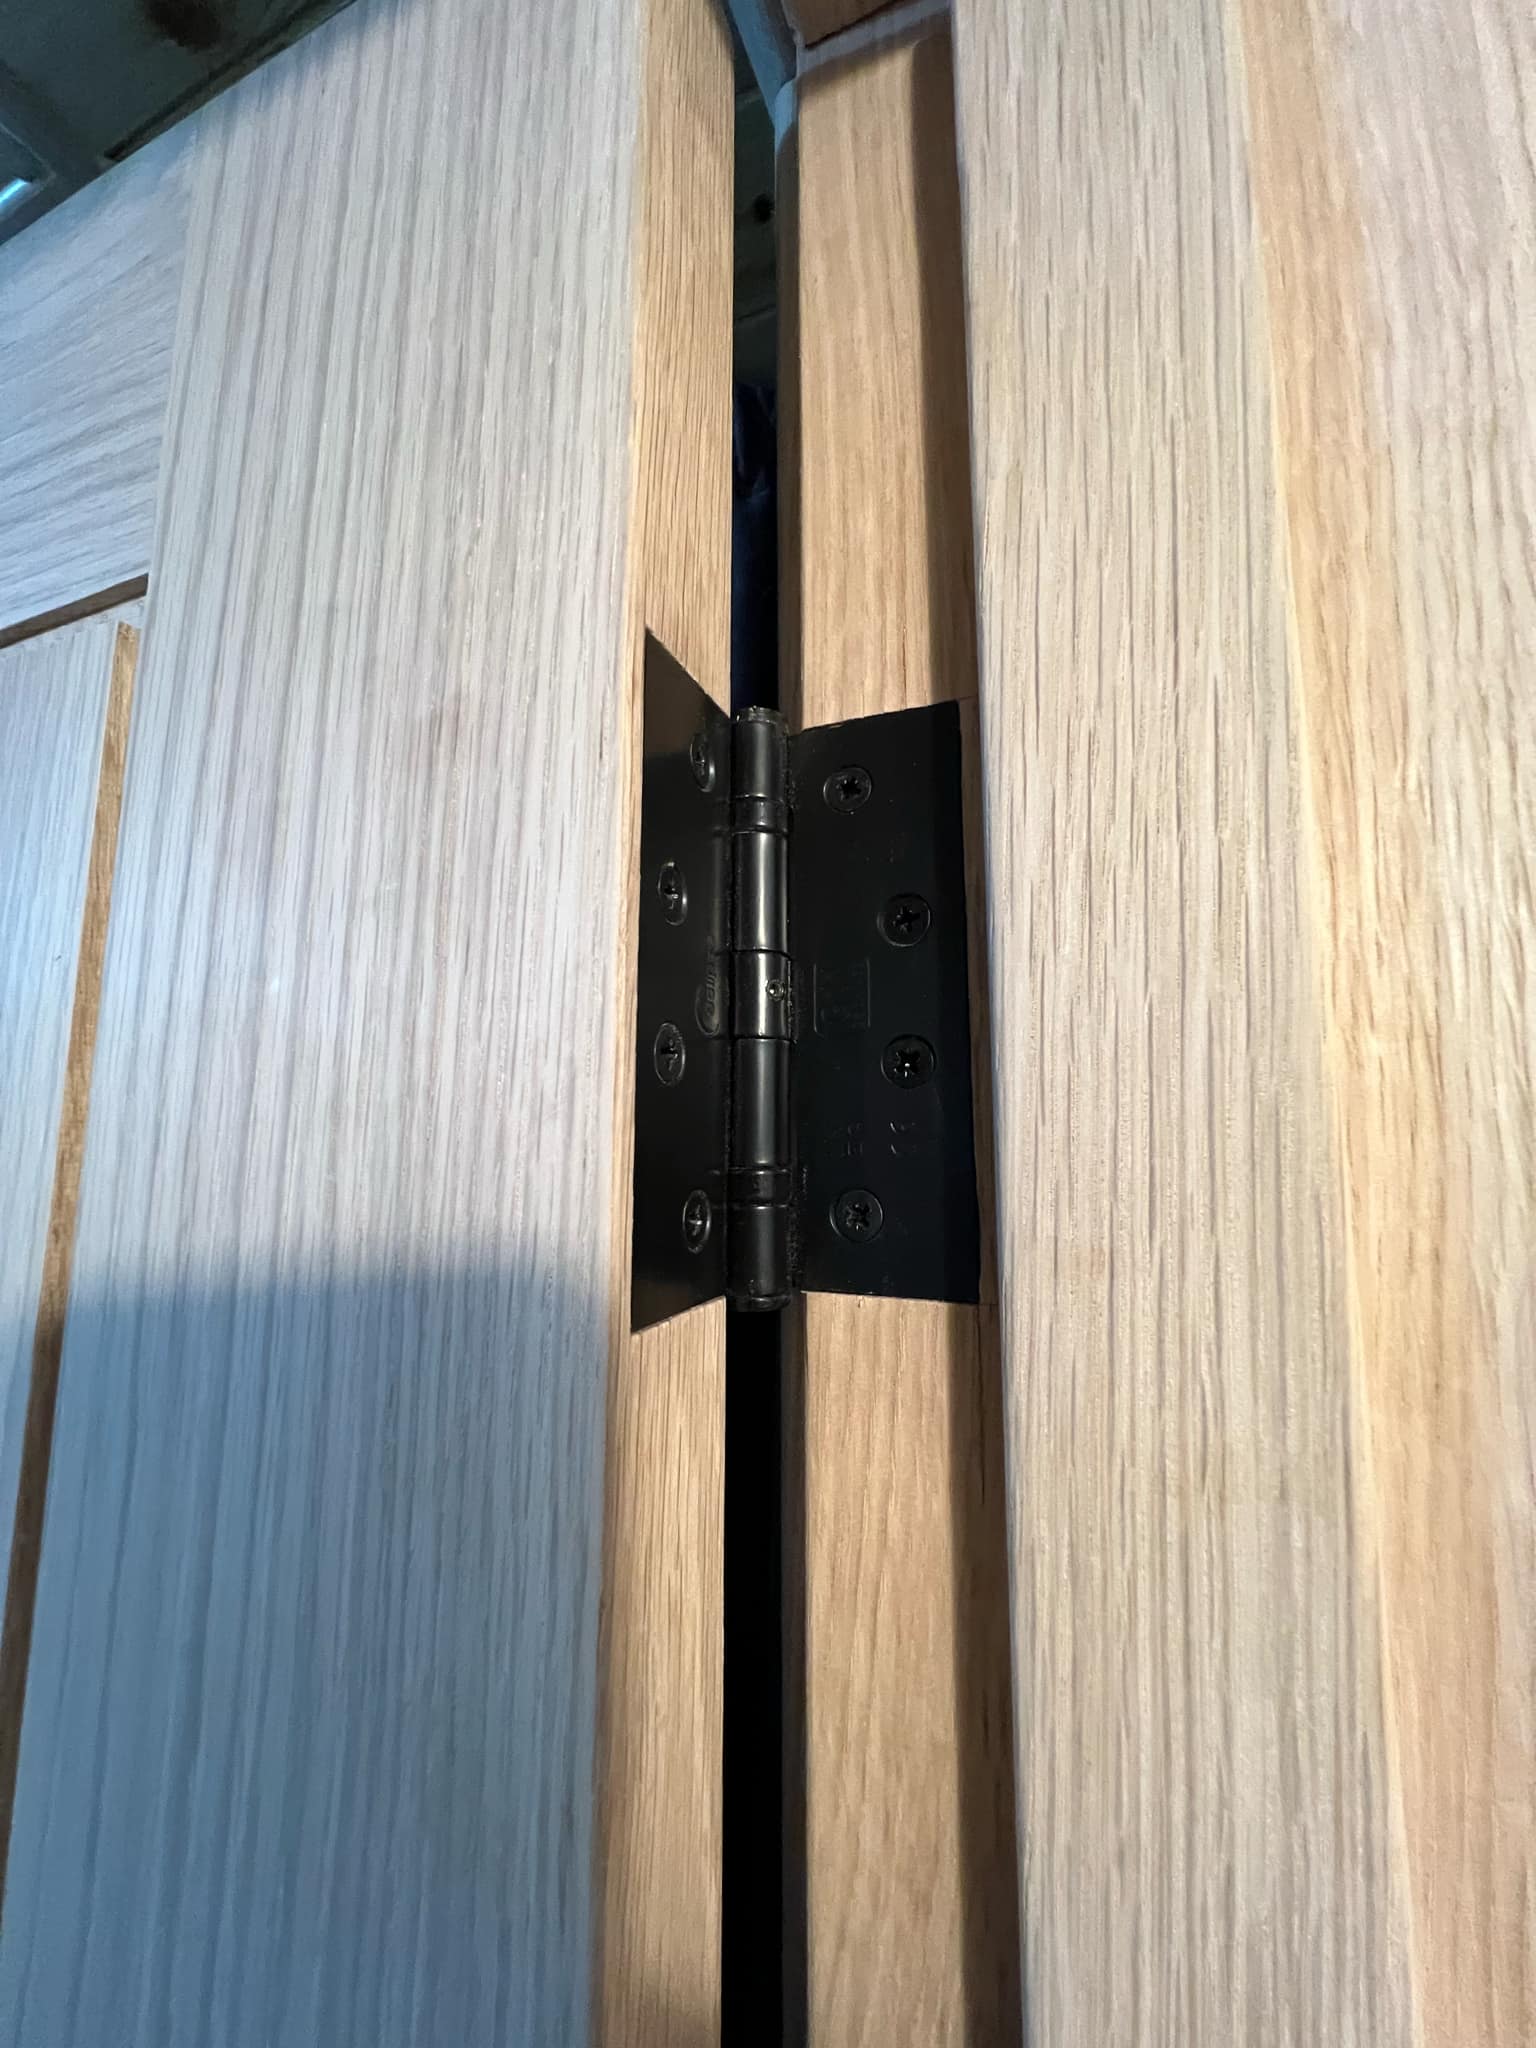
- The door was then hung using strong, high-quality hinges, ensuring that it opened and closed smoothly. I also made sure the door had the appropriate clearance from the floor, allowing it to swing freely without obstruction.
5. Final Adjustments
- After the door was hung, I performed any necessary adjustments to ensure a perfect fit. This included adjusting the hinges for smooth operation and checking that the door closed securely without any gaps.
- If the door required any trimming for a perfect fit, I made those cuts carefully to maintain the integrity of the wood. I also ensured that the door locks and handles were installed securely and aligned properly.
6. Sealing and Finishing Touches
- To preserve the natural beauty of the oak, I sealed the wood with an appropriate finish, such as a wood oil or varnish, to protect it from moisture and wear.
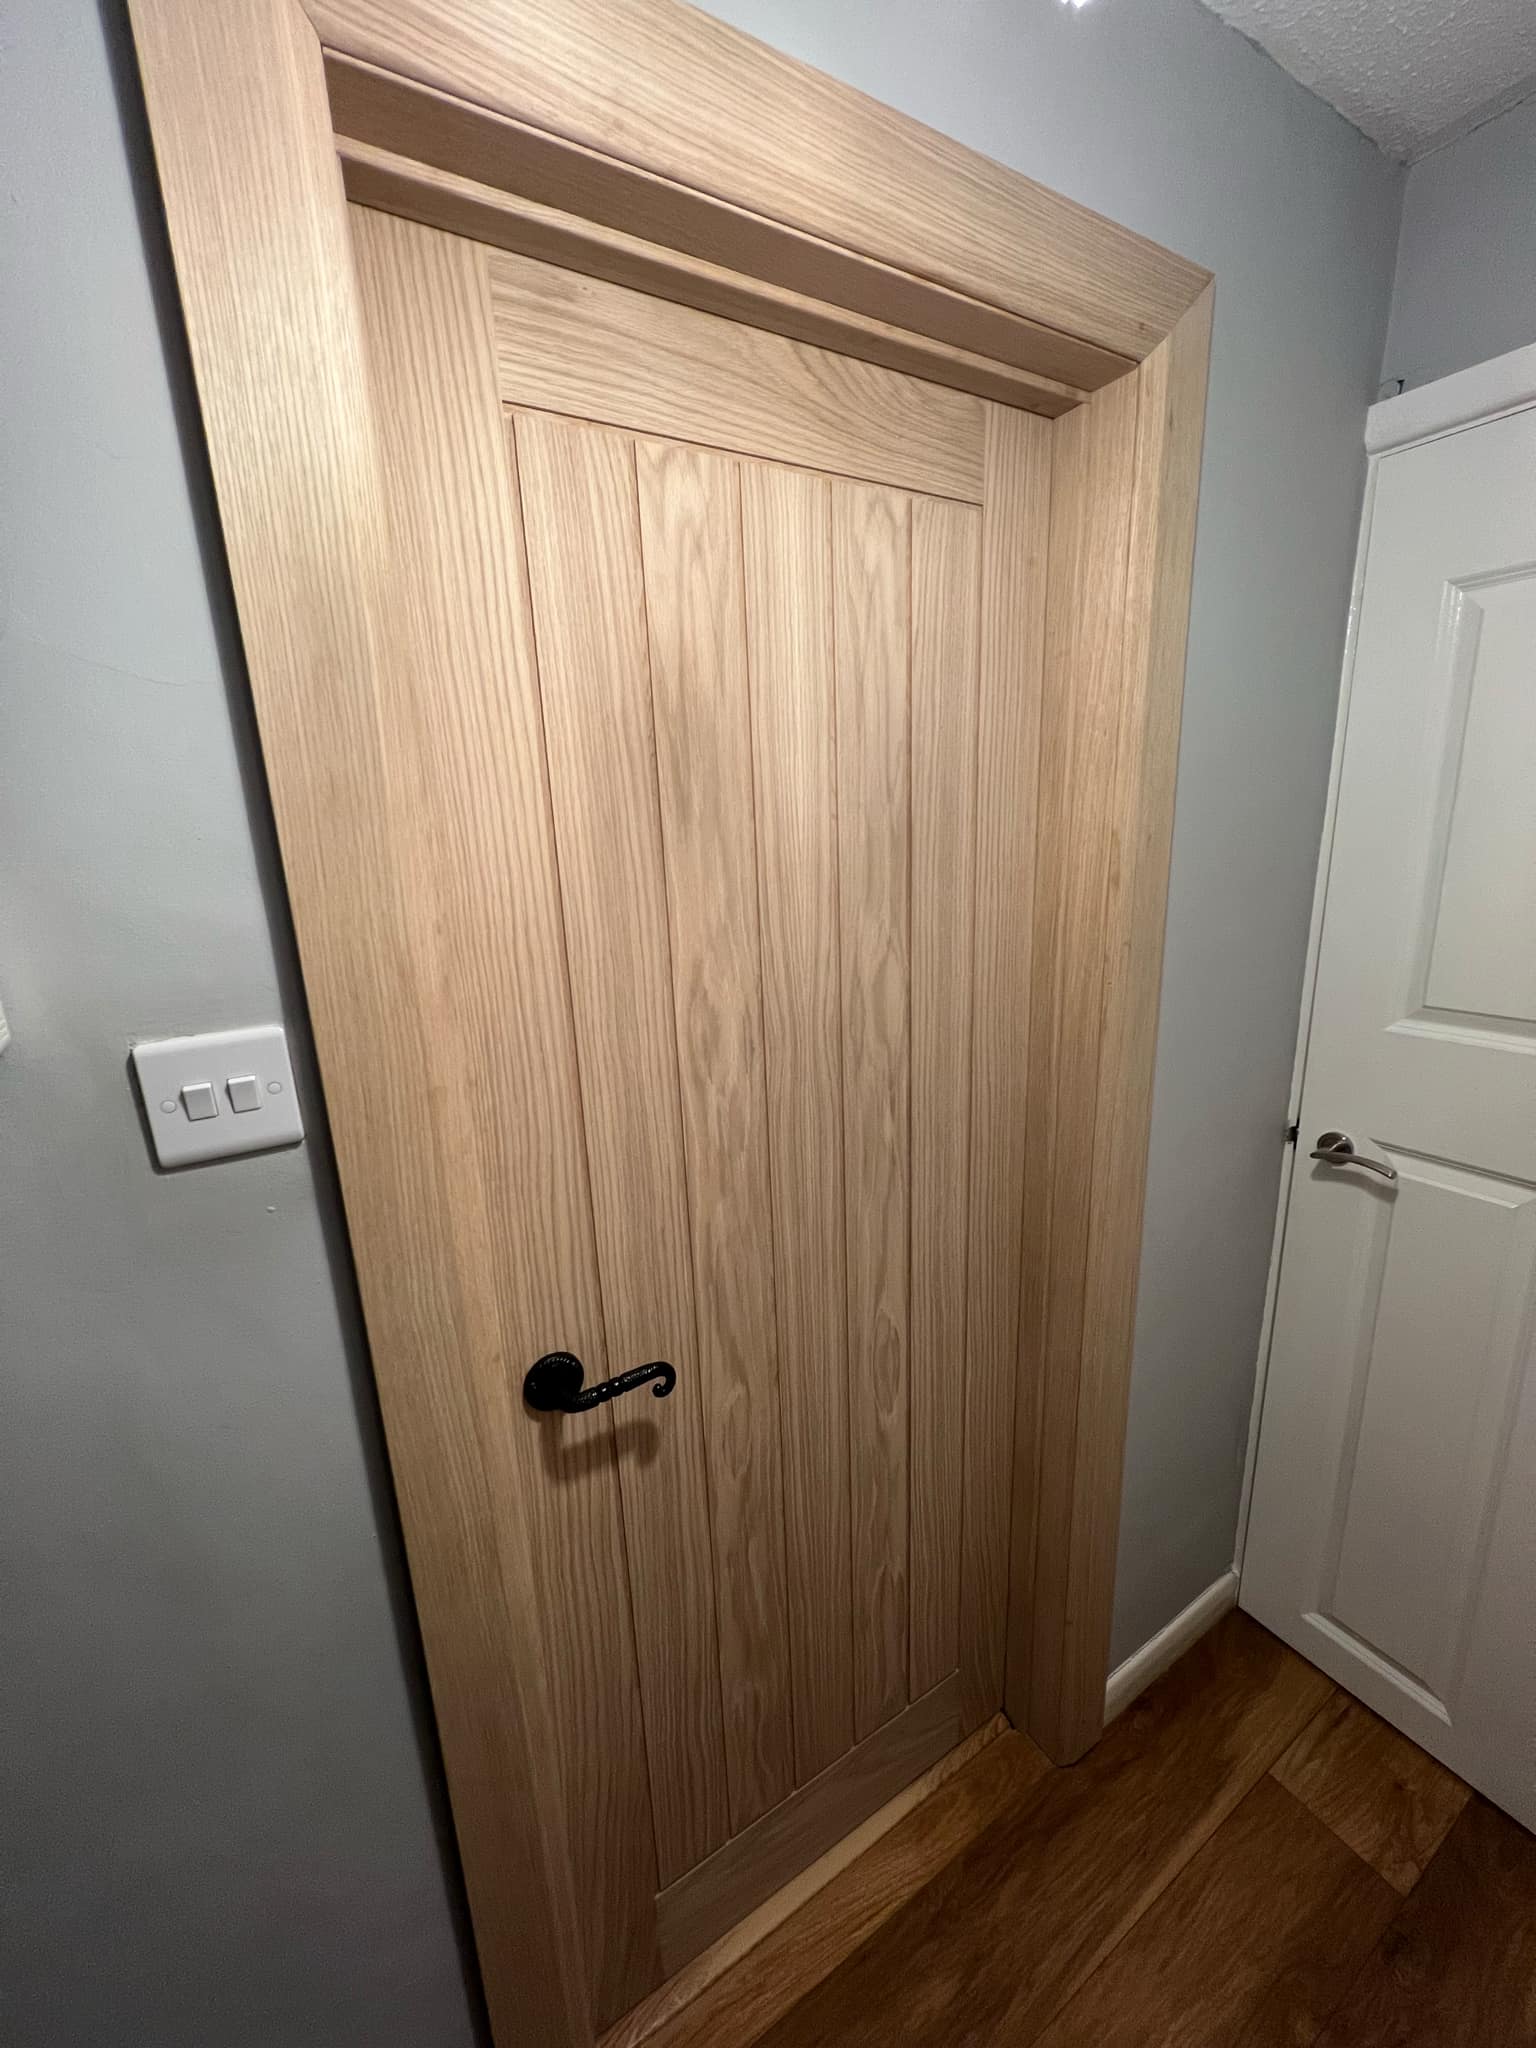
- The final step was sanding the door and frame to ensure a smooth and flawless surface. I added any final touches, like installing trim around the frame, to complete the look.
7. Client Walkthrough and Handover
- After installation, I walked the client through the work to ensure they were satisfied with the final result. I explained how to care for the oak door and frame, offering tips on maintaining the wood and ensuring its longevity.
- I also checked that the door was functioning properly, ensuring that it opened and closed smoothly and that all hardware was securely installed.
Conclusion:
Installing an oak door and frame not only enhances the aesthetic of a room but also provides long-lasting durability and strength. The rich texture and color of oak make it a timeless choice, and with proper care, it can last for many years. By focusing on precision in measurement, installation, and finishing, this project resulted in a beautiful, functional door that will stand the test of time, adding both charm and security to the client’s home.