

New Kitchen Installation – Step-by-Step Process
As a carpenter tasked with installing a new kitchen in a school, the job involves several key stages to ensure everything is completed on time and to the highest standards. Here’s a breakdown of the process:
1. Initial Assessment and Planning
- The first step is to visit the school and assess the existing kitchen space. I’ll take detailed measurements and discuss with the school staff their specific needs, such as storage, functionality, and the types of appliances required.
- Based on these requirements, I work alongside designers and the project manager to finalize the layout, ensuring that it maximizes both space and workflow.
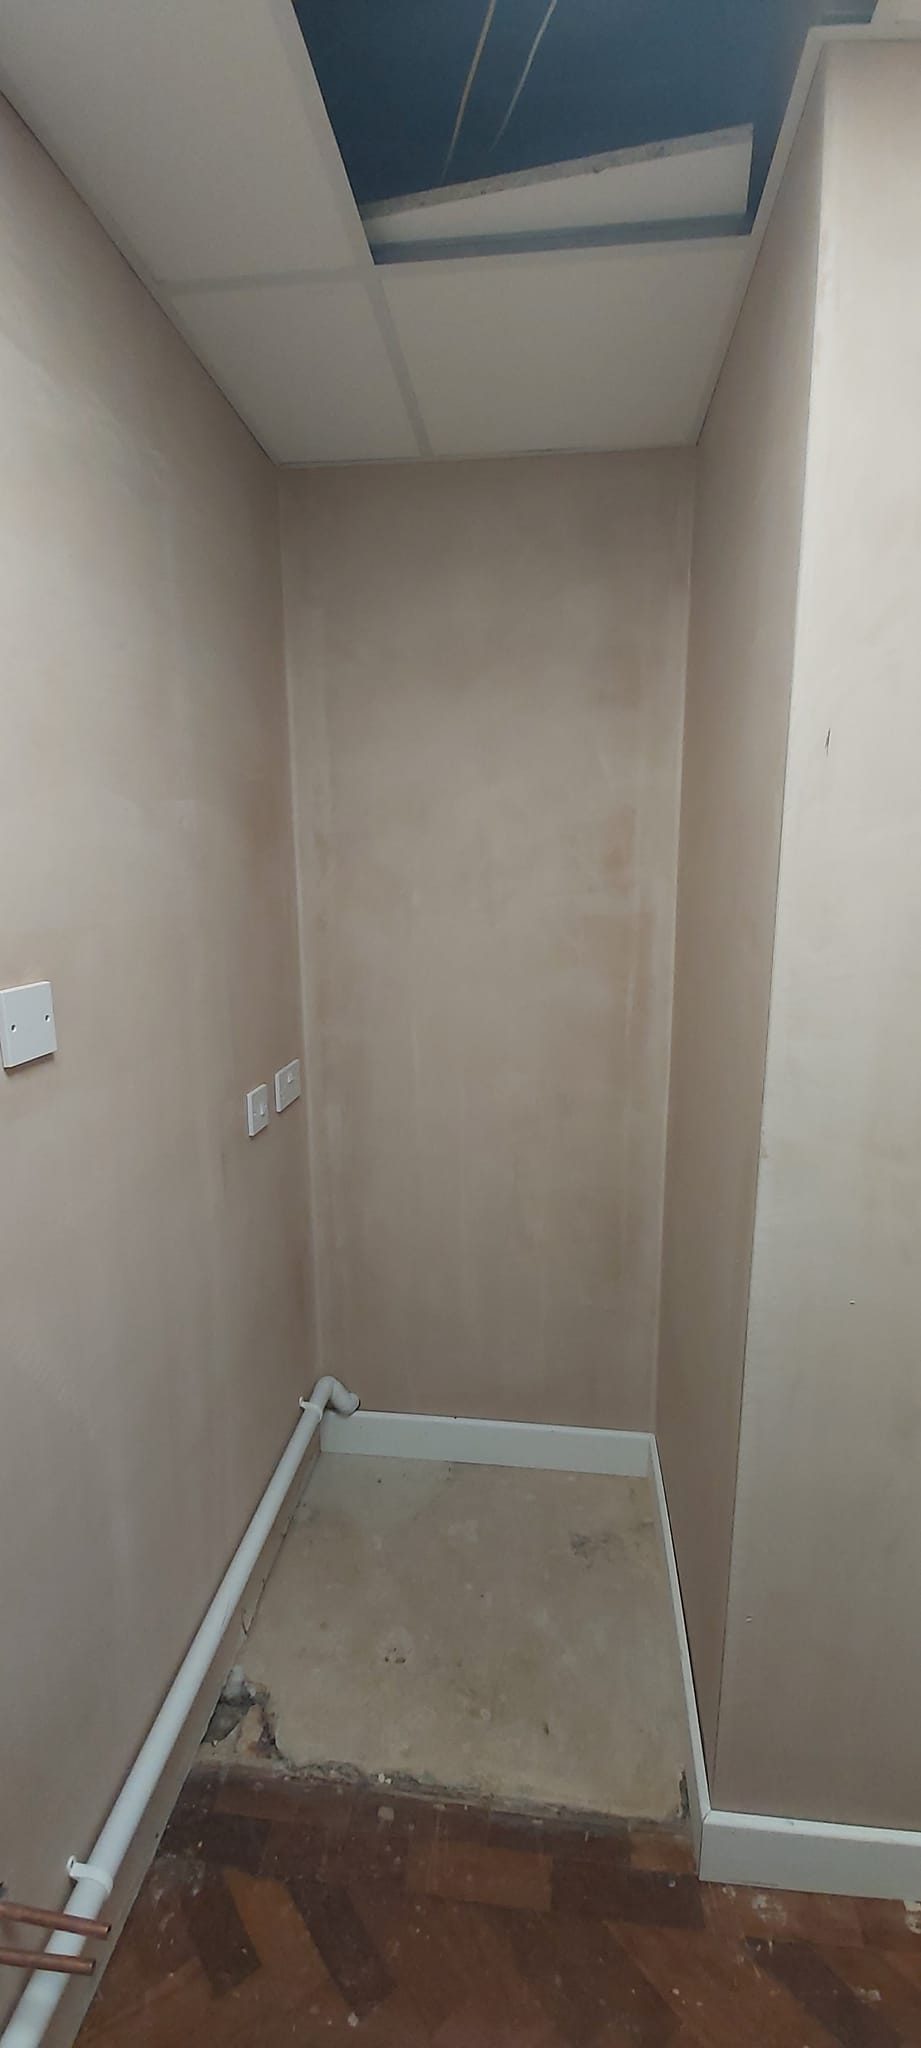
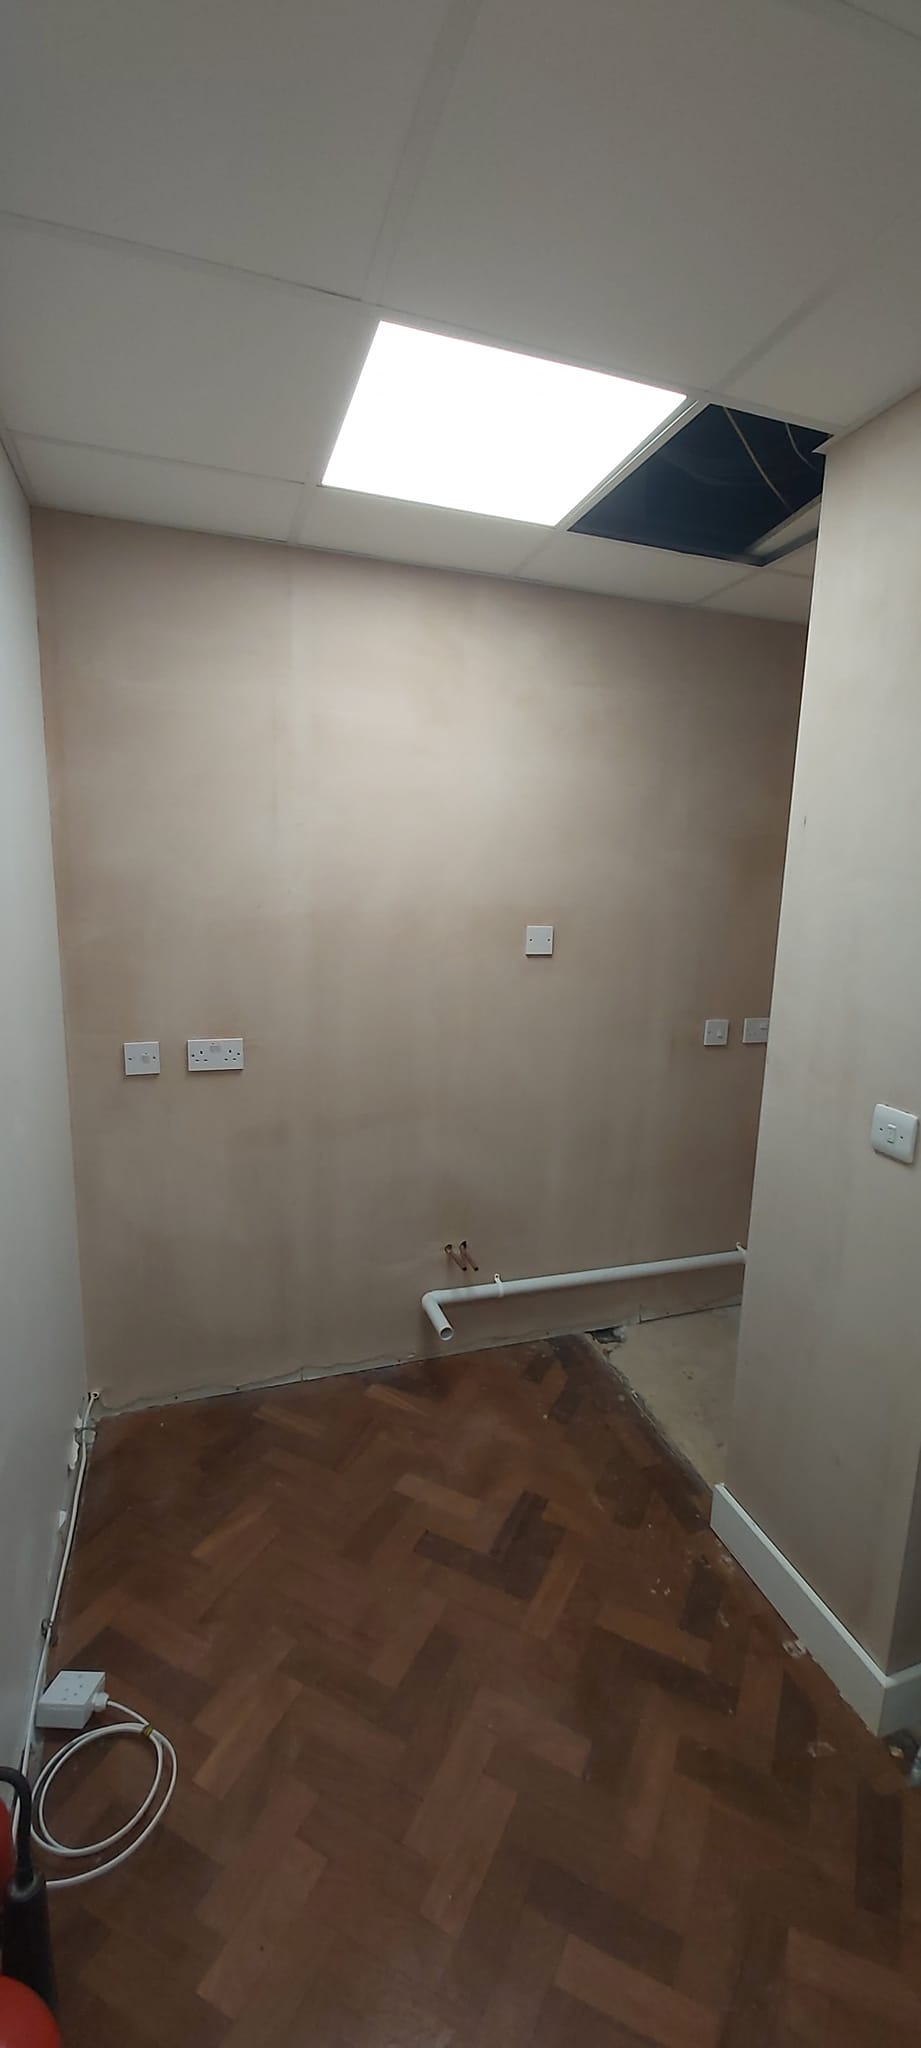
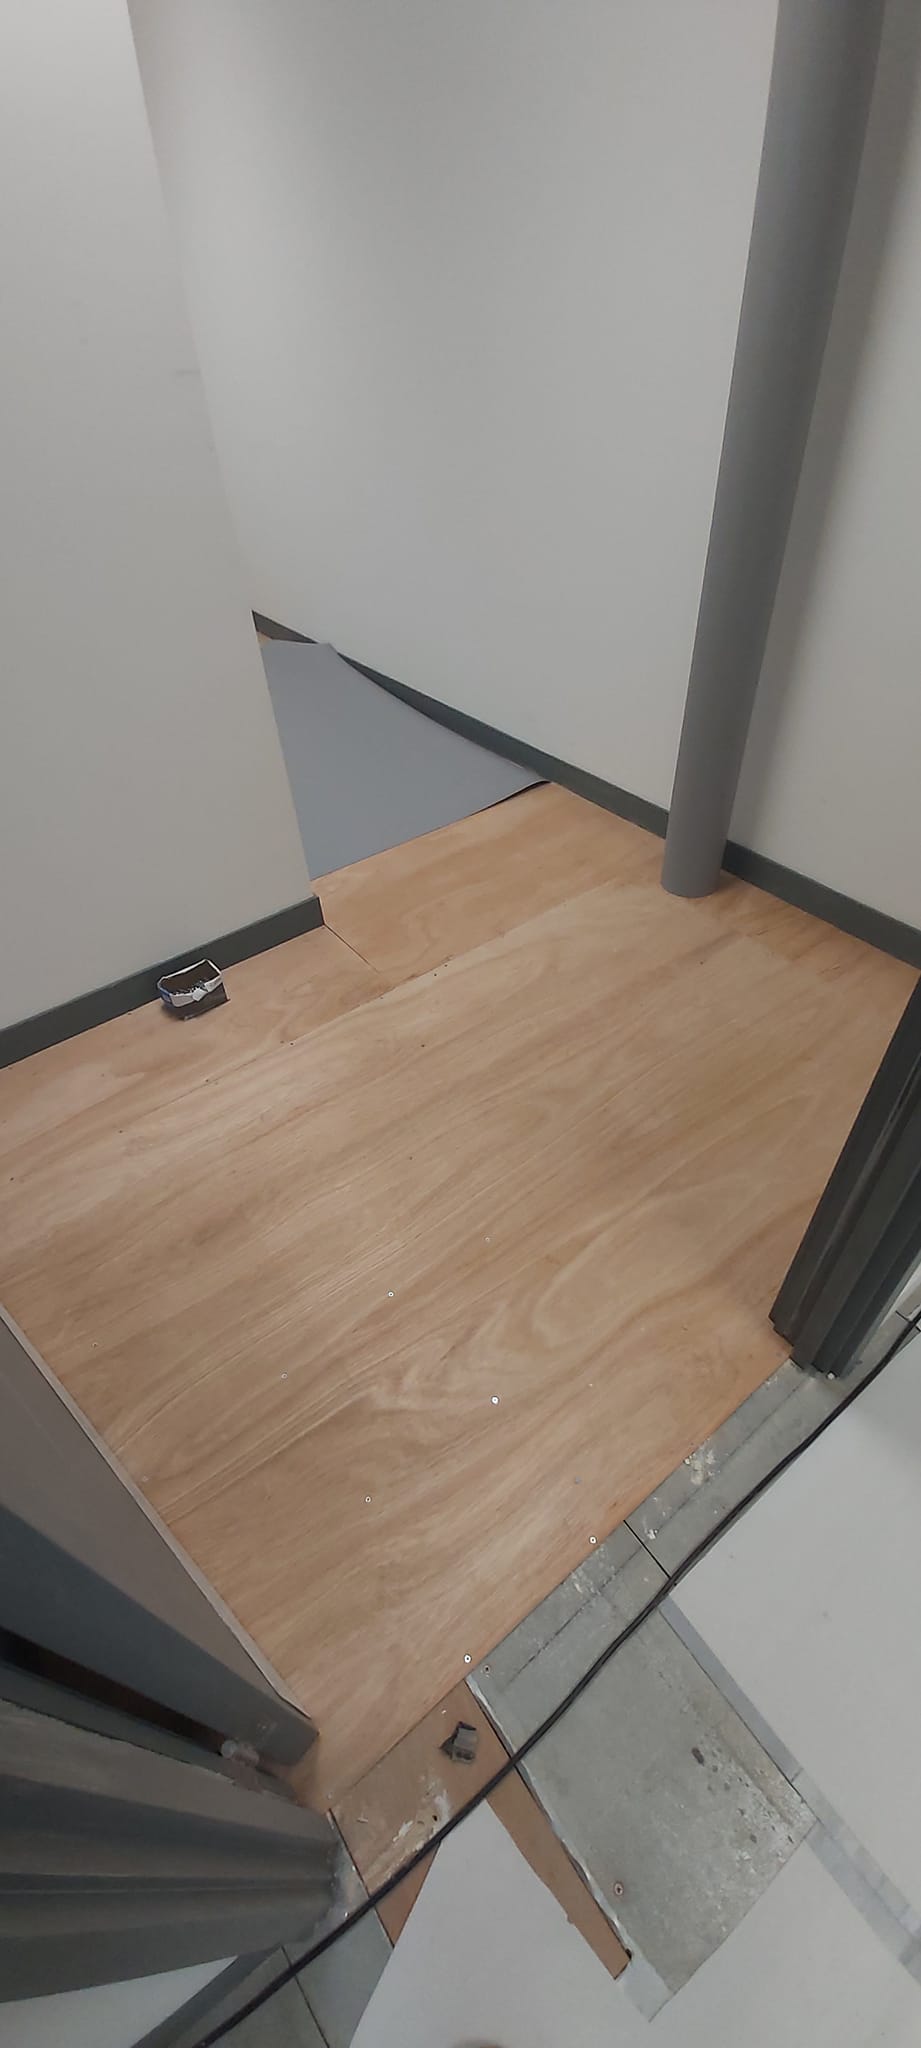
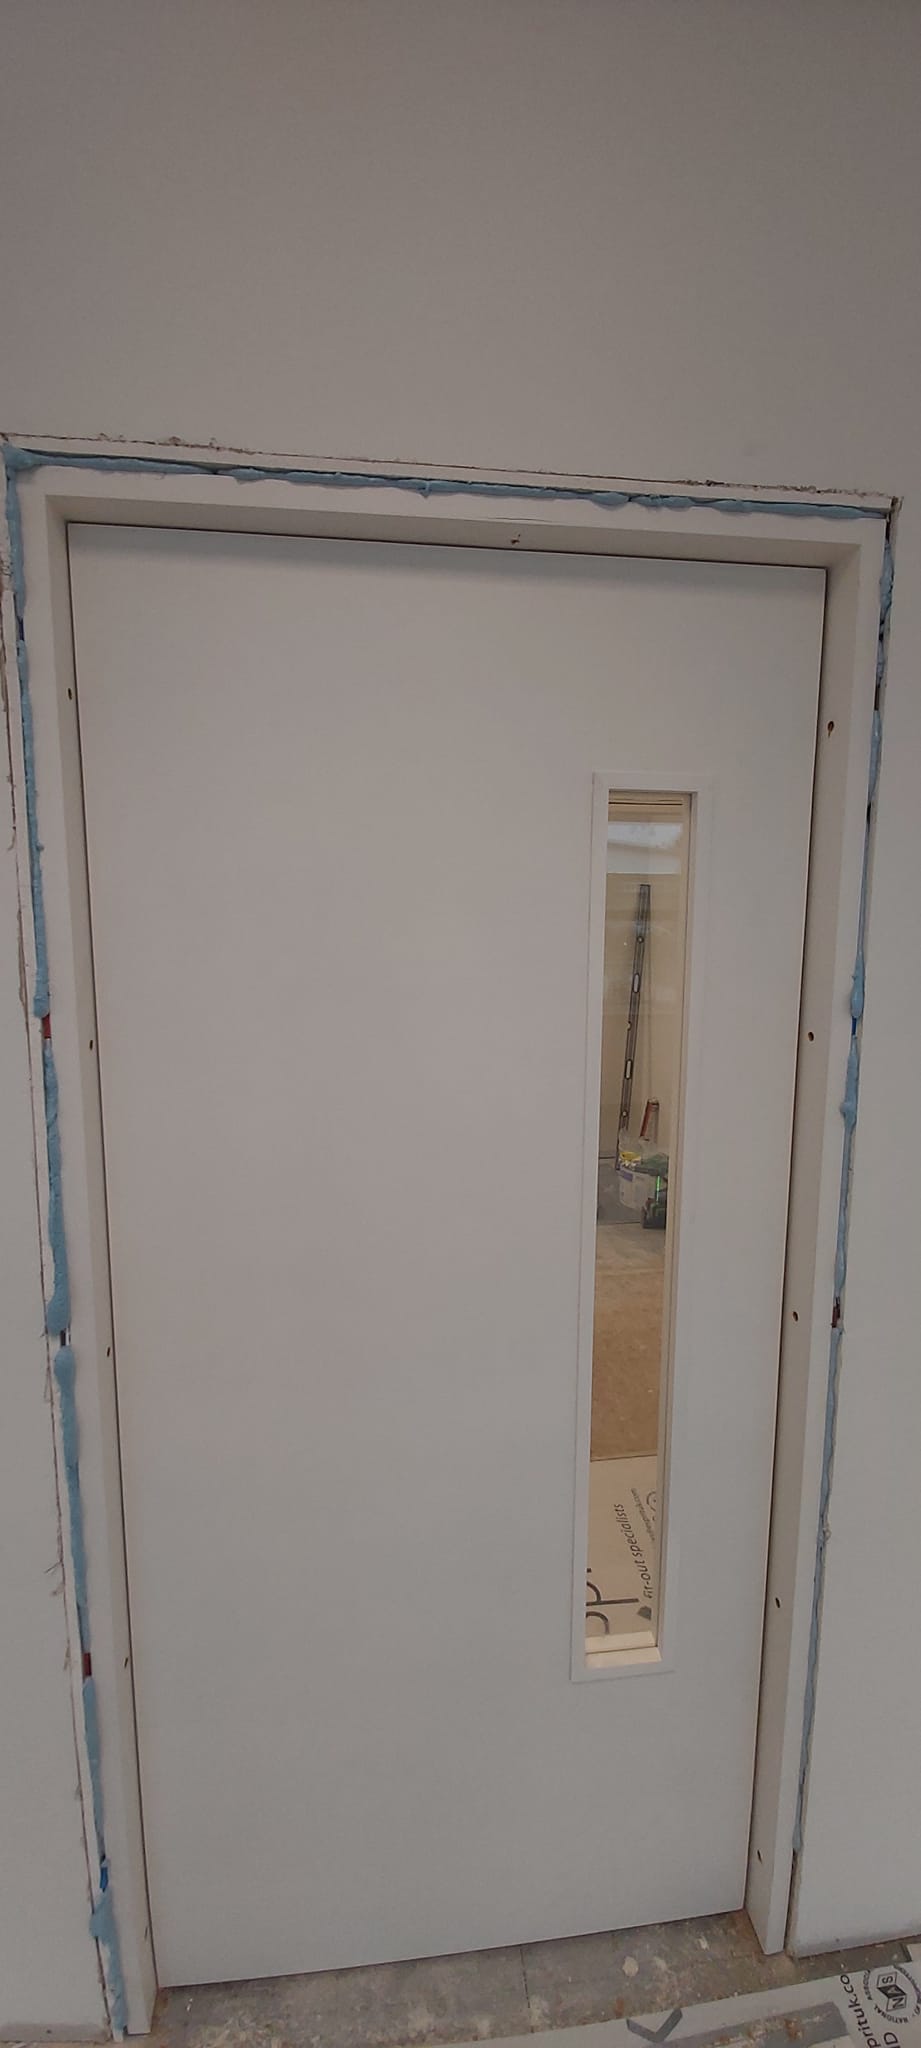
2. Preparation of the Space
- Before installation begins, I clear the space by removing old cabinetry, countertops, and any outdated fixtures. This step also involves making sure that the walls and floors are level, and that the space is free of any debris.
- If needed, adjustments are made to plumbing or electrical systems to accommodate the new kitchen’s layout.
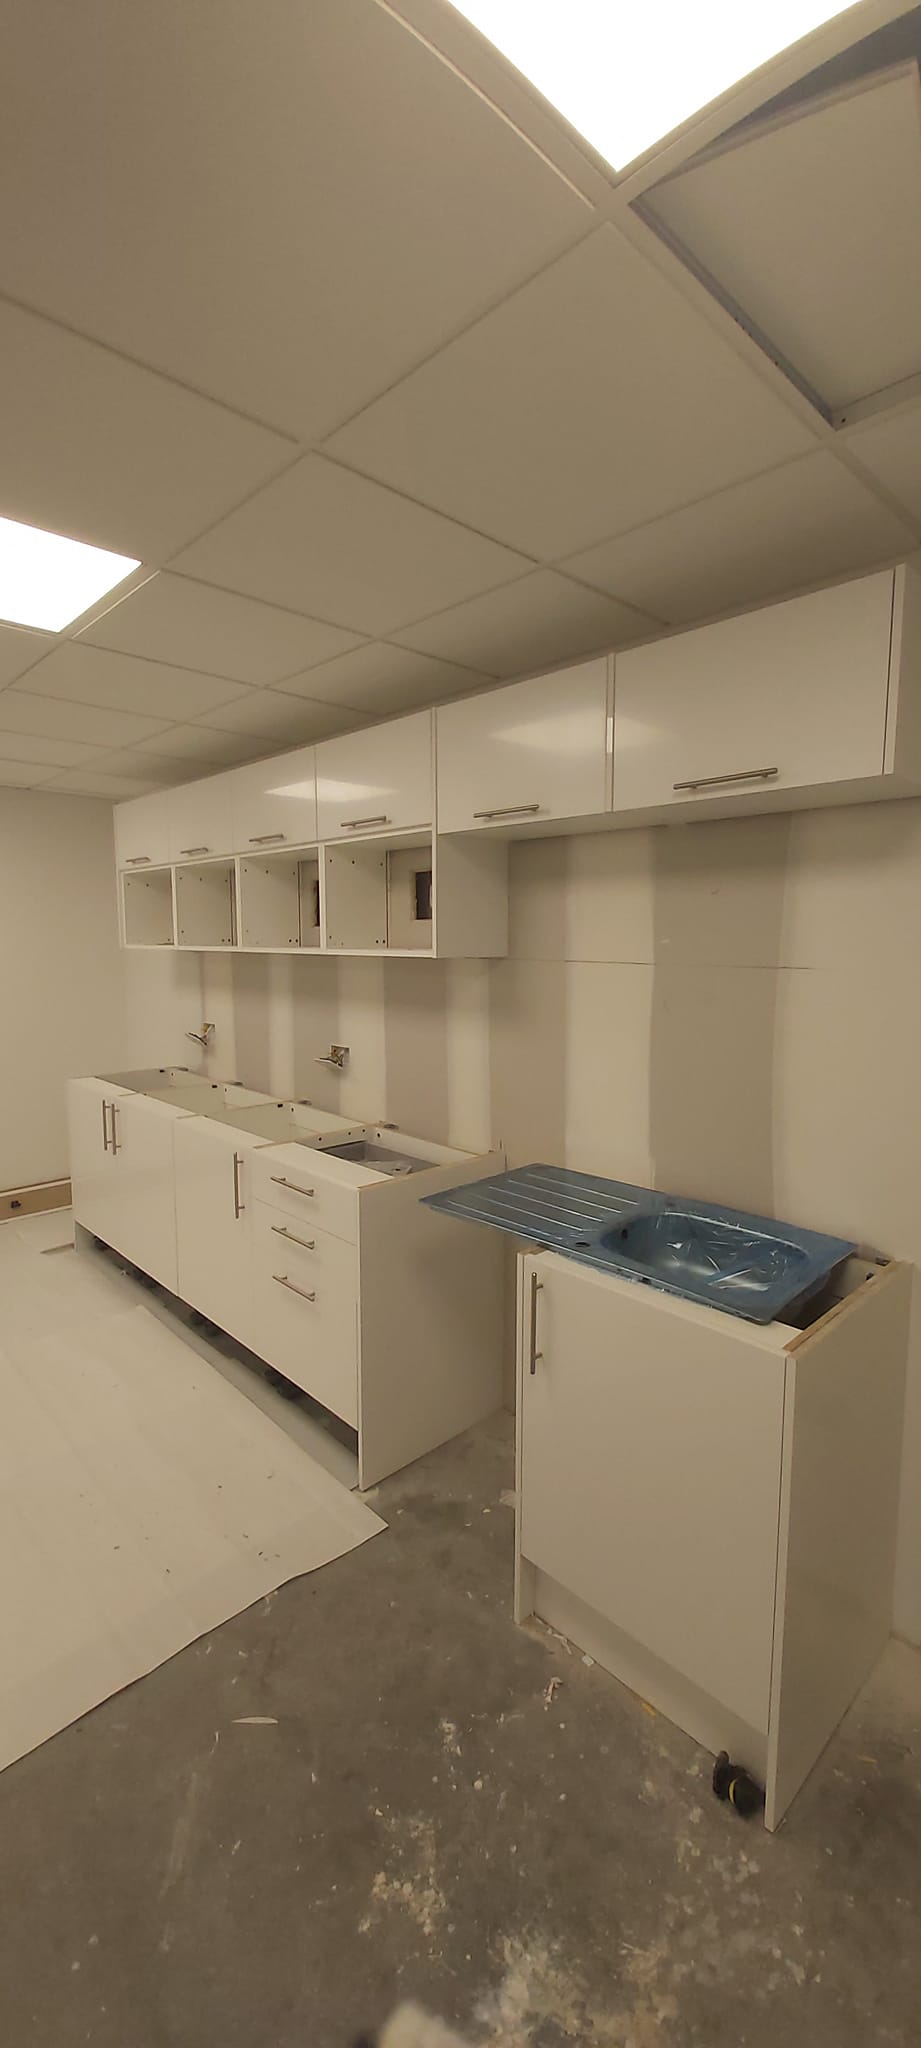
3. Building and Assembling Components
- I begin constructing custom cabinetry, shelving, and countertops based on the finalized design. The materials used must be durable and suitable for the high-traffic environment of a school kitchen.
- All components are carefully assembled, ensuring precise measurements for a perfect fit.
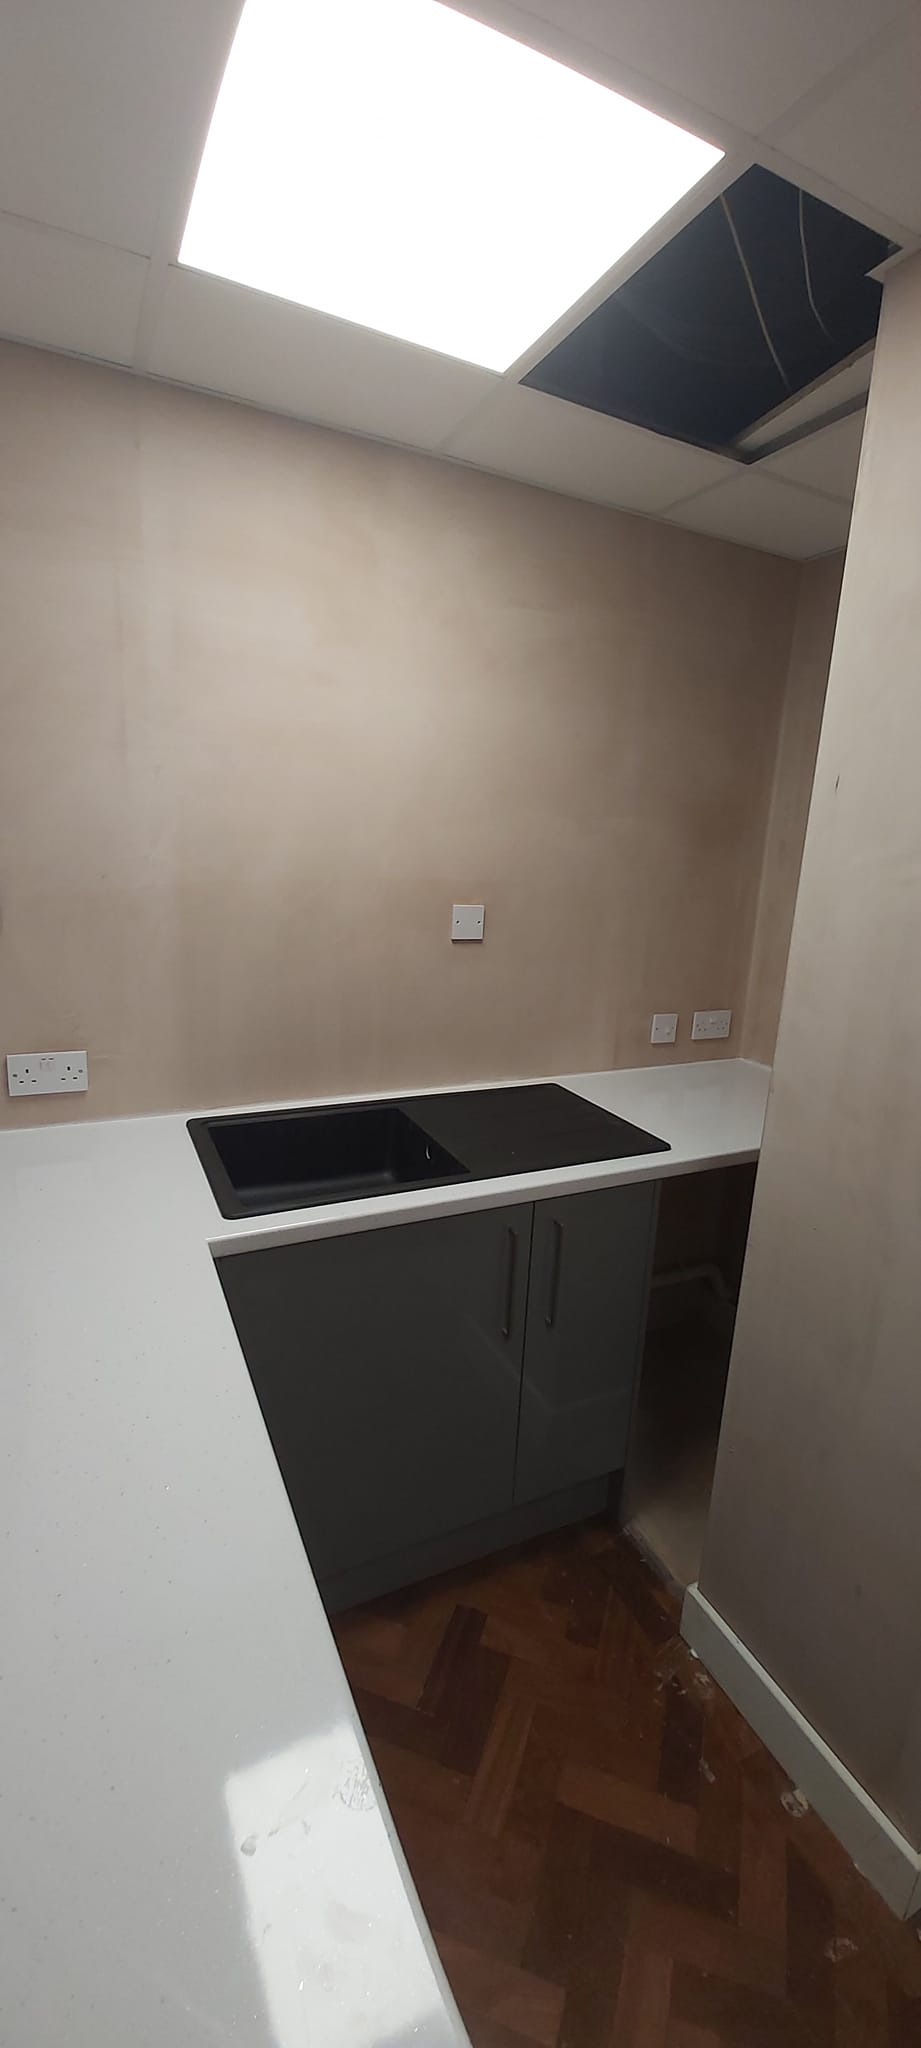
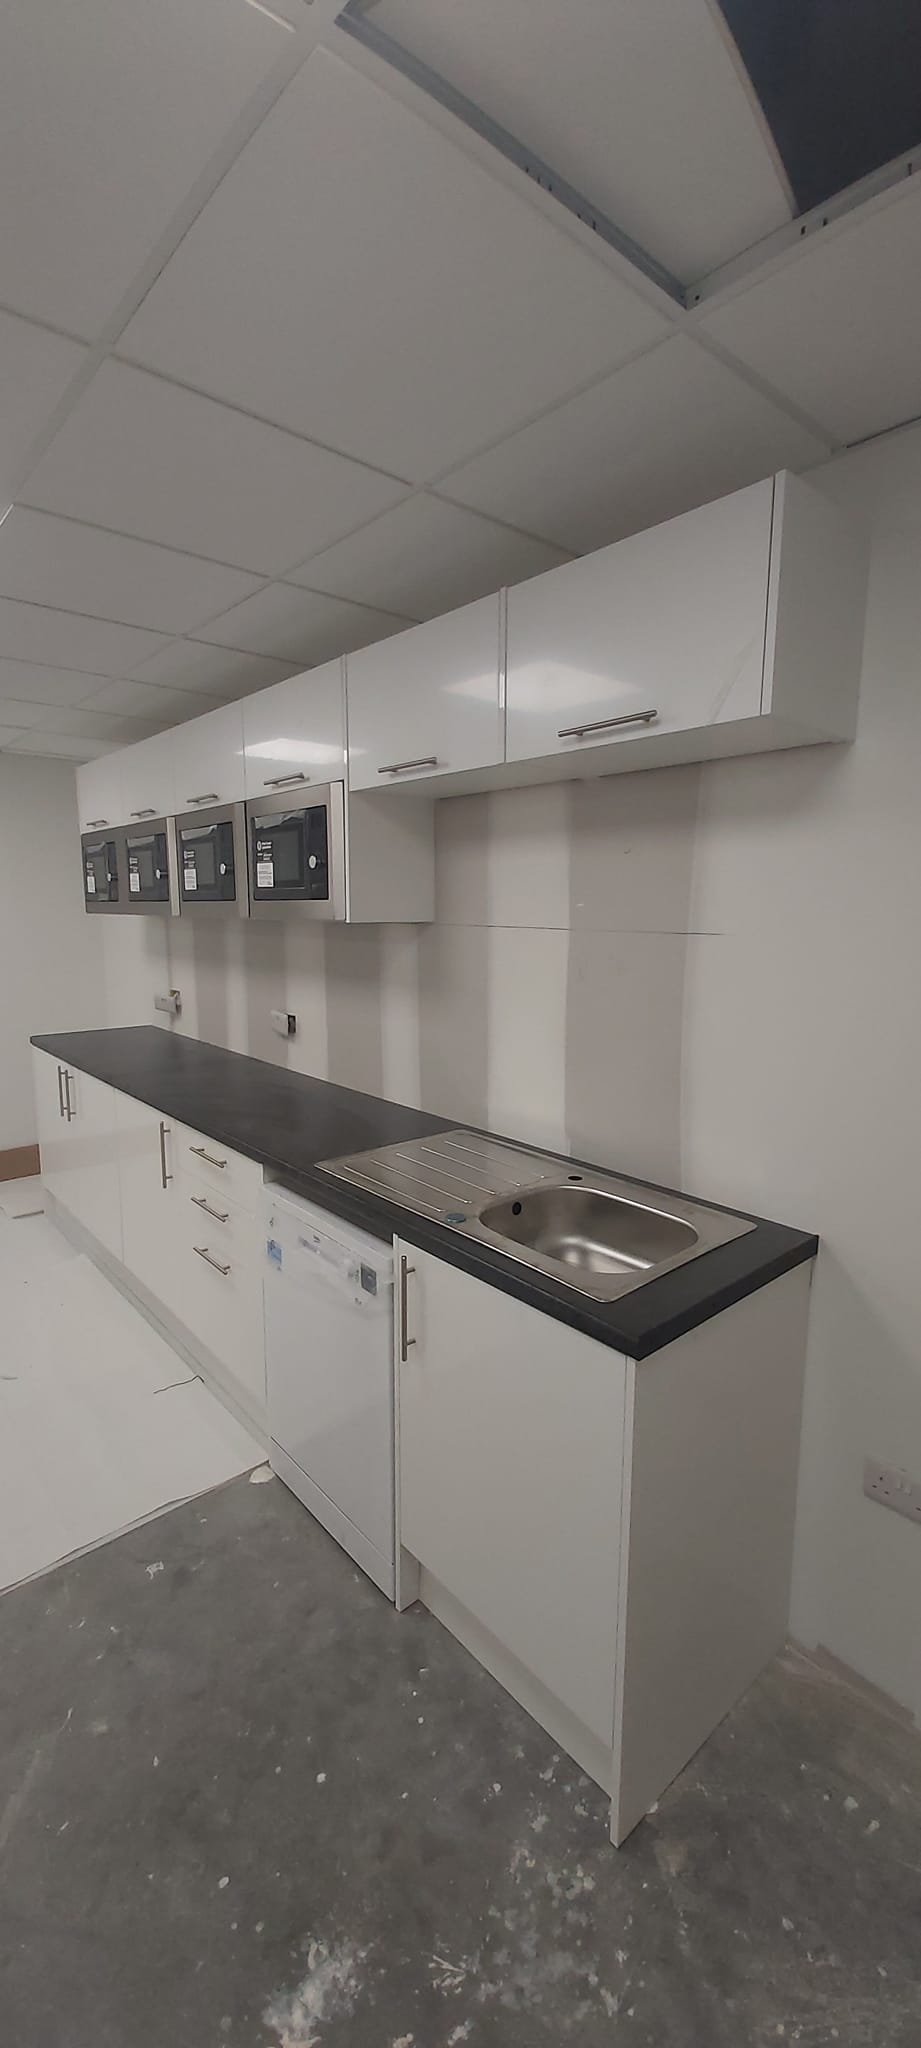
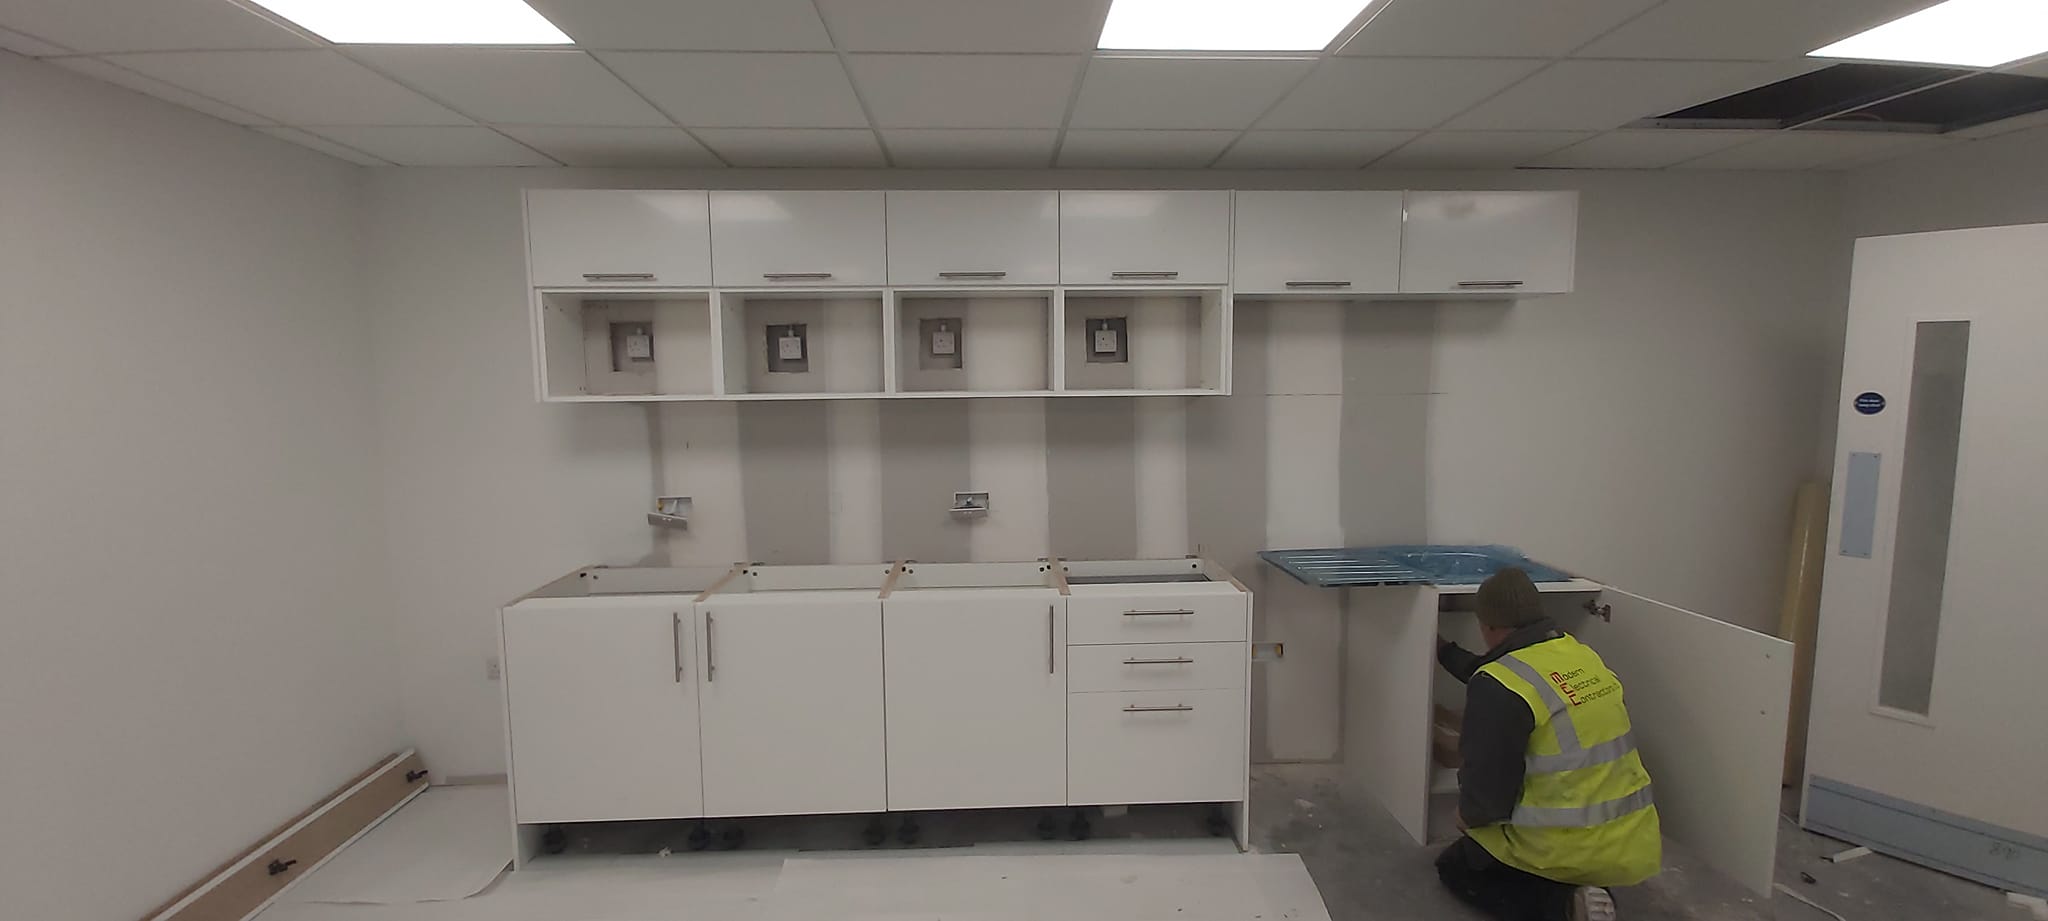
4. Installation of Cabinets and Worktops
- The next step is installing the cabinets and worktops. I fix the cabinetry securely to the walls and ensure that the surfaces are level and properly aligned.
- After the cabinets are in place, I install the countertops, making sure they are properly supported and have the correct finish for durability.
5. Plumbing and Electrical Integration
- During this phase, I collaborate with plumbers and electricians to install sinks, taps, and necessary appliances (like dishwashers or ovens). Ensuring these are safely and efficiently integrated is a top priority.
- All electrical outlets and plumbing fixtures are tested to make sure they work properly.
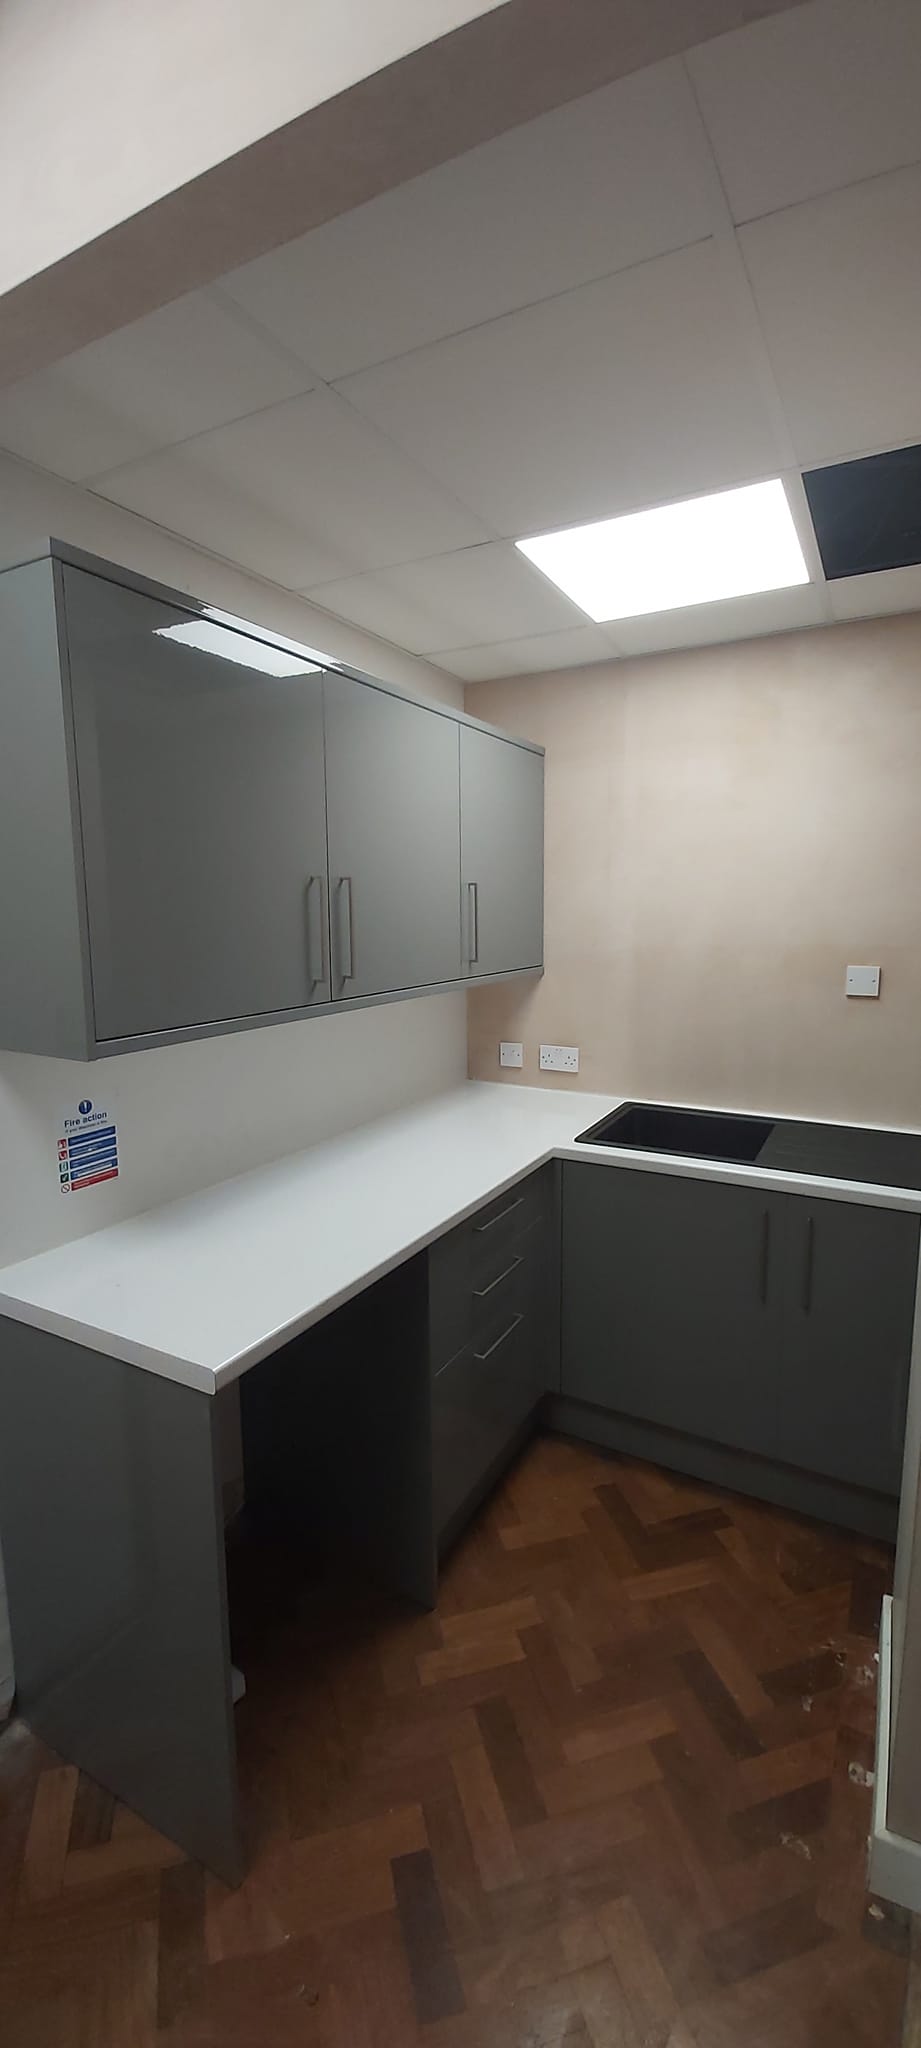
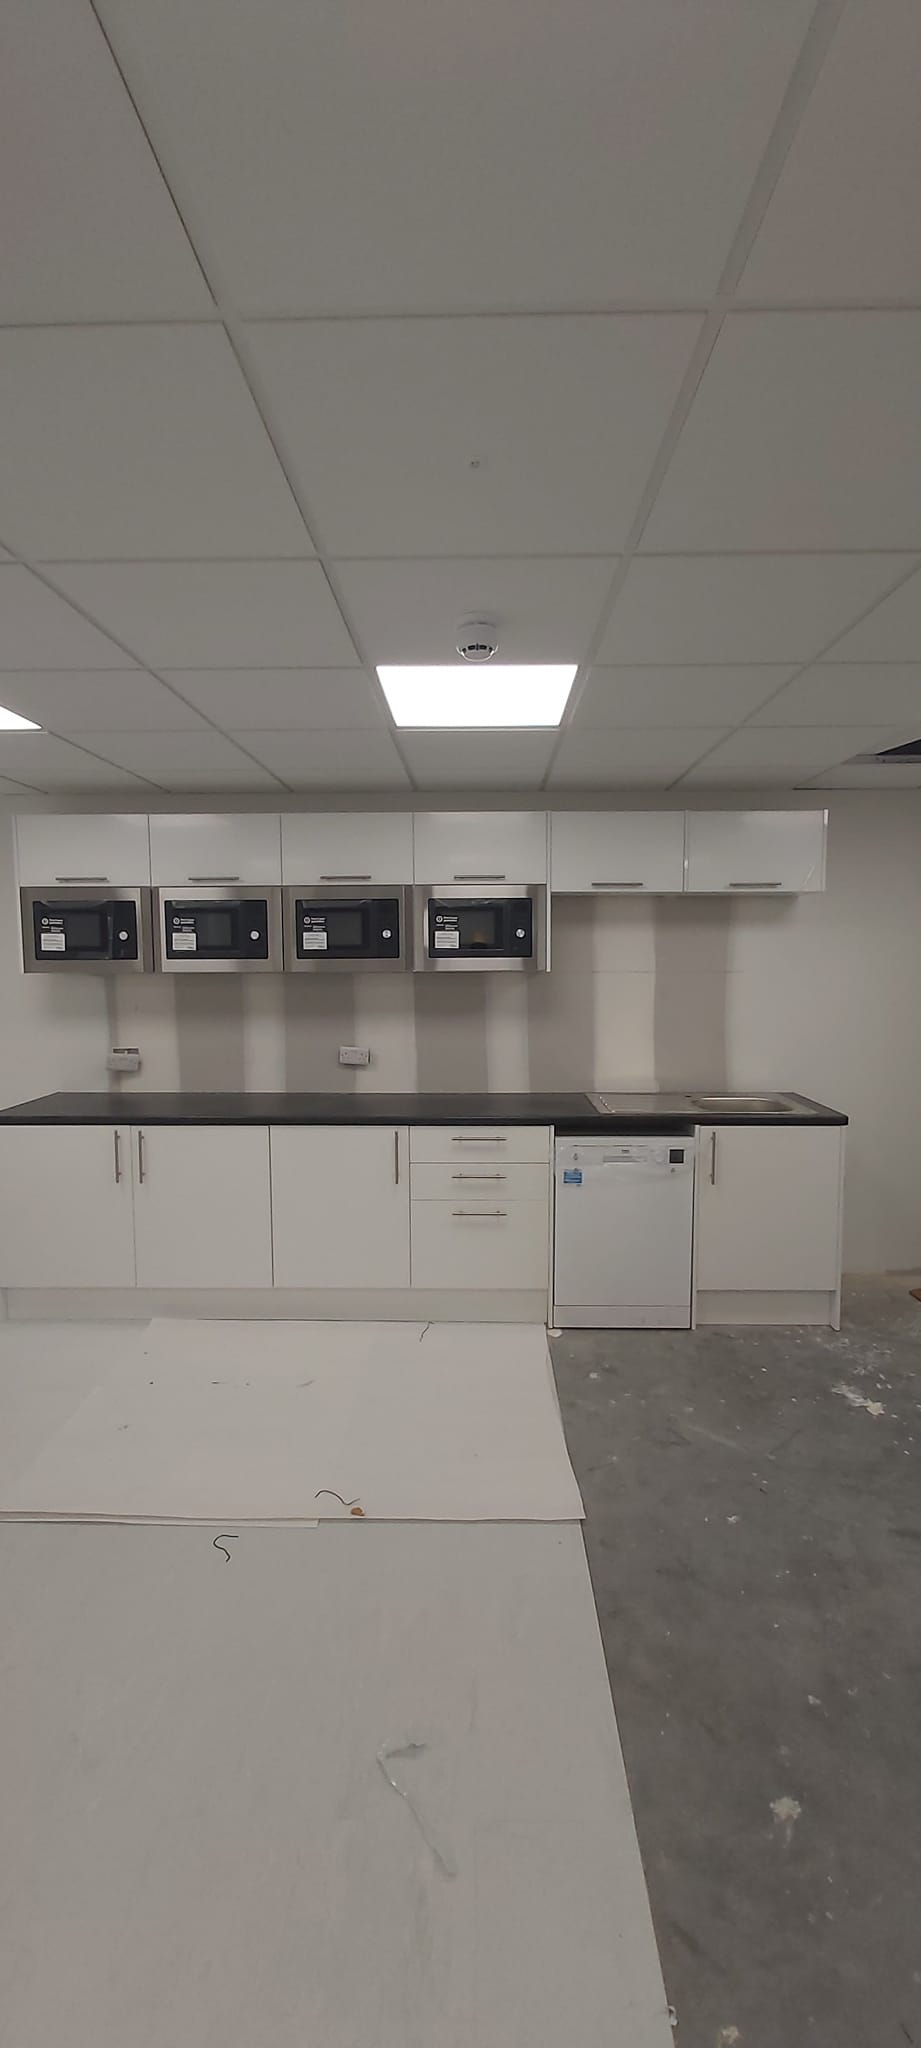
6. Final Touches and Inspection
- Once the main installations are complete, I add finishing touches such as handles, trims, and adjustments to cabinet doors. I also ensure that all appliances are properly fitted and functional.
- The space is thoroughly cleaned, and I conduct a final inspection to ensure everything meets the required standards and is safe for use.
7. Handover and Client Satisfaction
- After the installation is finished, I walk through the completed kitchen with the school staff to ensure they’re happy with the final result.
- Any minor adjustments are made as needed, and I provide advice on the care and maintenance of the new kitchen space.
Conclusion:
The process of installing a new kitchen in a school is a meticulous one, requiring attention to detail at every stage. From the initial planning and design to the final inspection, each step is crucial to ensure that the kitchen is functional, safe, and durable. As a carpenter, I take pride in delivering a high-quality kitchen that will serve the school for many years, providing a reliable space for cooking and food preparation.